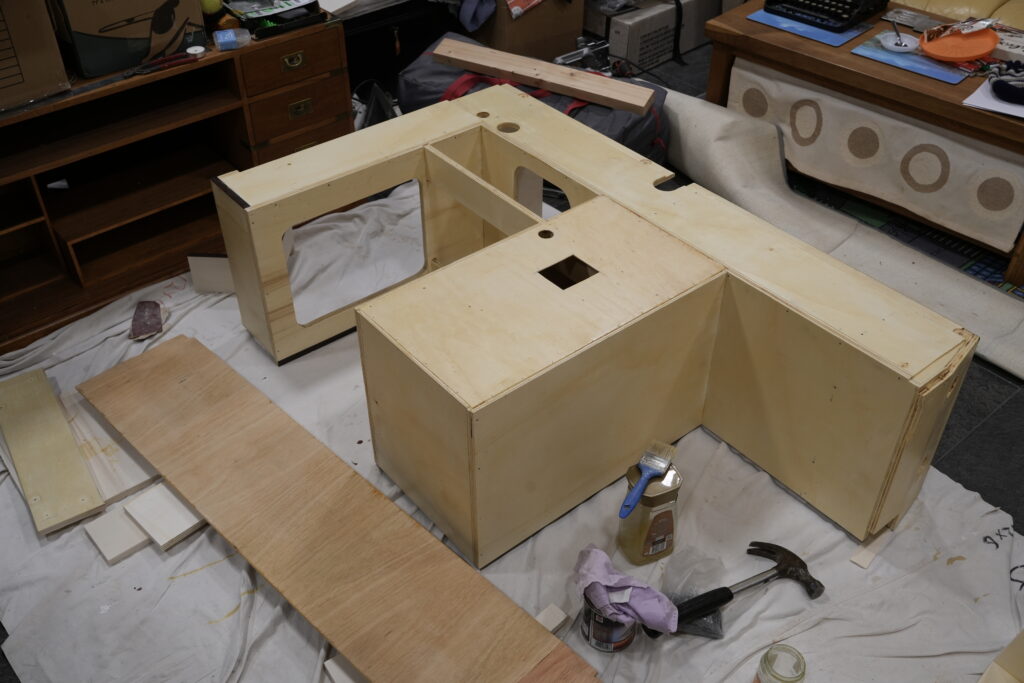
Not much space to get everything in. This is the first unit that incorporates the fridge, hob/grill and sink. It’s work in progress so watch this space. The back and inside is varnished and the outside will be similar to the original yellow and brown.
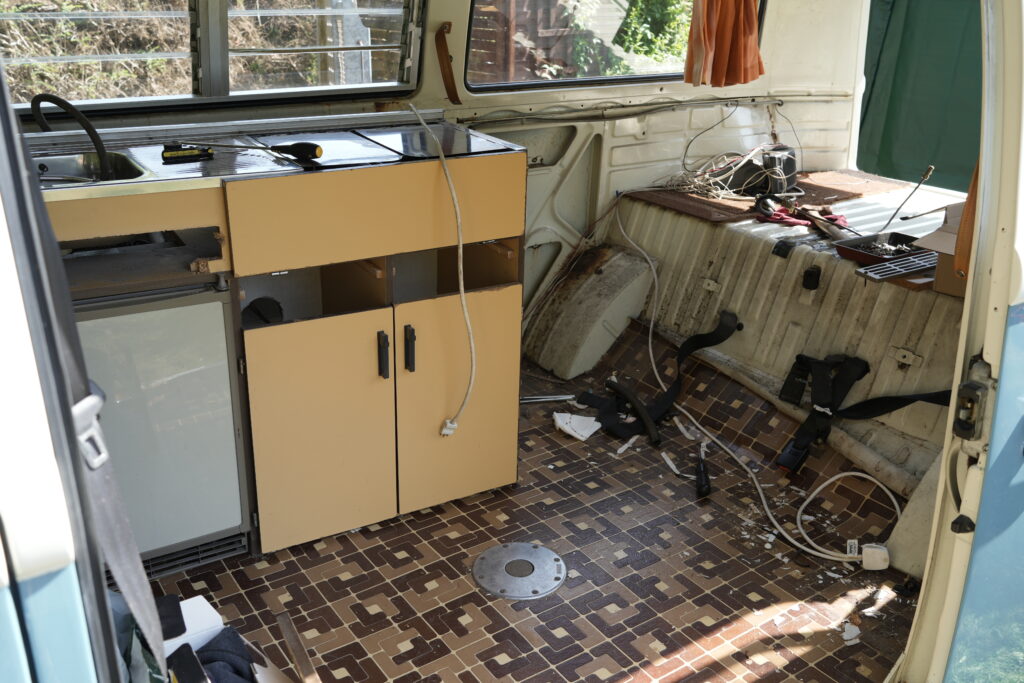
Took out the units, they were not held in by much and the conversion work from Devon looked very poor quality. Holes where the power cables went not being de-burred and grommets not fully in the holes, just one of the things.
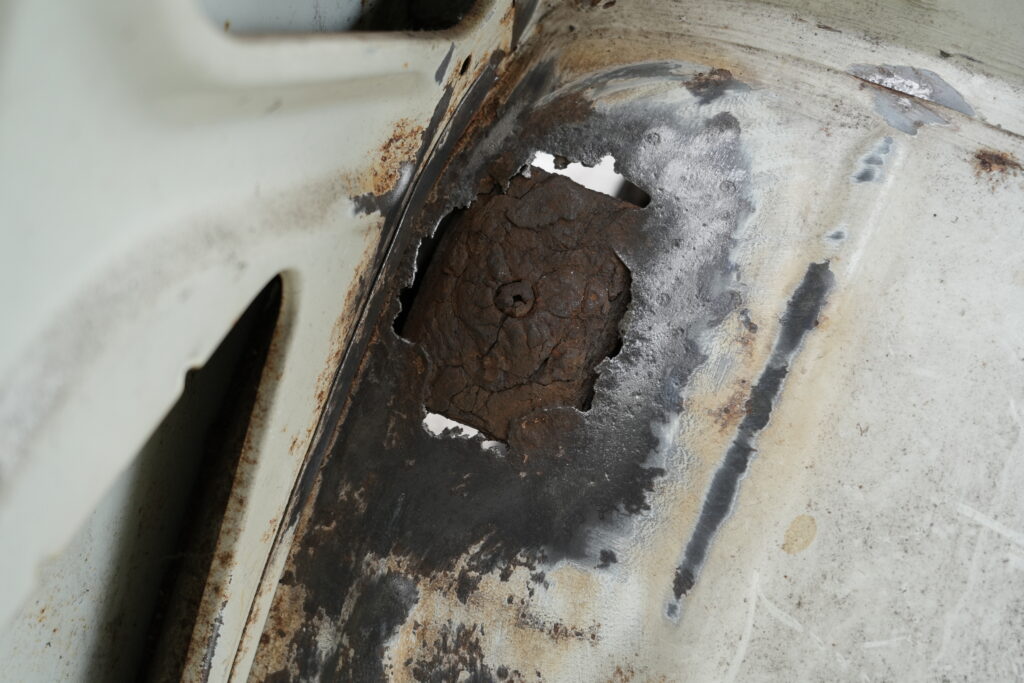
Anyway behind the units I can see the lower outer panel had been replaced. I cleaned up the area and repainted it plus welded a patch over the unused seat belt mount which was rusted through. The surface rust along the edge seems to be the result of leaking window and leaking water socket. The cupboards show a lot of water damage so I guess it leaked for years.
The outer repair needs some work. It was seems to be an old repair and the new paint has not stuck well to some areas of filler so there are a few bubbles along the edge. Now cracking and rusting.
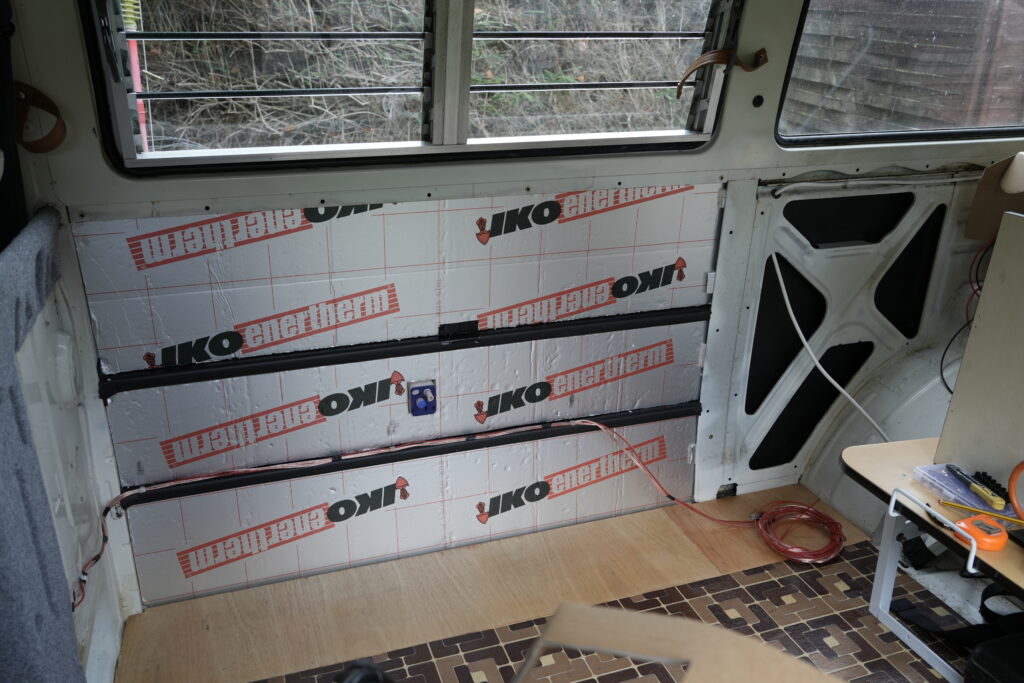
Sound proofing and insulation. This is a right controversial and well debated topic of on-line van conversions. There is a lot of misinformation and unjustified opinions but also between the dross some good info. I’m not sure where my approach lies but as a start I wanted to do something behind the units as once they are in I don’t intend to remove them.
I used Dodo Mat to provide some sound proofing and insulation. It’s closed cell, adhesive and really easy to apply. The basic one is 5mm and was cheap enough to give it a go. Over that, in just the area in the picture, I glued in some 1″ PIR board. A later post will continue with the insulation!
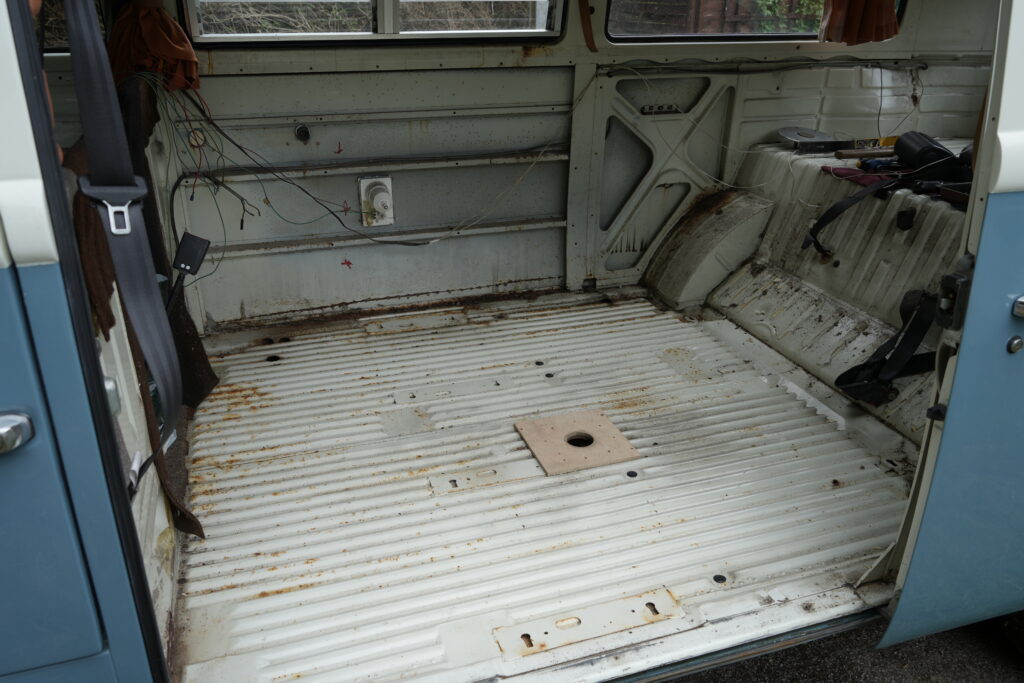
We retained the original 70’s floor with the part under the units trimmed off as it was a bit tatty. The ply is the same thickness and varnished to seal it. I didn’t add insulation under the floor and it’s not really going to be an all season camper so doesn’t need to meet the extreme’s of winter, off grid camping. Yep, I’m a fair weather camper 😉
Look closely and the wheel arch is fixed and lining material is on the bulkhead, all ready for the units….
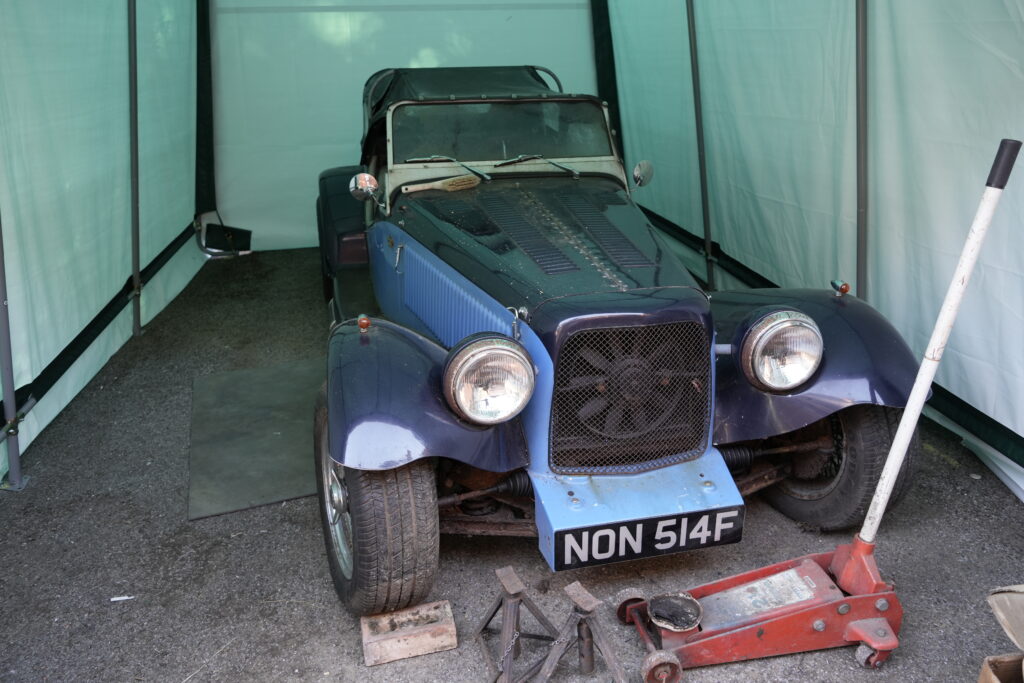
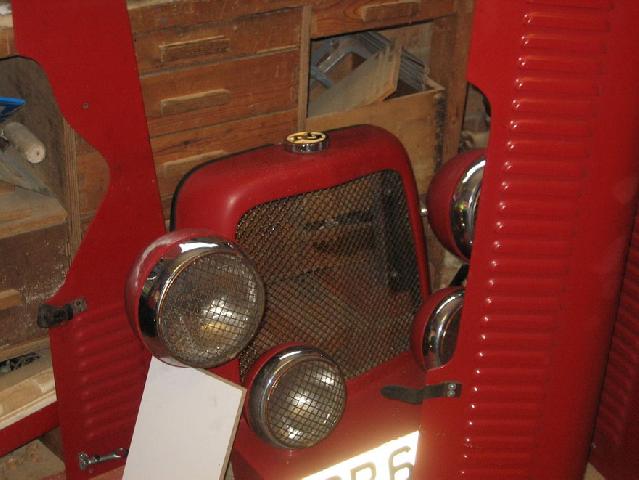
We bought this November 2021 without viewing it and it’s been under a tarp since. Supposed to be a Dad and Son project. Now sitting in a Clark tent garage.
Closer inspection reveals lots of surface rust however I’m expecting most of it will clean up.
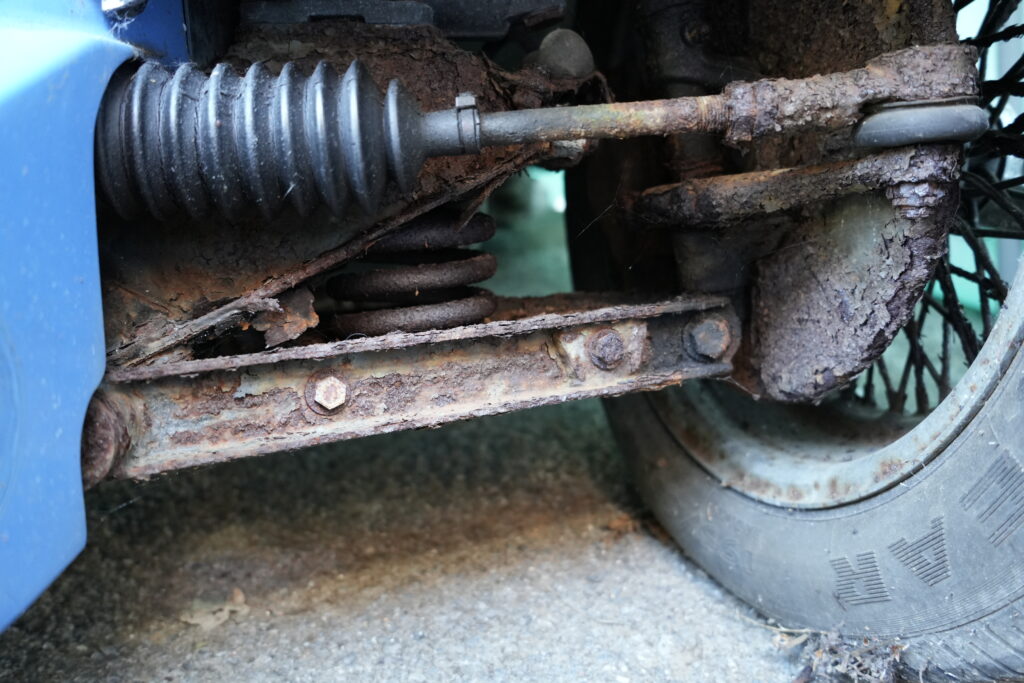
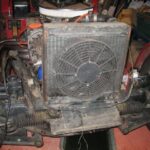
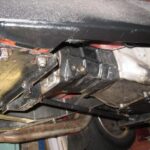
Front end coming apart. It seems to have the wrong dampers. These are similar to an Austin Cambridge or maybe MGA with the arms turned round. Either way the bump stops don’t line up and the geometry is different to the MGB dampers.
The lower radiator hose is kinked and collapsed and full of a waxy deposit from the anti-freeze. I believe this happens when the anti-freeze boils and the waxy stuff separates out when it cools. I have some in the TC V8 expansion tank and I think both V8’s have suffered. Oddly there is little online relating to this and I can’t imagine that I’ve got the only two V8’s suffering this.
Well, a few outings later and the chipboard cupboards had clearly suffered previously through damp, wear and tear and 45 years of camping. So out with the interior starting with the seats.
The drivers seat was very uncomfortable as I was sitting directly on the springs, not sure where the padding had gone. I stripped the front seats down and cleaned them up, having to straighten the frame and weld it where it had broken. Our local car upholsterer recovered them in leather and a fabric I found which was similar to the 70’s original style for a Devon conversion (not a Westie). Must be good as she said everyone who went to her workshop liked the material. (Note, I found it first !!).
New seats and new door cards. You can just see the cab floor which I cleaned up in the passenger side. I added more waxoil to the doors and sills although the work done previously had done that too.
The rock and roll bed got a similar strip down and repaint. Here are all the bits in primer.
With the running cost and work required on the L322 Range Rover we decided part with it. It was a top spec version and really nice but needed some rear subframe work and had a steering lock that was reluctant to disengage. Unfortunately we had already sold the P38 Range Rover which although got a bit tatty was reliable. Without our towing car, which also doubled as our tip run car, the caravan had also to go with the idea of buying a small campervan.
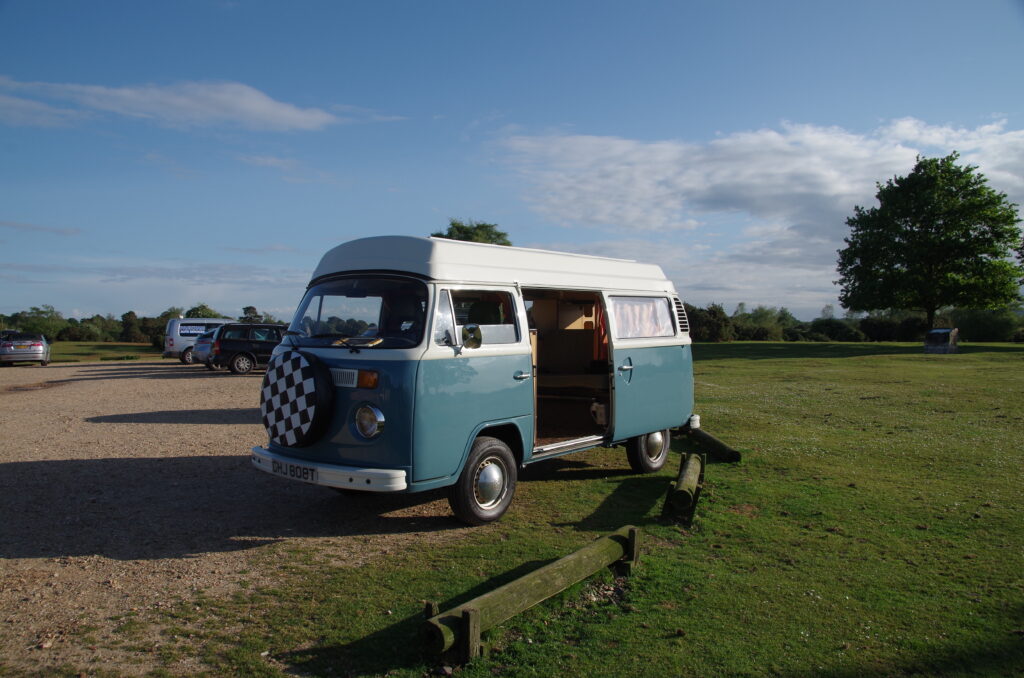
Second hand 6-8 year old VWs were very tempting but still had a hefty price tag for something that was just occasional use. So here we are with a classic VW T2 bay. To avoid yet another complete restoration project, this one had to be useable without taking of the road for major work.
Out in the New Forest with our new VW, 15-May-24
It was a bit of a risk as it had a nice paint job and I saw assured the bodywork was good. A bit of a poke around and it seemed ok but who knows what lurks under the shiny paint.
Interior had not been touched but that gives us the opportunity to make it how we want.
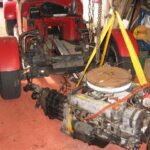
OK – here is a short set of pics as I took the engine out. Probably your NG was put together differently.
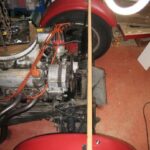
The big pain is getting the radiator cowling aligned so the bonnet gaps are nice. To simplify this I have tapped some locating bolts through the cowling bracket to the radiator brackets. This is because in building the car the holes get enlarged and elongated to get the gaps right so once in place drill and tap some 4BA (showing my age there!) bolts just so the exact position can be found again. When I built this NG (a long time ago!) I did try and make the cowling removeable as a unit with the head and spot lights, horns and wiring sub-harness that has a multi-plug. You can see this as the white bit resting on the chassis to the left of the rad.
To realign the radiator brackets I put a bit of wood across the car and some tape on the wings see pic 5. Note that my wings seem to have moved so they need tweaking later!
Not much else really just undo anything that joins to the engine. I forget the temperature sender capillary pipe and bent it a bit, it then broke off. Also when removing it from the manifold it broke in half and the end bit was left in the manifold. A bit of careful wiggling got it out without loosing it inside. I’d recommend not leaving that bit connected as a recon gauge is about 60 pounds.
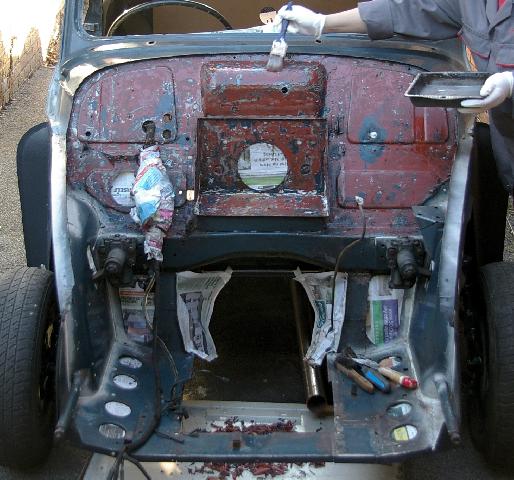
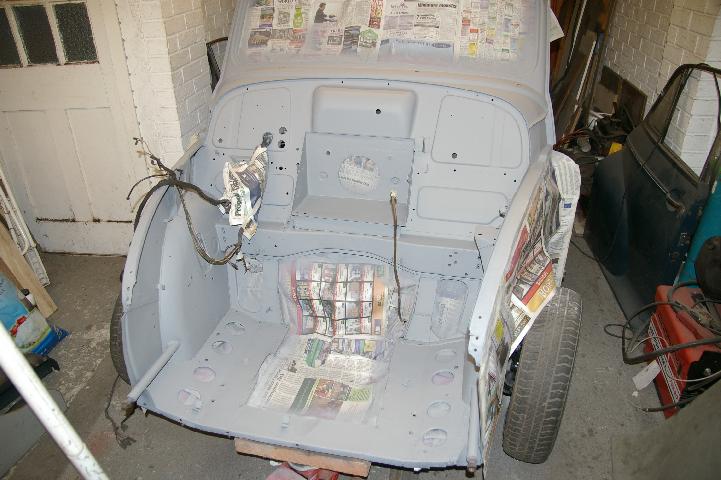
Paint stripping started, unfortunately not far enough due to bad weather and the delays caused by disc brake conversion problems. Lots of hard work stripping the paint but finally got to the metal.
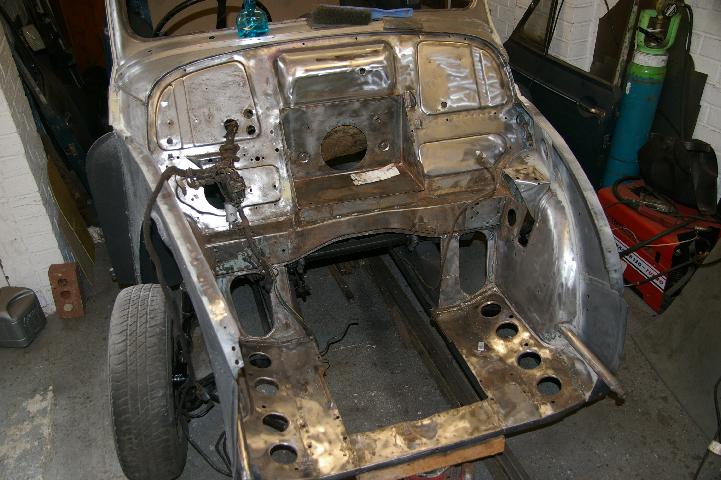
The rust was tackled with the wire cup brush on the angle grinder and the metal scuffed up with a surface prep disc on the angle grinder. This disc is a kind of hard scourer thing which gets off any odd stuff and sands the surface to about P180. I then went over the metal with P320. Although where the wire cup brush had scratched the surface I had to use P120 first. Avoid the cup brush on good metal as it does more damage than good.
The zinc primer didn’t spray out my old gun, I guess because it was not thinned out as much as normal. The old gun has no pattern adjust. The new DeVilbiss sprayed it fairly well but caused a lot of atomisation and mist even with the pressure down and the needle out to max (to the point where the knob fell off!
Next seam seal and touch in a few bits that were difficult to reach with such a large gun.
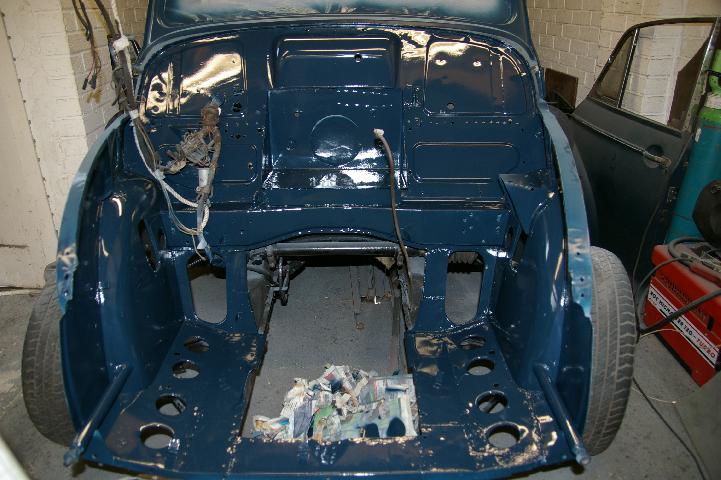
Engine bay painted with top coat. I have put on what I think is the minimum of 4 coats (although some is thinner). The final finish is ok with a little orange peel in some areas that are difficult to cover without over spraying. The minimum of cutting back would give a good finish but I probably won’t do that for now. Amazing how those elusive dents seem to jump out once there is a shiny finish on it. However once the Engine bay is filled with engine bits and dirt then paint and other faults will go un-noticed and we will think “was it worth the effort?”!!