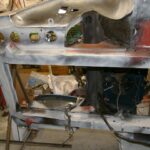
After a bit of a delay while I sorted out the front disc brake Marina hub conversion (see this article on the whole experience) I now have wheels on each corner.
The Mog is now off the roasting spit and on it wheels.
Baker family blog
After a bit of a delay while I sorted out the front disc brake Marina hub conversion (see this article on the whole experience) I now have wheels on each corner.
The Mog is now off the roasting spit and on it wheels.
The Morris I bought for parts for this project had a tuned 1275 engine and disc brakes. I assumed the previous owner had down the work and I only had to use the bits. Unfortunately, the person had just put the Marina hub with Marina bearings onto the Minor axle. Then tightened the nut to prevent the loose fitting bearings wobbling.
So what I was expecting to be a hub conversion was nothing more than a bodge. Consequently I had to get the conversion, which proved not much better that the solution without it.
The whole experience is described here .
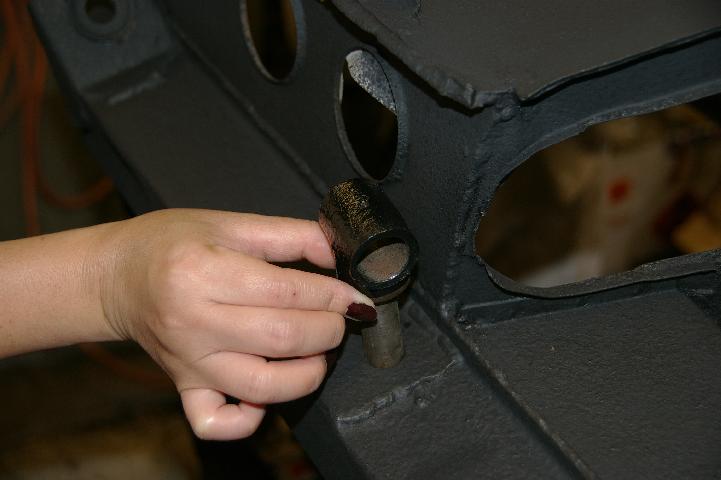
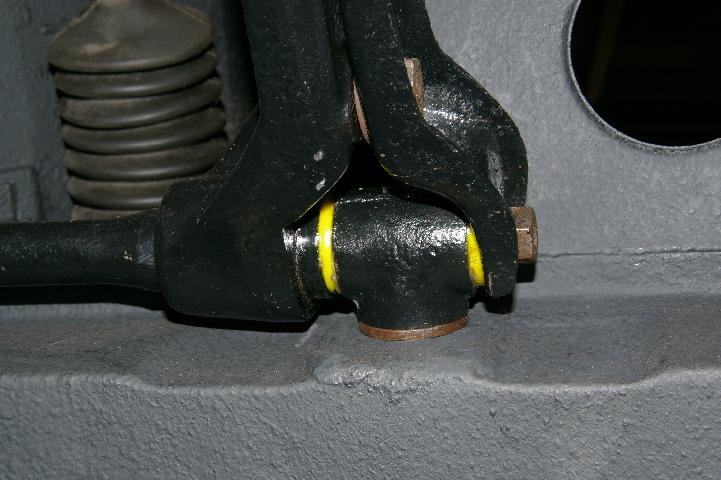
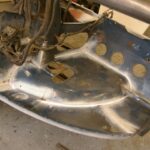
Picture of the first bit going back on the car (not my hand!). It’s the eye bolt – below fitted with poly bushes.
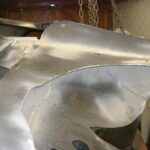
Now in the stage of cleaning of some remaining suspension bits. I had not previously done the dampers as I was going to use the telescopic shocks that I had. I may still do that on the rear if we keep the car, current talk of changing it for a traveller.
I want to get it on the wheels, hence get the suspension back so I can strip the paint. Undecided whether to just strip everything or do the front first followed by the rear. Garage is to small to get round the whole car for spraying.
Note to self: get a bigger garage – a single one is hard work.
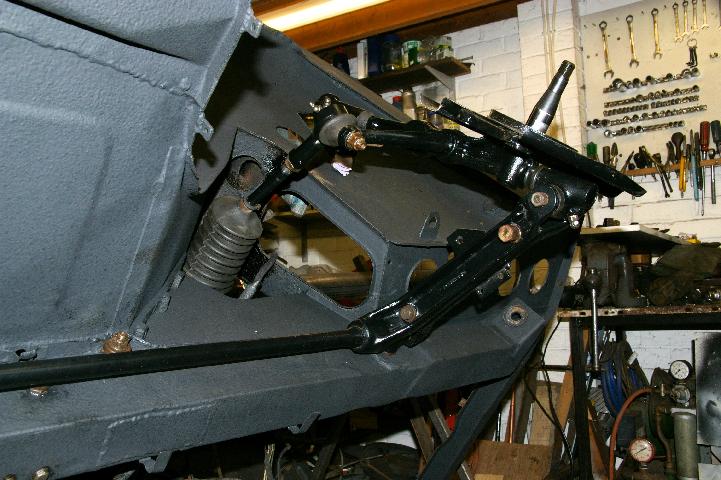
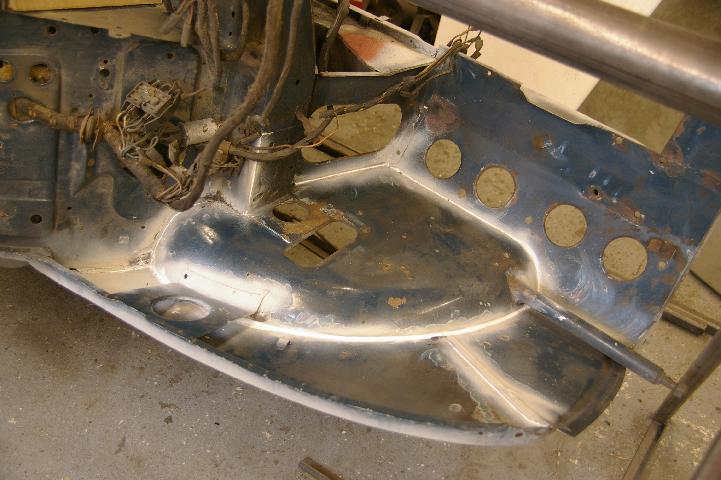
Getting round to adding more bits to the Mog. Here is the front offside suspension (less hub – see elsewhere for details).
I put back the steering rack, master cylinder, fuel and brake pipe that run underneath.
Not sure if I got the ride height correct but it is close to what it was before so should only need fine adjustment with the rear adjuster plate.
The poly bushes for the eye bolt went in ok – although they still get squashed a lot so I added a washer between the arms (you can just see it in the picture).
When fitting the bushes it is easy to get the front one squashed to much. This is because the rear arm slides down the splines and so to bring the arms together the front one squashes.
Normal advice is to remove the tension on the arms, however this doesn’t really work that well as the arm often will not slide on the splines (even a nice clean one like this didn’t). My advice is to help it slide forward using a block of wood and hammer.
Other advice is to tighten it down when the suspension is under load to stop the rubber bushes tearing. This helps for rubber bushes but is not required here (hopefully) as the poly bushes can be greased so the pin will slip round freely.
I used a Schwartz type underseal gun to apply the Gravitex. Gravitex is made by U-Pol and seems to be hard to find but I got mine on line from Auto Paint and Panel.
The Gravitex is cellulose based and dries very fast. To get an original looking finish I set my gun to about 60psi and tried to get a thick coating on in not to many sweeps of the gun. Overspray gives a sandpaper finish but luckily due to its consistency you don’t get much.
It covers over the original stonechip finish but I tried to cover some old oil based underseal which although it seemed ok in my tests didn’t quite work. I think was due to the thickness I applied, some thinner coatings applied a few times would cover it but wasn’t that great – better to remove all traces of oil based underseal.
I also found that the seam sealer would have been best primed before applying the Gravitex as it lifted off in one or two of the corners.
I bought some more Gravitex so that I can complete the fixes. I used 4ltrs of the stuff to cover the sills and wheel arches. I didn’t cover the center from the cross member backwards (basically the propshaft area). I guess that would take another 1ltr.
So, some areas to fix due to inexperience but generally this is looking like good stuff. As an update I cleaned off the area that had the underseal and resprayed the Gravitex but the new bottles were thinner and gave a smooth finish. Sod’s law isn’t it – when you want orange peal finish you can’t get it!
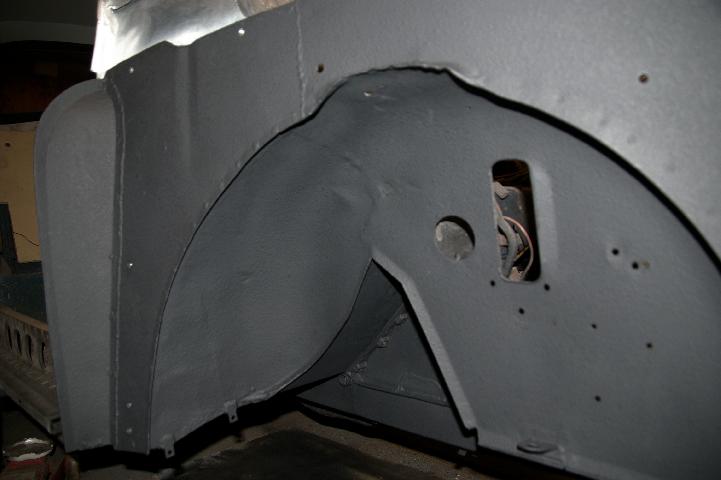
So just in case you’re trying to do a similar thing then 6ltrs should give a good coating over the underside and inner wing wheel arches (as in the picture, not inside the outer wing). Also, for good adhesion you need to give the metal a good key, I used one of those surface prep (0.5″ hard pot scourer type thing) disks for the angle grinder – however I didn’t do all the surface; bit of a rush to get the stuff on and I forgot 🙁
Oh, and for the record this is the black colour, the pictures are taken with flash so its looks a bit light.

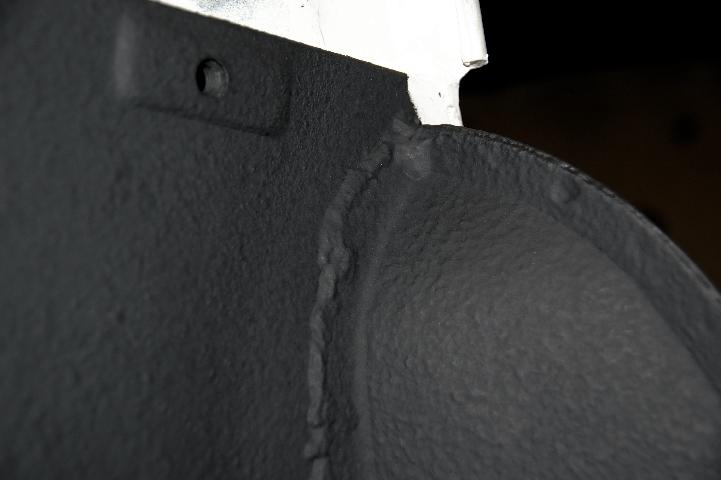
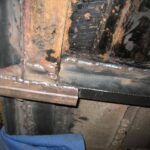
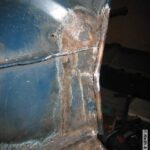
Following all the underside welding, I cleaned off the welds and any surface rust, wiped down with some de-greaser and primed the bare areas using etch primer from a can.
The seams were then seam sealed and a few little surface areas filled with body filler.
I decided to clean off the seams in the engine bay because I wanted to underseal the bottom of the car whilst it was on the ‘roasting spit’. However, I also wanted to paint strip the old paint in the engine bay as previous resprays had left a thick amount of paint that would not be a good base for yet another respray. The problem here is that the paint stripper has to be washed off and thus the car out of the garage. So the only way to prevent paint stripper and water going down the seams was to clean and prepare them now.
I’m finally getting to the part where things start taking shape. The cleaning off, welding and making panels seemed to be never ending.

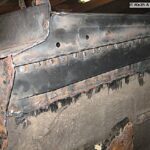


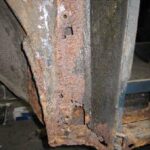
Outer sill replaced and front part of the inner sill. The back part was ok even though just a bit of rust by the cross member.
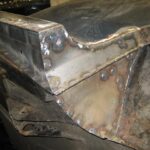
Cut out the end part of the cross member. The floor is not very flat there as it had already been patched when the cross member was replaced first time around. That was done by the garage I bought the car from – they must have cut through the floor to get it out! It wasn’t very neat but was strong!
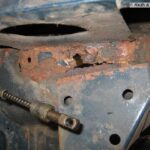
Minor patch in the boot area is around the spare wheel retaining bolt.
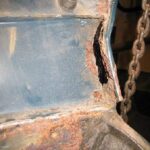
Unfortunately located another lacy bit on the rear wheel arch so had to cut and insert a section.
For cleaning off the the welds / underseal / paint I’ve been scraping with an old paint scraper, then using the wire brush on the angle grinder. The flat version is better than the cup for all the corners.
The intention was to clean off loose bits and welds and prime with spray can etch primer. Then use the Gravitex stonechip to underseal. The Gravitex is supposed to be able to cover anything and also be overpainted. The old underseal is oil based stuff and goes soft with the Gravitex which is cellulose based. On my test area it didn’t react and went hard again after a week. Hopefully a larger area will do the same – we shall see !
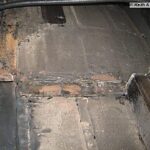
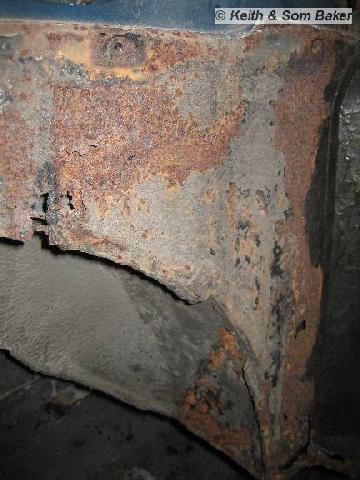
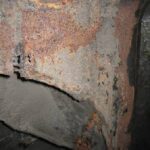
The remaining rust you can see is surface, except the area in the floor under the exhaust heat protector, which is a bit of a water/rust trap.
Whilst cleaning off with the wire brush on the angle grinder I made a hole as what I thought was surface rust disintegrated.
Much of the cleaning off has been with the angle grinder plus wire brush; prior to that I got rid of old underseal using a paint scraper and old oil with white spirit.
The areas of sound body with sound underseal I ran over lightly with the angle grinder brush to get rid of the dusty dry surface and provide a key for the Gravitex.
The n/s inner wing was in worse condition than the o/s so I decided to replace the two inner wing panels and patch the A post.
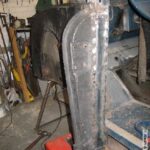
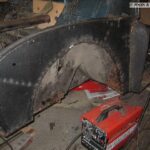
Cut out the wing and made a repair section for the bump stop on the inner wheel arch and also a repair section round the wheel arch seam.
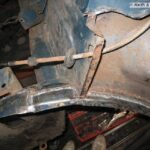
Lining up the inner wing needs lots of measuring and eyeing up to get right. At the A post end it is easy as the panel fits in one place and only its height needs setting, I lined up the top of the wing edge and measured from the courtesy light switch to the door stay bolts. At the front end measure from the bumper bar (although mine was bent) and also lay a straight edge across both wings and eye it up to the bulkhead.
Although there is little that can be done it is worth checking the distance from the bulkhead to the front – the new panel is 5mm longer, other wing is dented on the front edge.
I patched the A post and welded on a new back section – however when I came to fit it, it had turned banana shaped and was not to useful, so in the bin it went and a new panel bought.
The A post is easier than the inner wing to fit but a door trial fit is essential. Height measured from the courtesy light switch to the door hinge, also lines up with the stay bolts although this is when I found that these were 5mm higher than the other side or the original. Once lined up tack it on and trial fit the door. A quick measure of the door opening to the A post hinges will check the angle is right, Mine was out by quite a bit so I cut of the tack welds on the front edge and knocked it forward. Trial fit of the door and it all seemed perfect (I expect that will change somehow when I fit the door finally!).
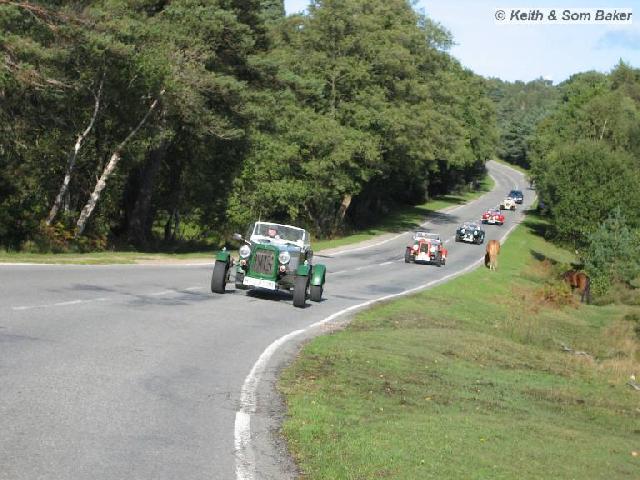
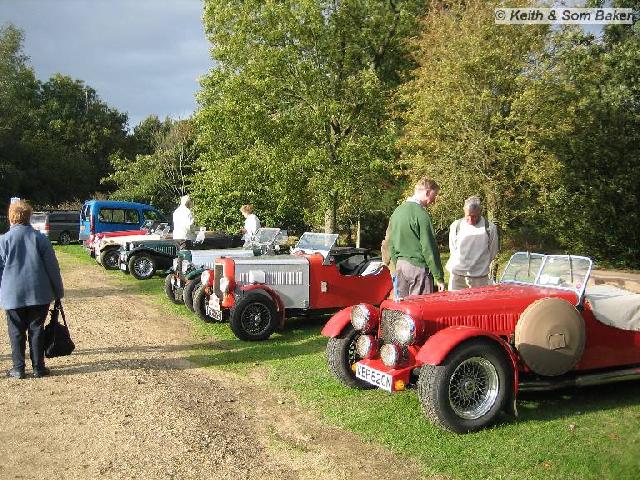
The NG visit to Exbury was very good. Nice run through the forest and a good turnout makes organising it really worthwhile. Thanks for supporting it.