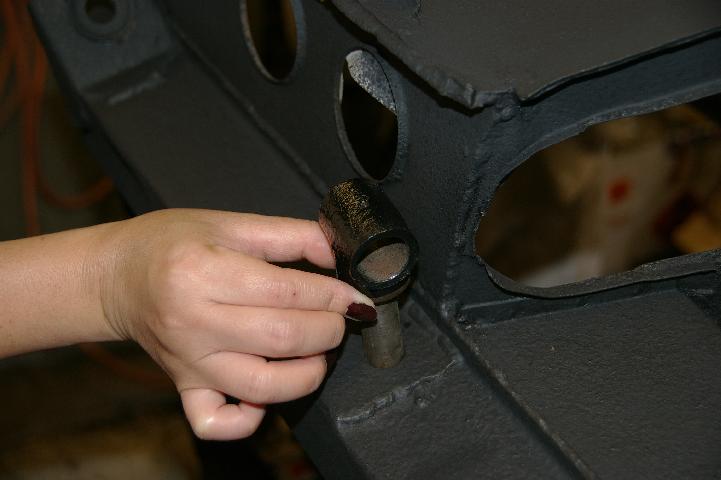
Picture of the first bit going back on the car (not my hand!). It’s the eye bolt – below fitted with poly bushes.
Now in the stage of cleaning of some remaining suspension bits. I had not previously done the dampers as I was going to use the telescopic shocks that I had. I may still do that on the rear if we keep the car, current talk of changing it for a traveller.
I want to get it on the wheels, hence get the suspension back so I can strip the paint. Undecided whether to just strip everything or do the front first followed by the rear. Garage is to small to get round the whole car for spraying.
Note to self: get a bigger garage – a single one is hard work.
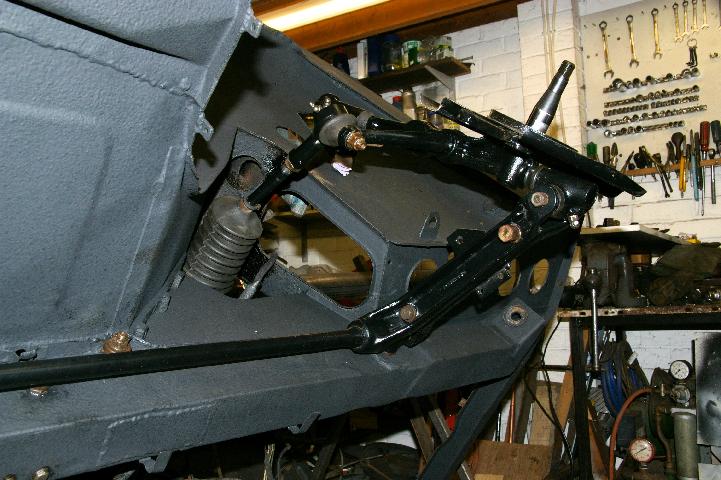
Getting round to adding more bits to the Mog. Here is the front offside suspension (less hub – see elsewhere for details).
I put back the steering rack, master cylinder, fuel and brake pipe that run underneath.
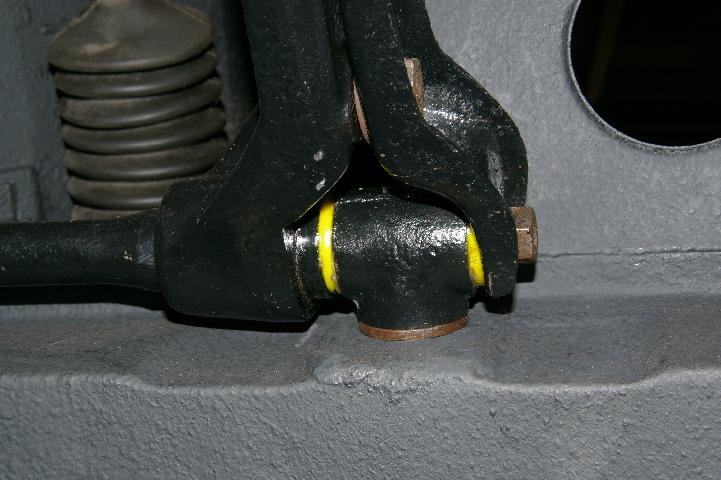
Not sure if I got the ride height correct but it is close to what it was before so should only need fine adjustment with the rear adjuster plate.
The poly bushes for the eye bolt went in ok – although they still get squashed a lot so I added a washer between the arms (you can just see it in the picture).
When fitting the bushes it is easy to get the front one squashed to much. This is because the rear arm slides down the splines and so to bring the arms together the front one squashes.
Normal advice is to remove the tension on the arms, however this doesn’t really work that well as the arm often will not slide on the splines (even a nice clean one like this didn’t). My advice is to help it slide forward using a block of wood and hammer.
Other advice is to tighten it down when the suspension is under load to stop the rubber bushes tearing. This helps for rubber bushes but is not required here (hopefully) as the poly bushes can be greased so the pin will slip round freely.