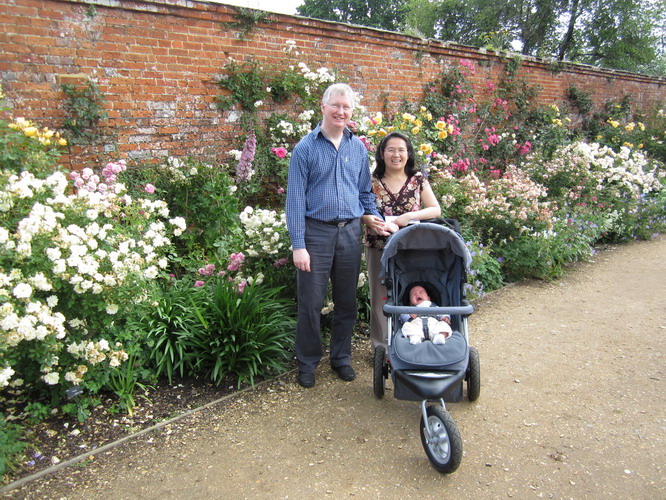
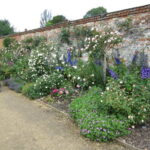
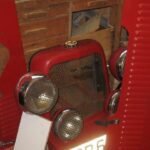
Eric’s outing to Mottisfont. Rained a bit and not sure if Eric appreciated the gardens 🙂


Baker family blog
Eric’s outing to Mottisfont. Rained a bit and not sure if Eric appreciated the gardens 🙂


Some pictures of Eric…


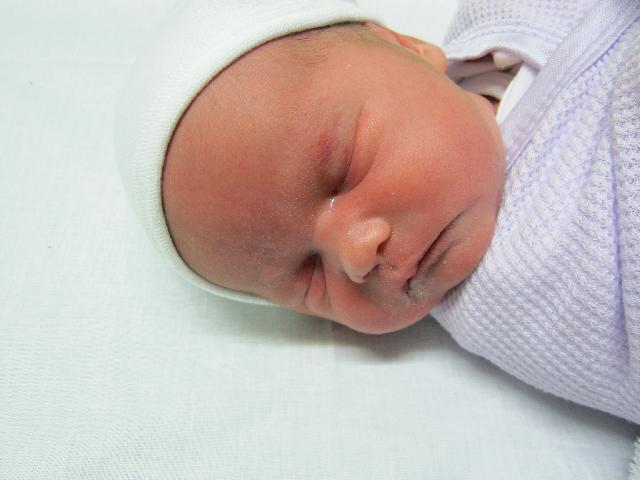
Eric, just 3 hours old. We are recovering from the trauma but he seems to have not realised the stress he caused. The first of many.
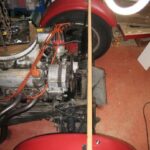
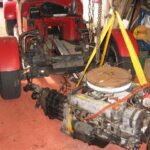
OK – here is a short set of pics as I took the engine out. Probably your NG was put together differently.
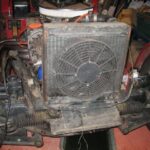
The big pain is getting the radiator cowling aligned so the bonnet gaps are nice. To simplify this I have tapped some locating bolts through the cowling bracket to the radiator brackets. This is because in building the car the holes get enlarged and elongated to get the gaps right so once in place drill and tap some 4BA (showing my age there!) bolts just so the exact position can be found again.
When I built this NG (a long time ago!) I did try and make the cowling removeable as a unit with the head and spot lights, horns and wiring sub-harness that has a multi-plug. You can see this as the white bit resting on the chassis to the left of the rad.
To realign the radiator brackets I put a bit of wood across the car and some tape on the wings see pic 5. Note that my wings seem to have moved so they need tweaking later!
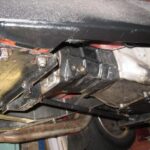
Not much else really just undo anything that joins to the engine. I forget the temperature sender capillary pipe and bent it a bit, it then broke off. Also when removing it from the manifold it broke in half and the end bit was left in the manifold. A bit of careful wiggling got it out without loosing it inside.
I’d recommend not leaving that bit connected as a recon gauge is about 60 pounds.
Now that we have moved house we have a new house fixing project !
We are now in the process of fixing all the emergency bits before the winter sets in. The previous owners were old and didn’t do much maintenance, just a few poorly installed shelves.
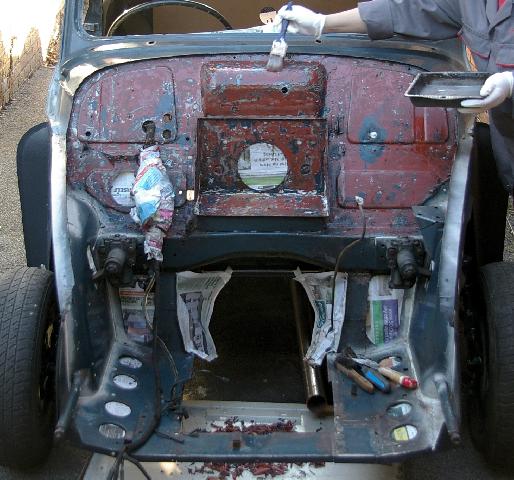
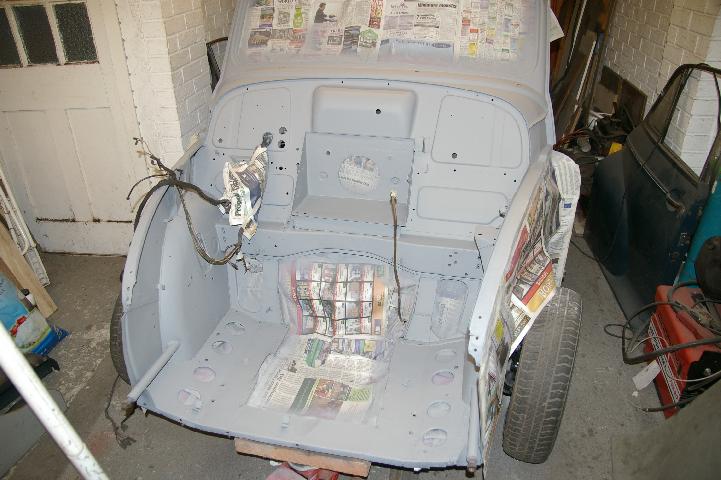
Paint stripping started, unfortunately not far enough due to bad weather and the delays caused by disc brake conversion problems. Lots of hard work stripping the paint but finally got to the metal.
The rust was tackled with the wire cup brush on the angle grinder and the metal scuffed up with a surface prep disc on the angle grinder. This disc is a kind of hard scourer thing which gets off any odd stuff and sands the surface to about P180. I then went over the metal with P320. Although where the wire cup brush had scratched the surface I had to use P120 first. Avoid the cup brush on good metal as it does more damage than good.
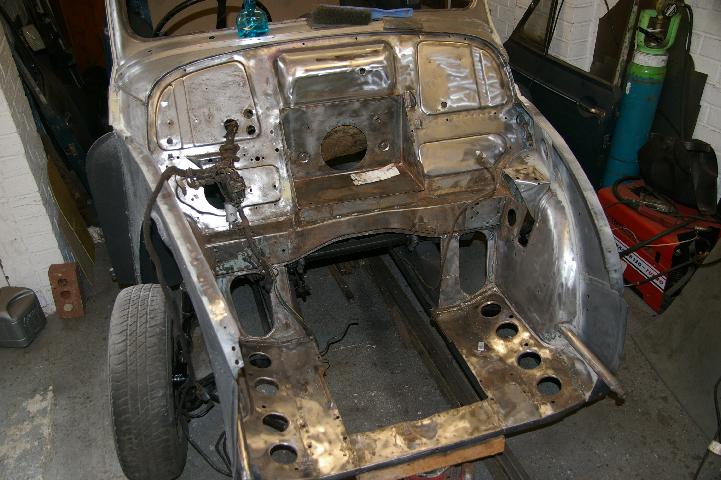
The zinc primer didn’t spray out my old gun, I guess because it was not thinned out as much as normal. The old gun has no pattern adjust. The new DeVilbiss sprayed it fairly well but caused a lot of atomisation and mist even with the pressure down and the needle out to max (to the point where the knob fell off!
Next seam seal and touch in a few bits that were difficult to reach with such a large gun.
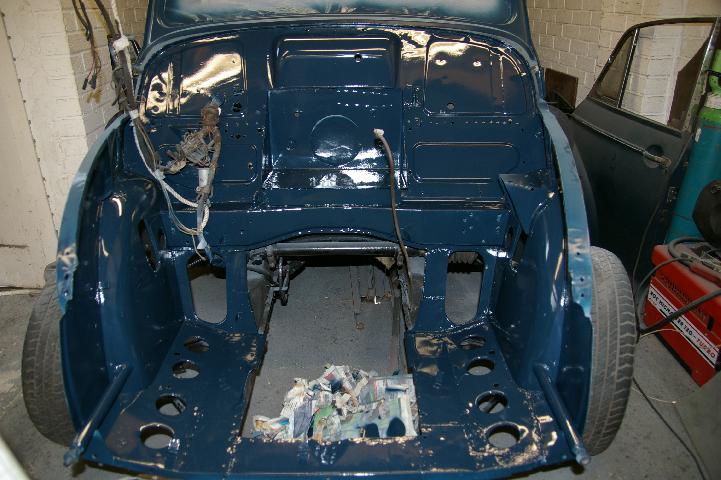
Engine bay painted with top coat. I have put on what I think is the minimum of 4 coats (although some is thinner). The final finish is ok with a little orange peel in some areas that are difficult to cover without over spraying. The minimum of cutting back would give a good finish but I probably won’t do that for now.
Amazing how those elusive dents seem to jump out once there is a shiny finish on it. However once the Engine bay is filled with engine bits and dirt then paint and other faults will go un-noticed and we will think “was it worth the effort?”!!
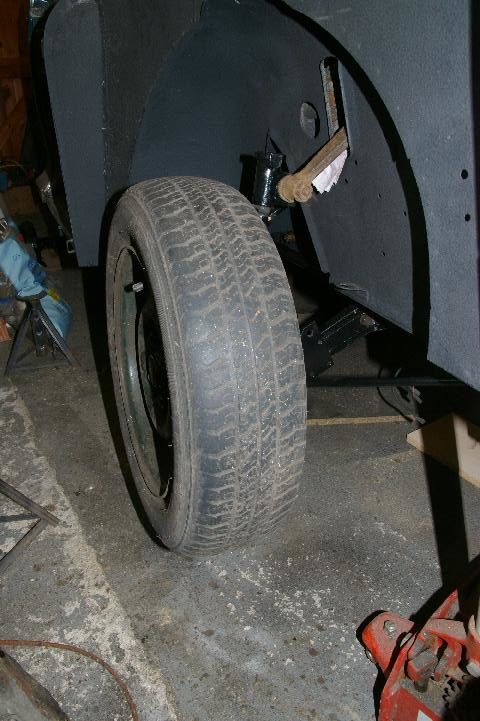
After a bit of a delay while I sorted out the front disc brake Marina hub conversion (see this article on the whole experience) I now have wheels on each corner.
The Mog is now off the roasting spit and on it wheels.