
Well, Eric’s been chewing his toys extra hard recently and now look what’s arriving.
Baker family blog
Well, Eric’s been chewing his toys extra hard recently and now look what’s arriving.
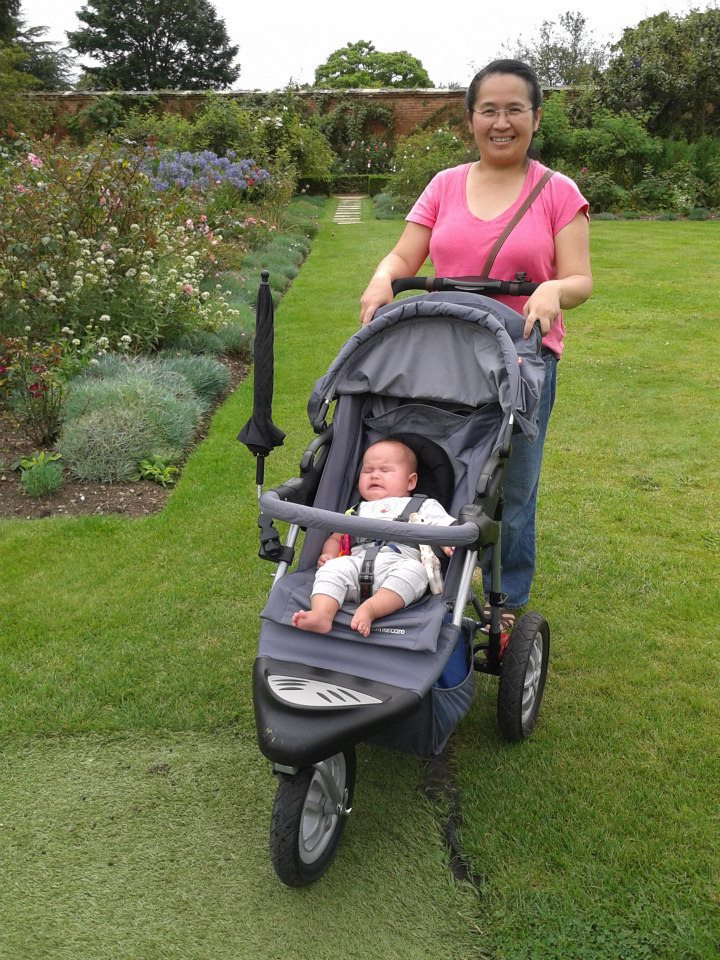


It was such a lovely day out today. We got a bit of sunshine and the temperature just nice, not too hot or cold. Mummy and Gloria’s mum(Sonya) had pack lunch, sat on the ground by the side of the stream. I think I will go back there again and I will ask daddy to go with me next time too.


These are some of my favourite toys that keep me quiet for mum and dad. I have tons of toys but there are the few that are really great. As a growing baby boy I feel it’s my responsibility to inform others like me what are good toy so our old people get us the right toys.
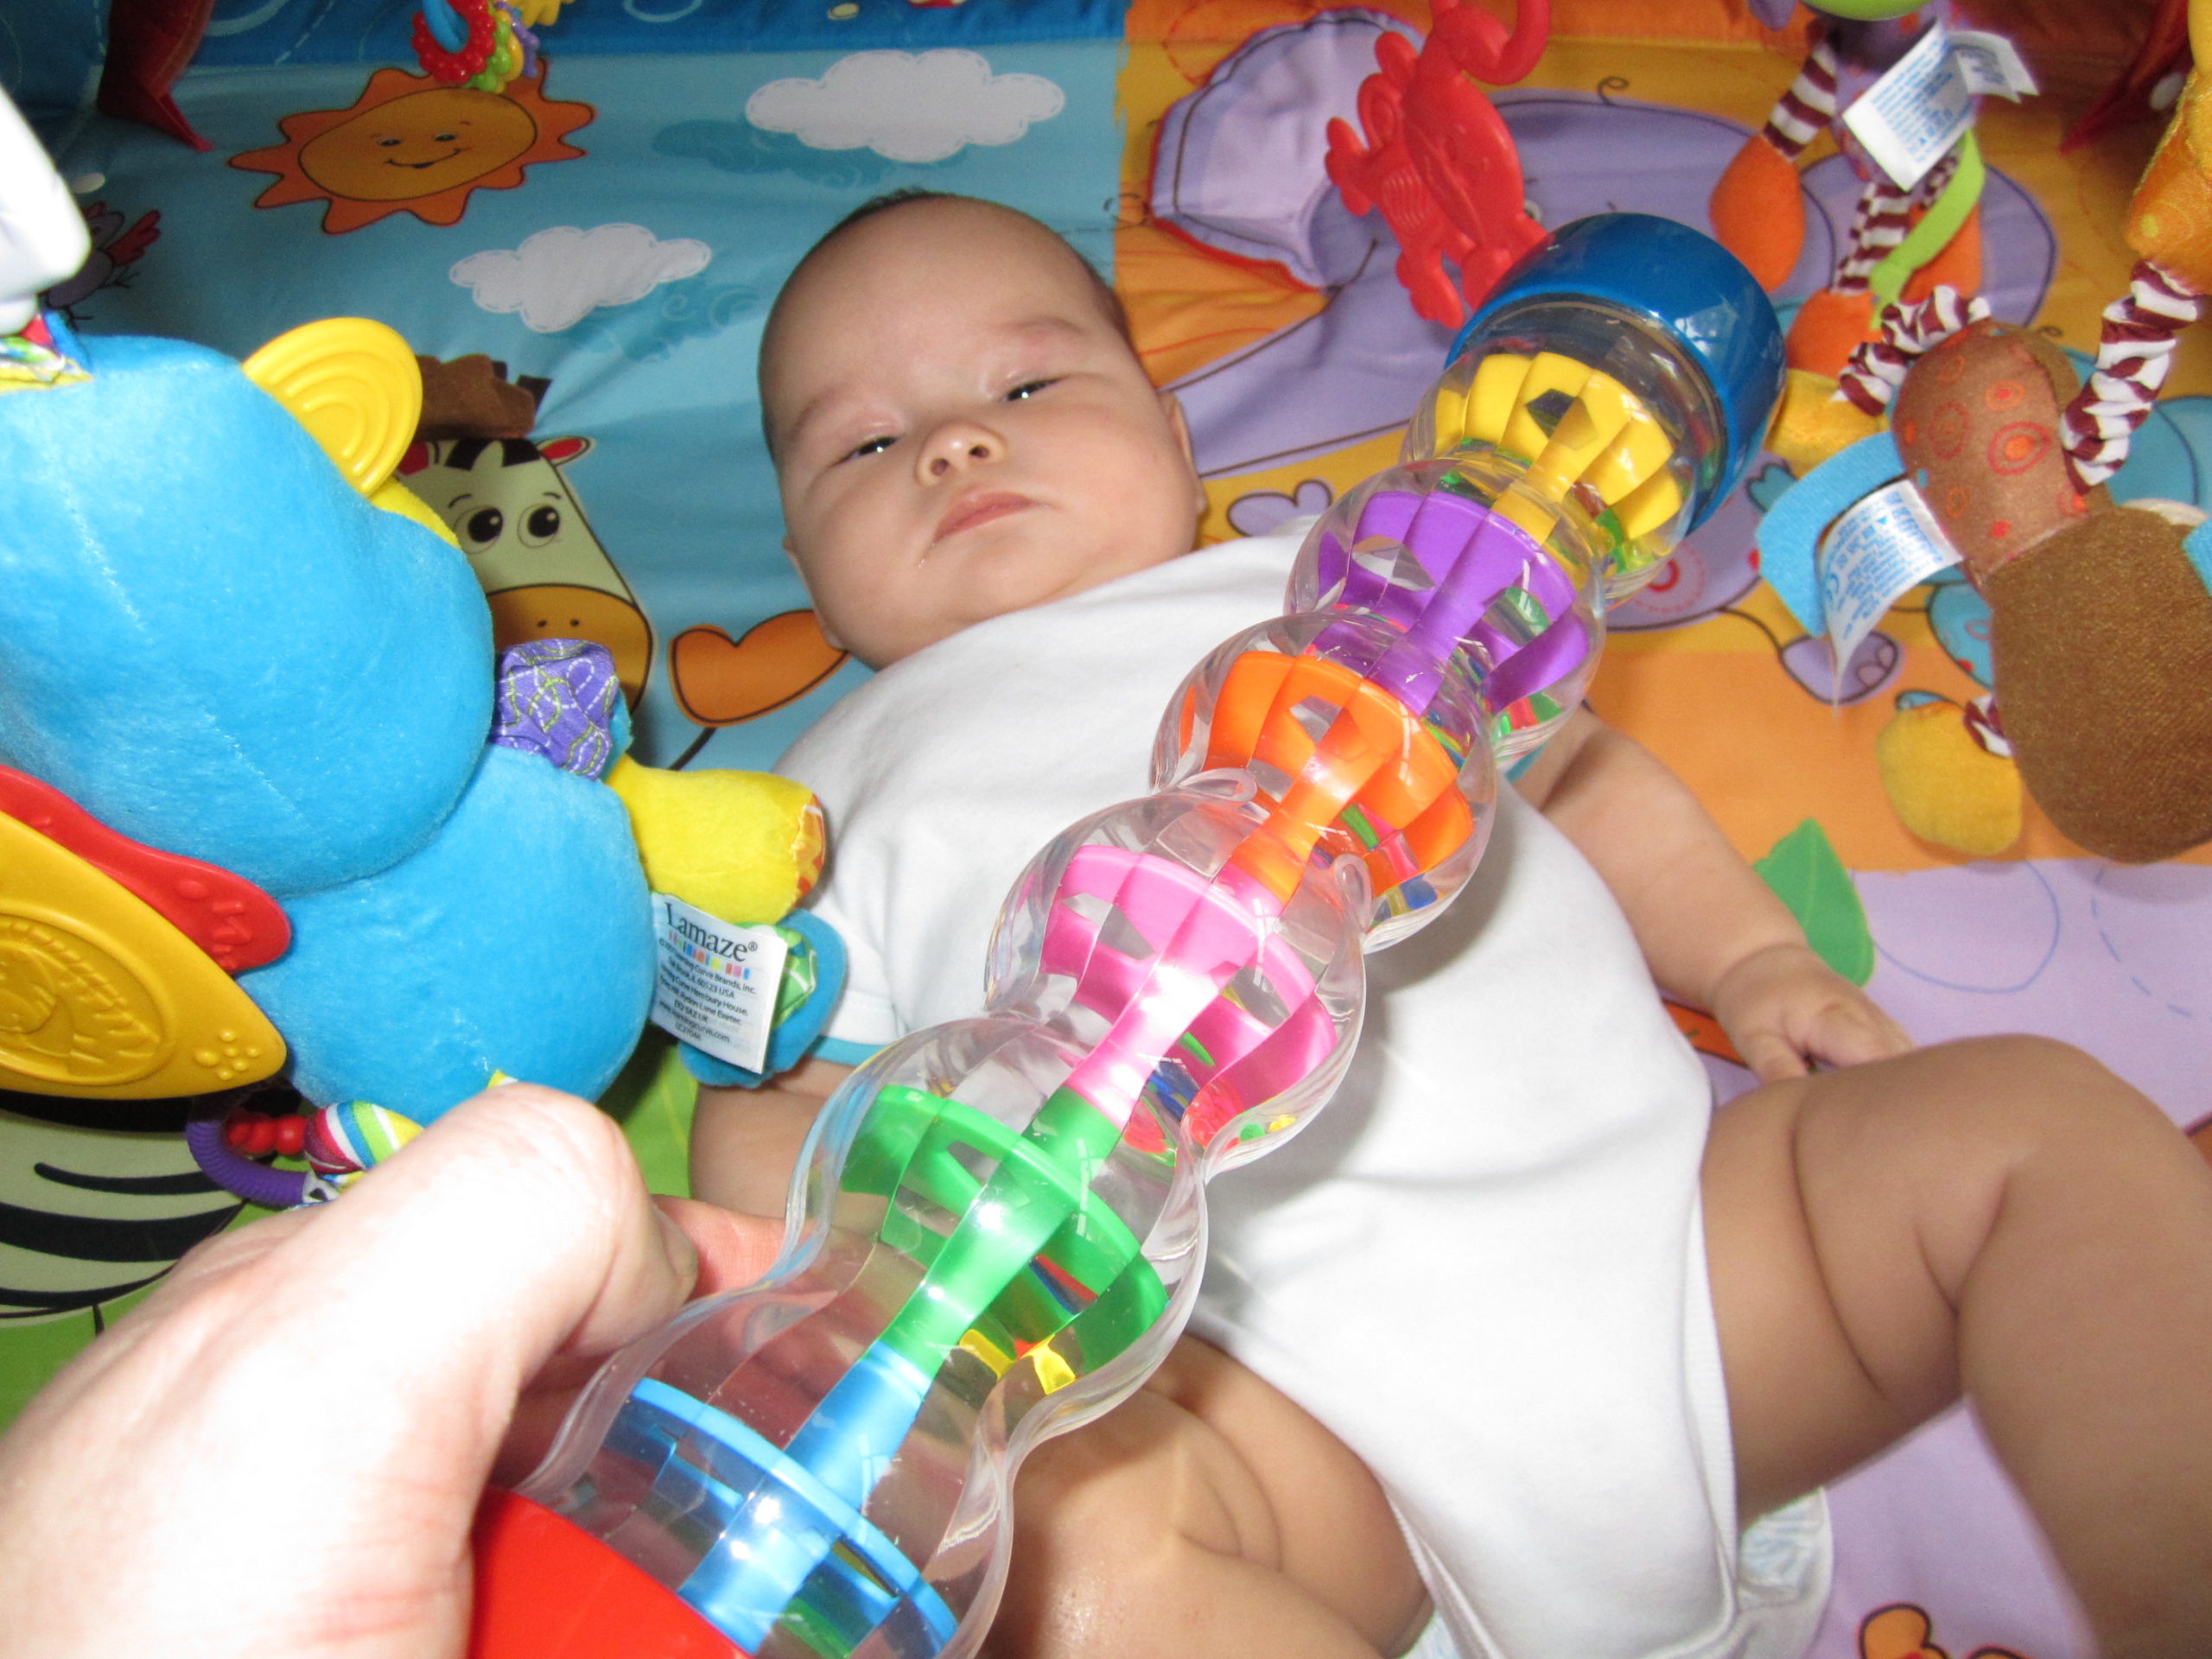
At 19 weeks old.
Squeeky giraffe – took a while for Eric to warm to this toy due to it’s rubbery texture, however it’s still a popular toy even at 11 months – great for chewing when teeth are coming through. It’s quite flexible so can easily be bent and squashed with acompanying squeeks.
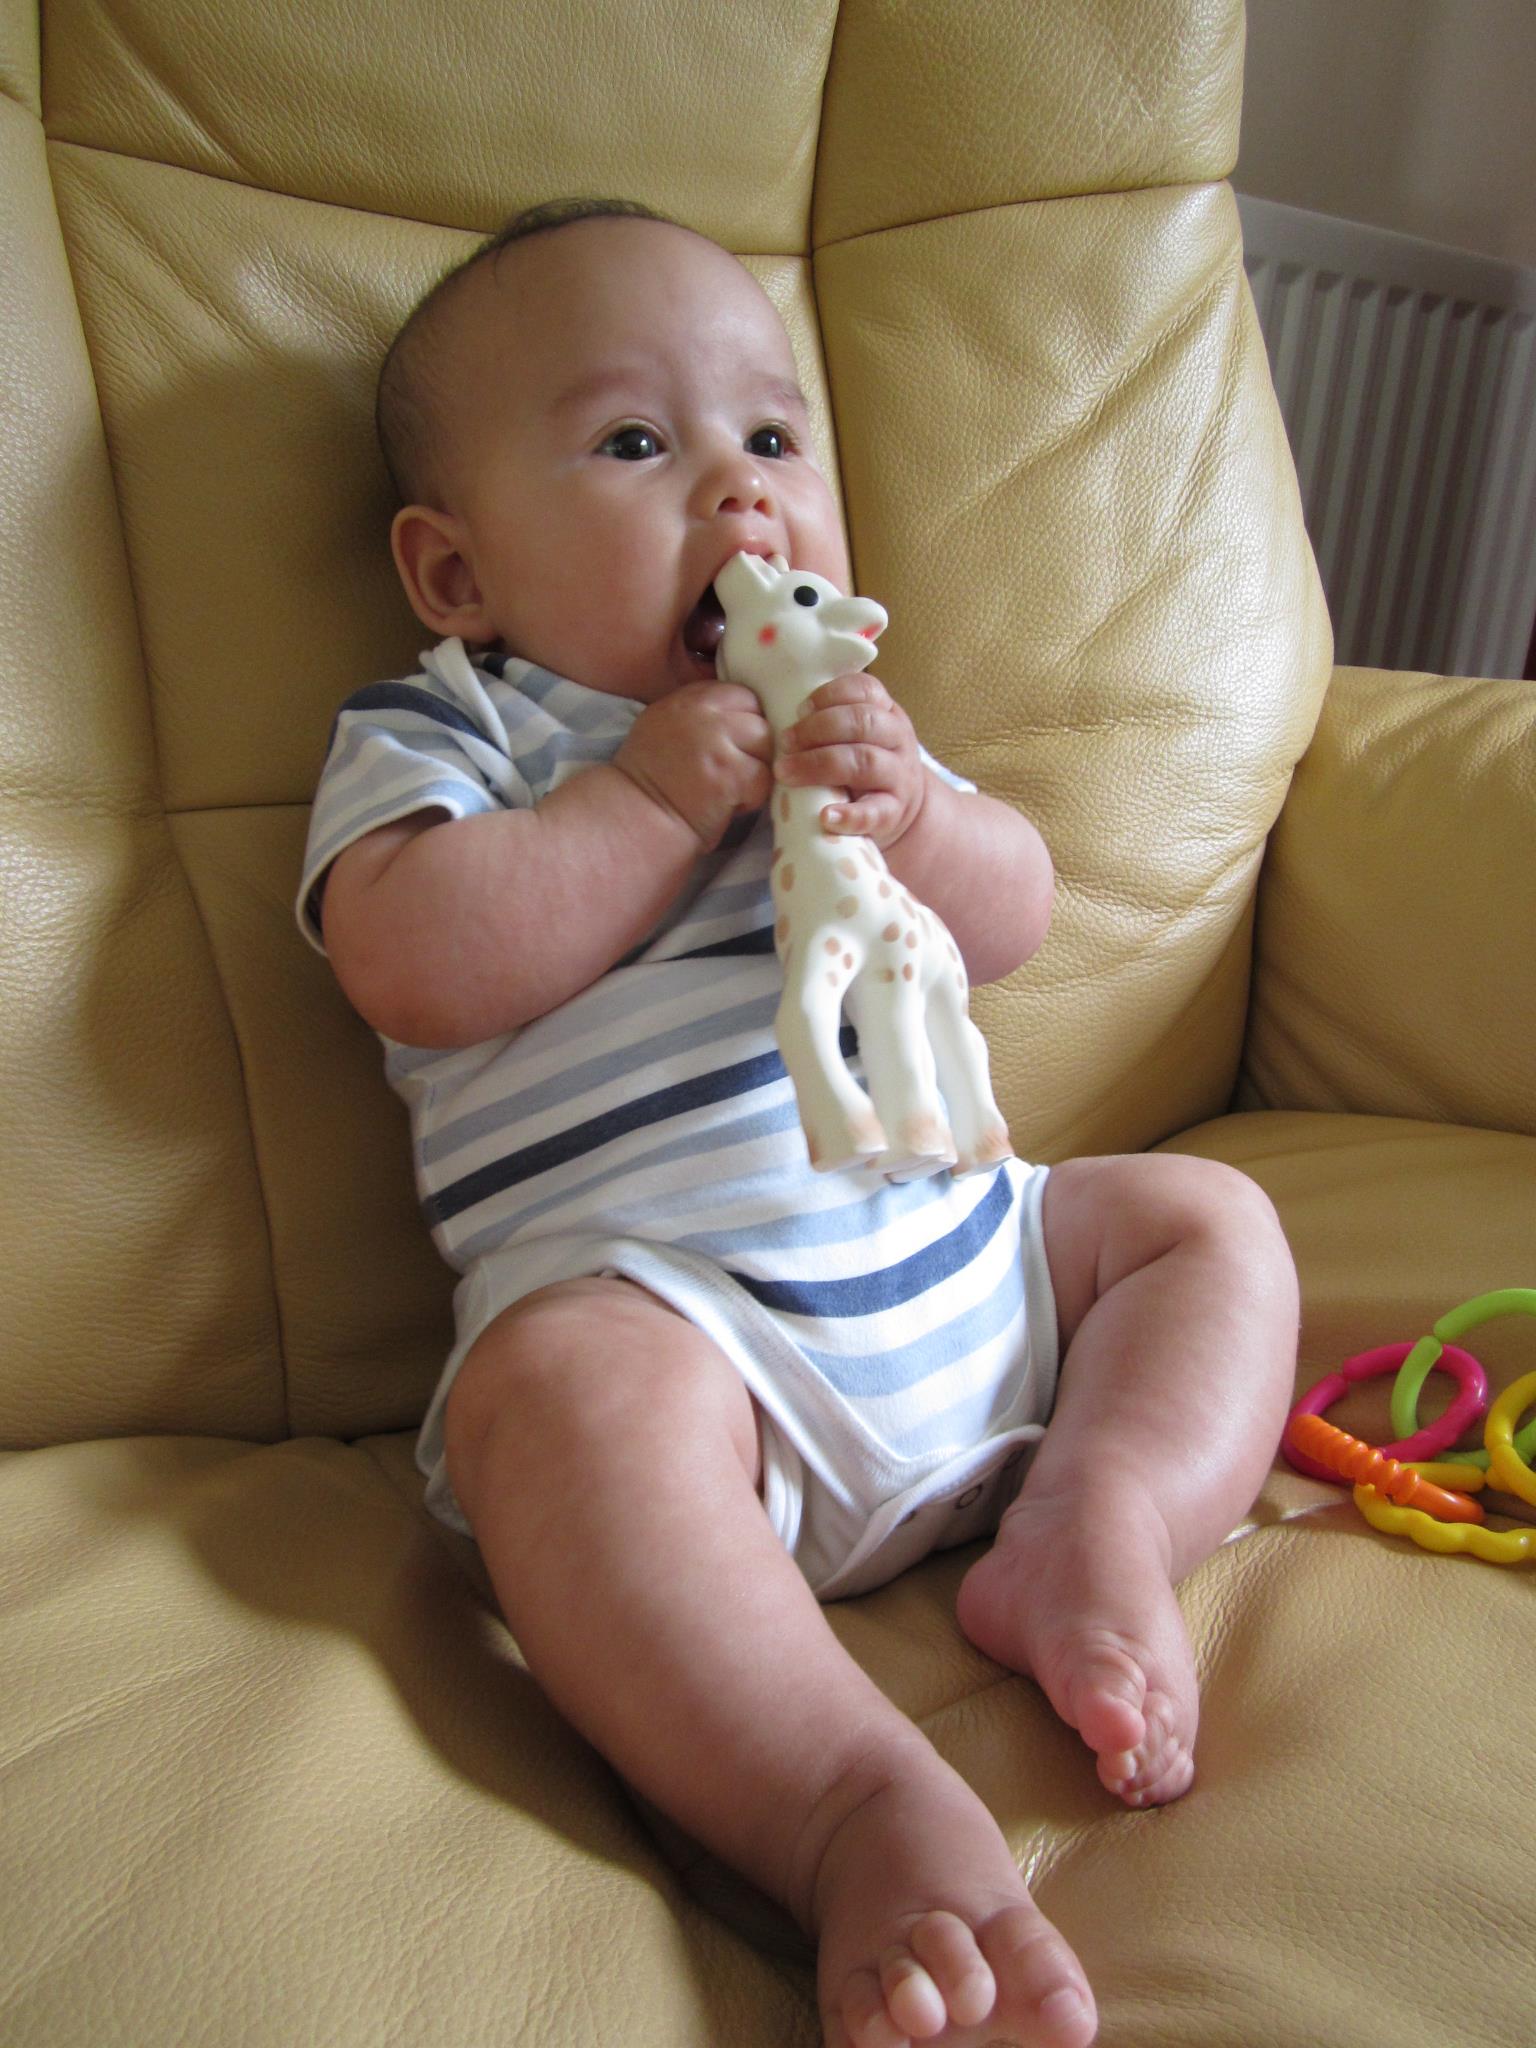
At 6 Months
These plastic chains kept Eric quiet for a long time from just a few weeks old onwards. Only at 11 months is the interest tailing off. The must represent the best value toy ever. We’ve hooked them onto the buggy straps and hooked other toys on the end they seem to be endless fun. This goes to show that to a baby the toy can be really simple (cheap!) to get lots of enjoyment from it.
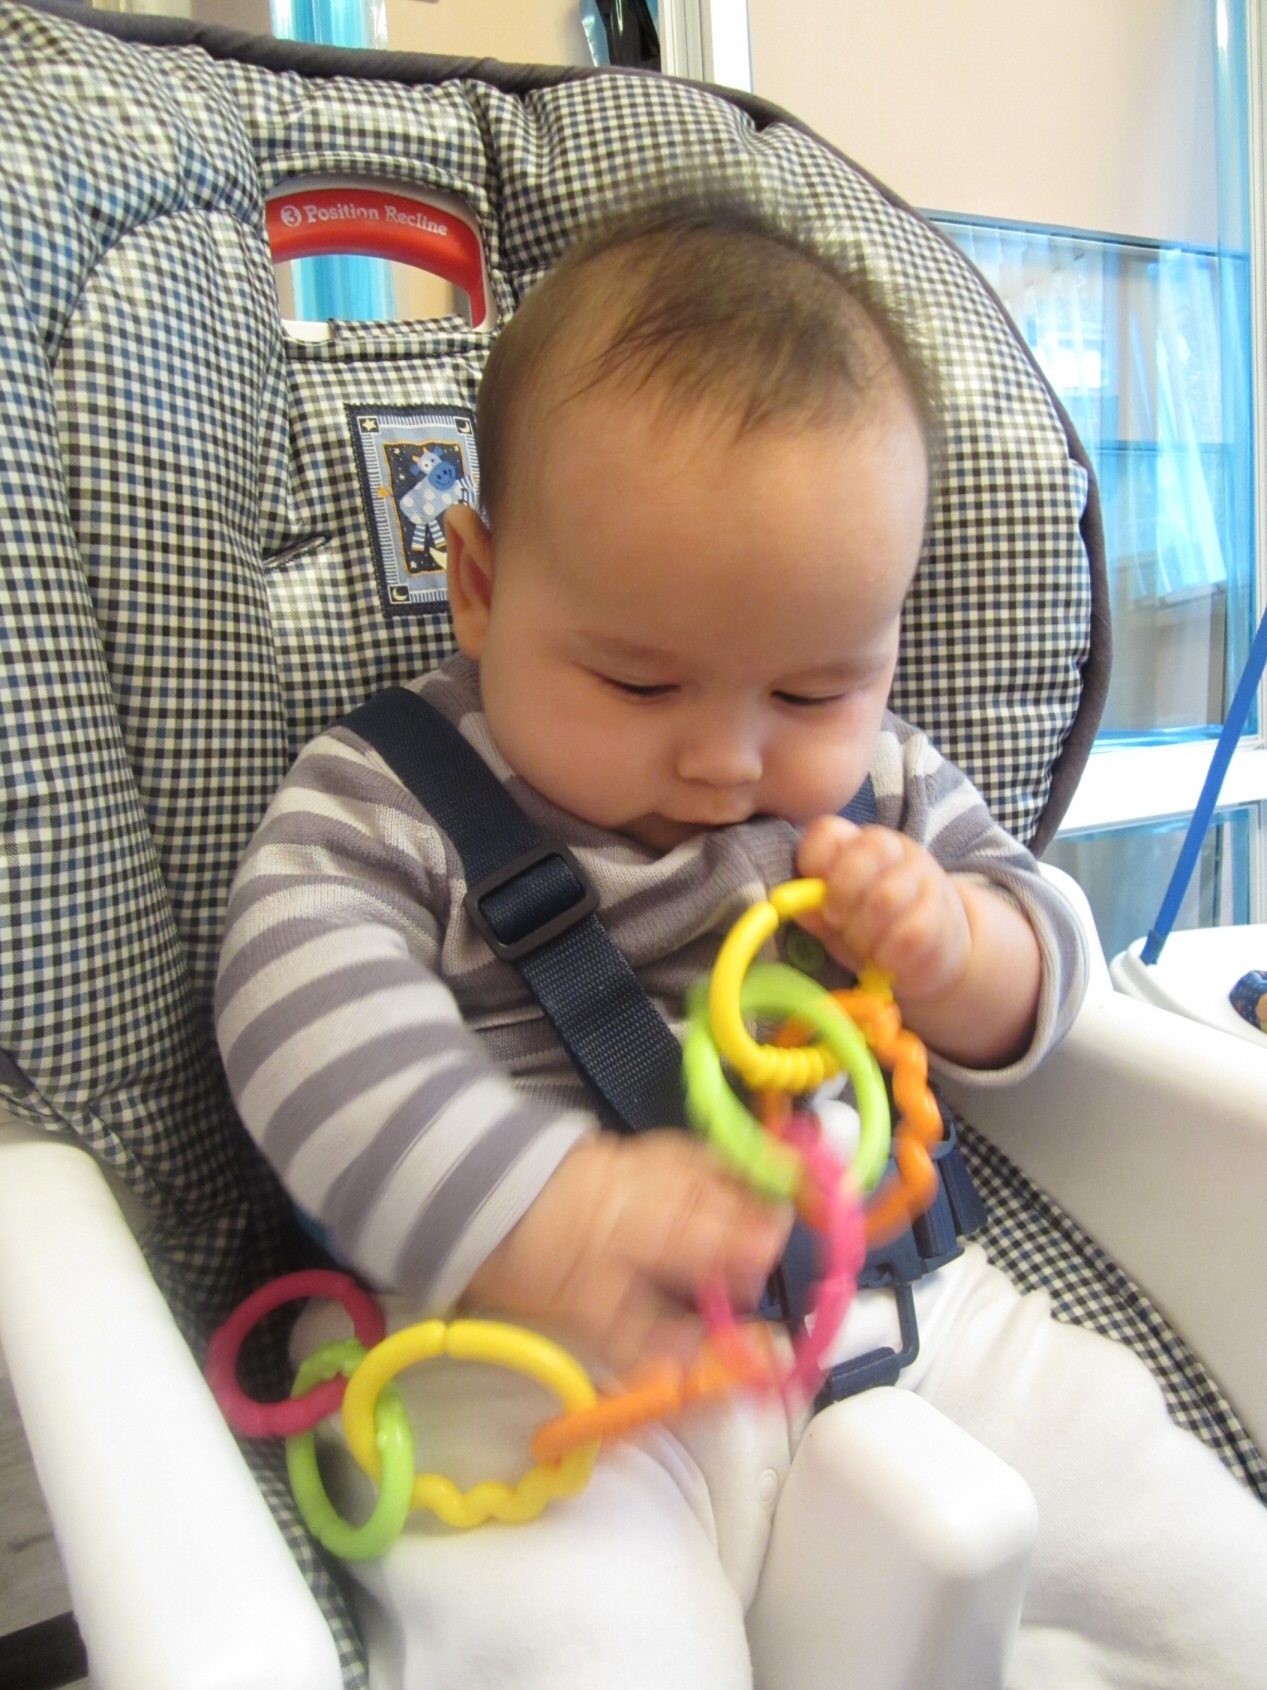
At 7 Months.
Started bouncing int this bouncer at about 4 months old and still bouncing – so good value for money.
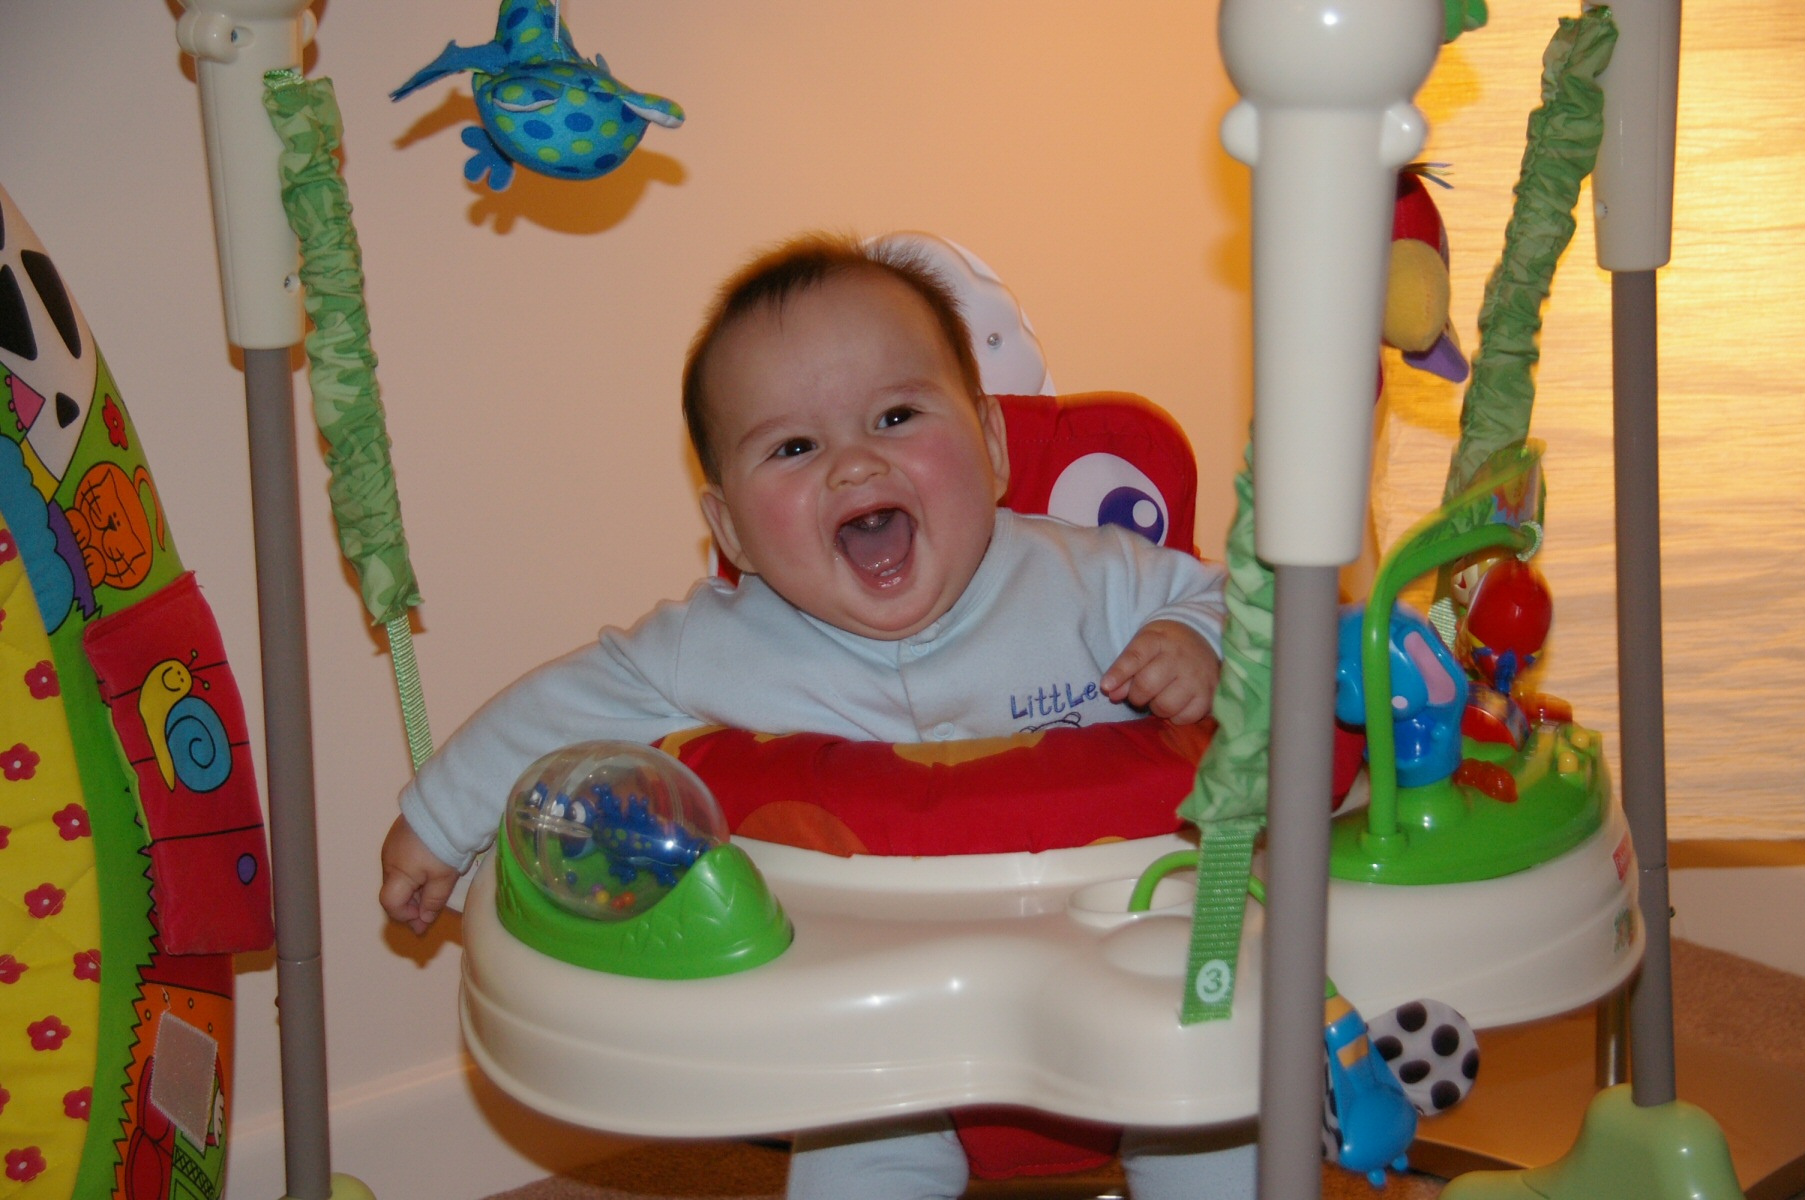
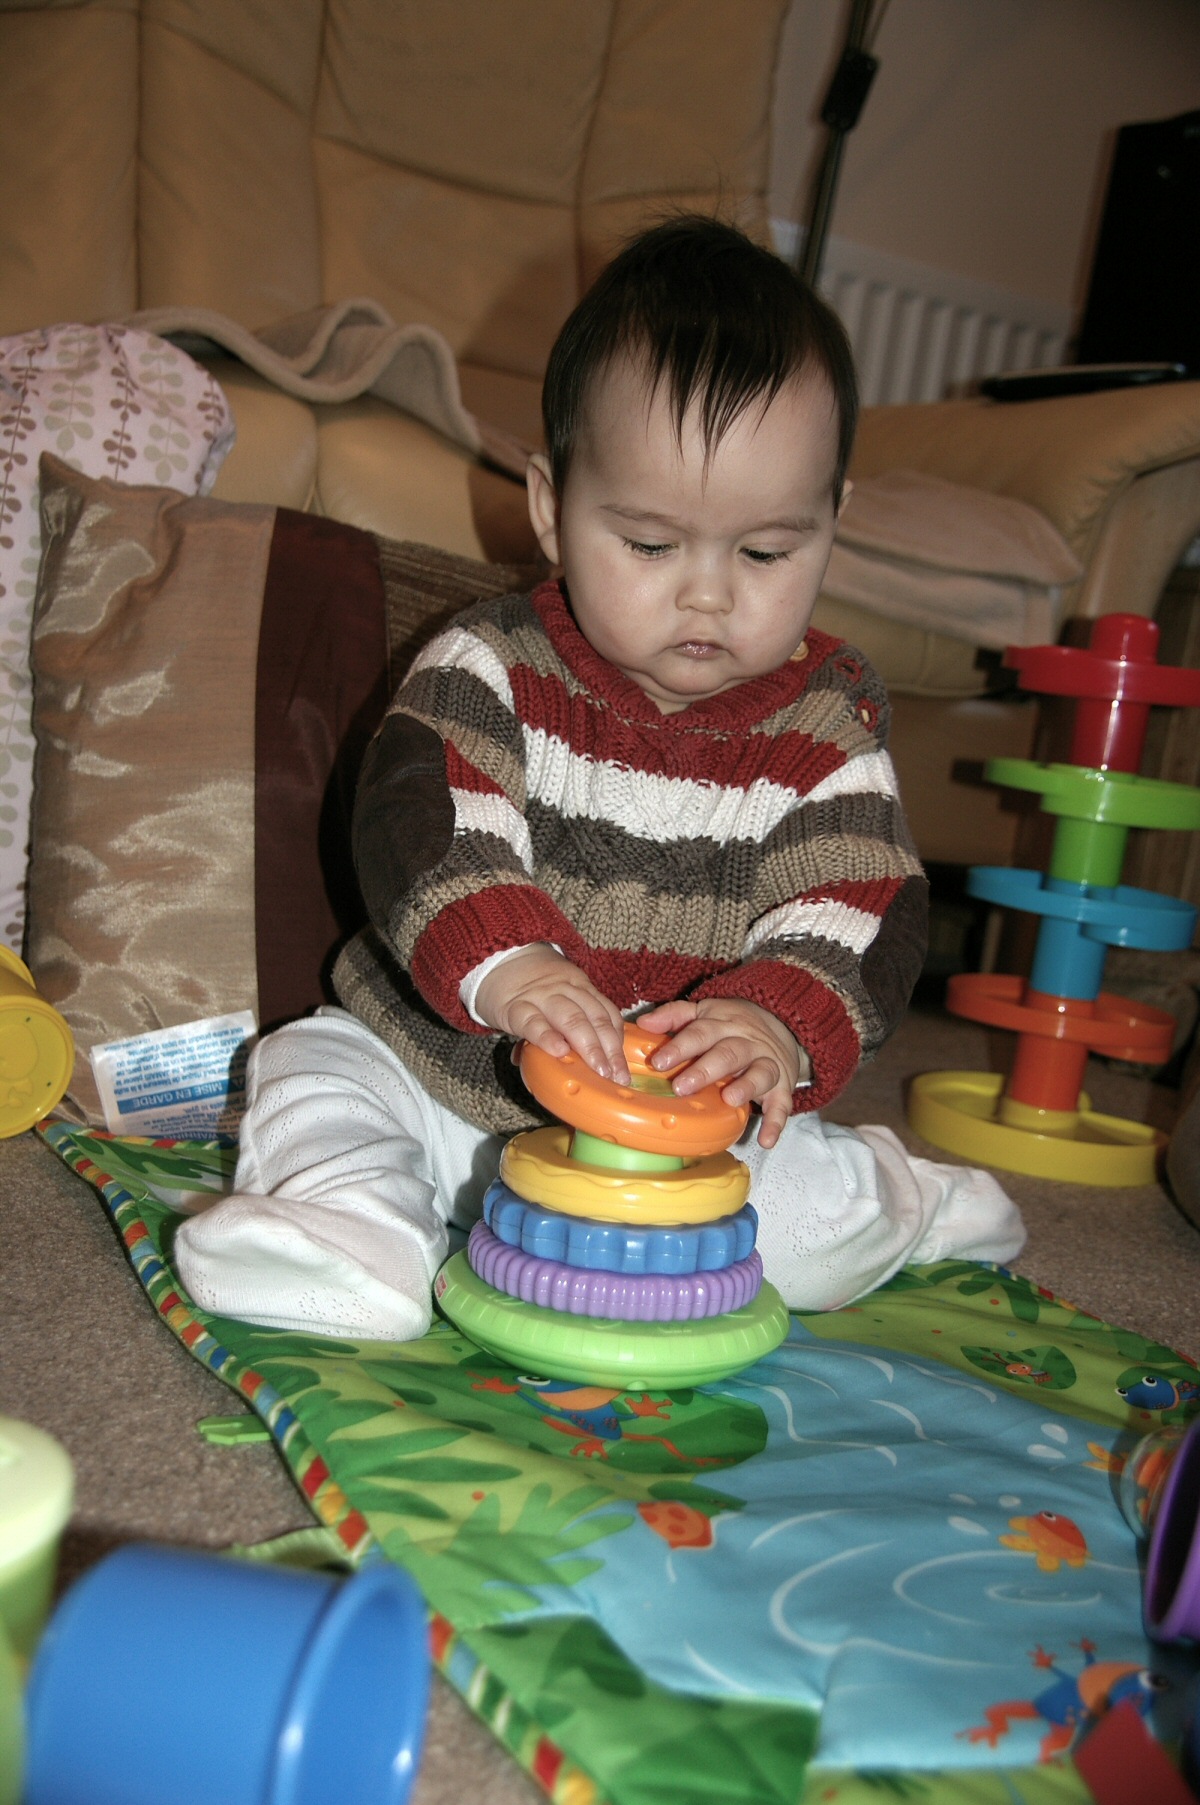
At 8 months
Stacking rings – these came before the stacking cups and have been fun for ages. The rings get put onto anything, taken off, put back on. Hold out a finger and you will end up with a ring stuck on it. They have some beads in so are great early on a rattles and the shape around the edge gives different sounds when banging and sliding them together. 10/10 toy.
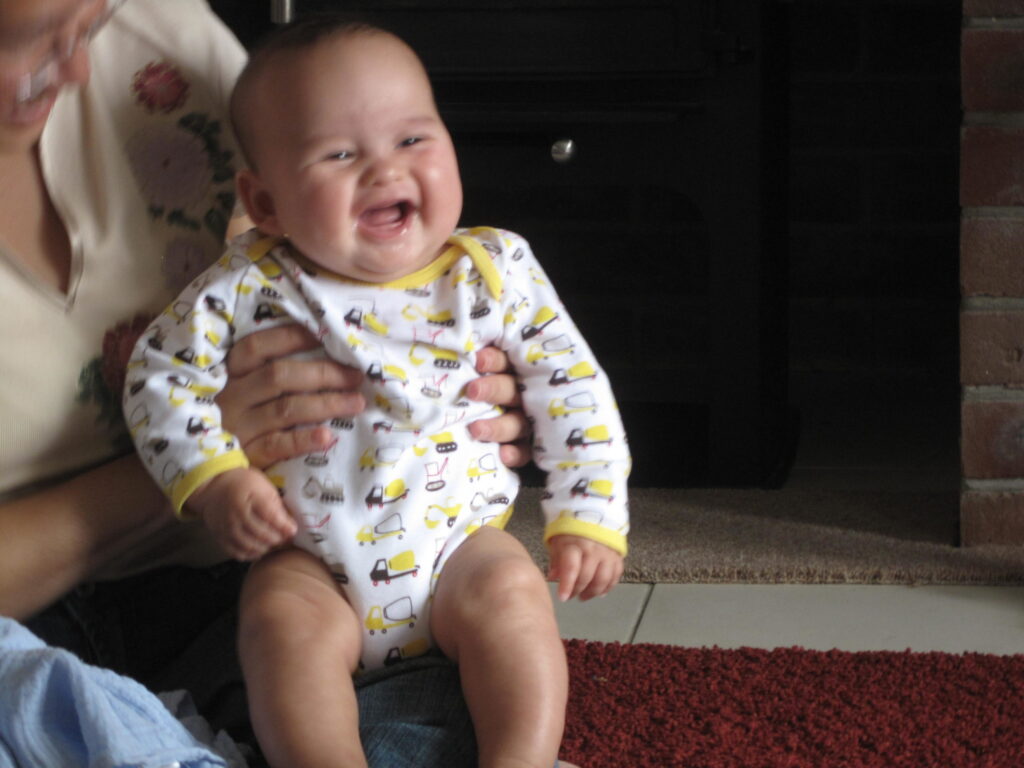
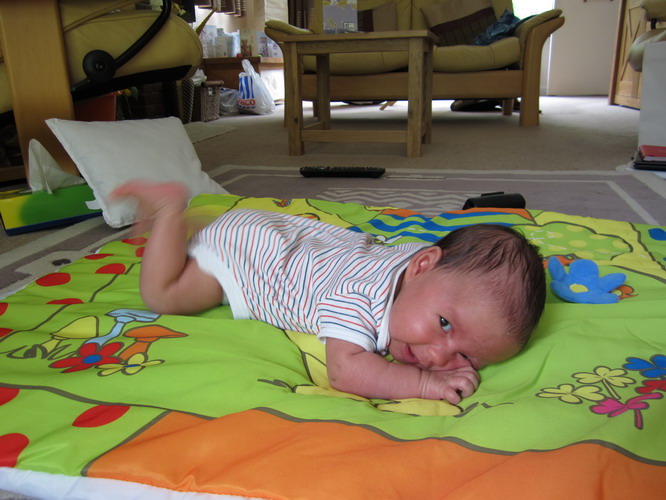
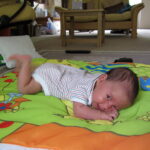
Wow – lots of smiles as Eric discovers this new expression. He is enjoying some tummy time on the play mat and bouncing in his bouncy chair. What a fun time – eh!
Previously we had very brief smiles but now they are much longer and repeated often when he’s happy. We also get a bit of a squeek and expect giggles soon 😀


Eric when to see his pals in Eastleigh, one of which is gorgeous Gloria. Eric thinks she’s a babe but just keeps falling asleep – you need to work on the charm there son!
