Completing the bathroom, mainly the shower, rest of tiling, floor, door and heating.
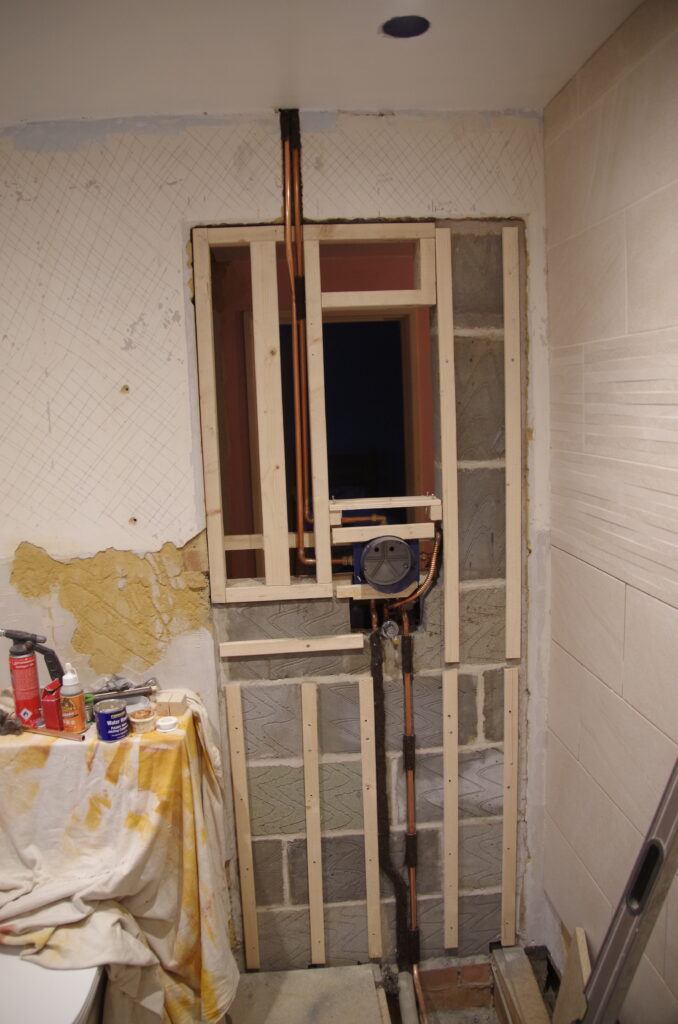
Old door blocked up and pipes added for shower. Grohe in wall unit which is very well made, easy to fit and test as you go. Recommend the unit but tech help on a query I had was useless.
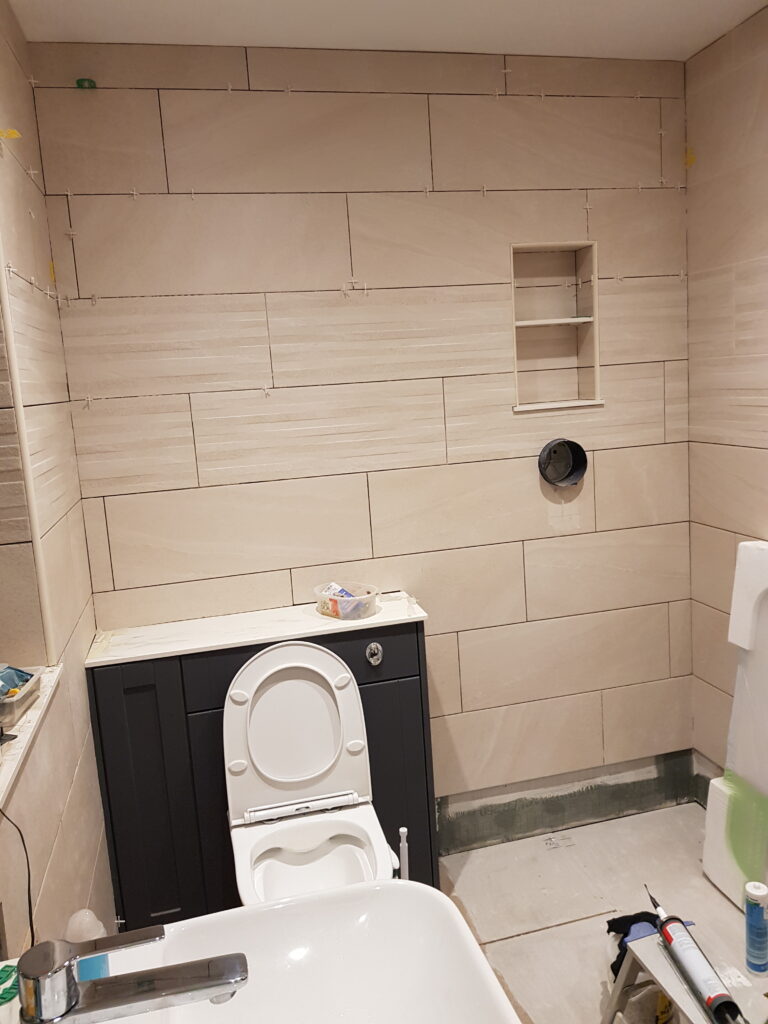
As I was filling a doorway I went for a cement tile backer board and tanking. Left edge is outside the shower area hence not taped. Added shower niche to avoid having another dreadful hanging basket of shower clutter!!
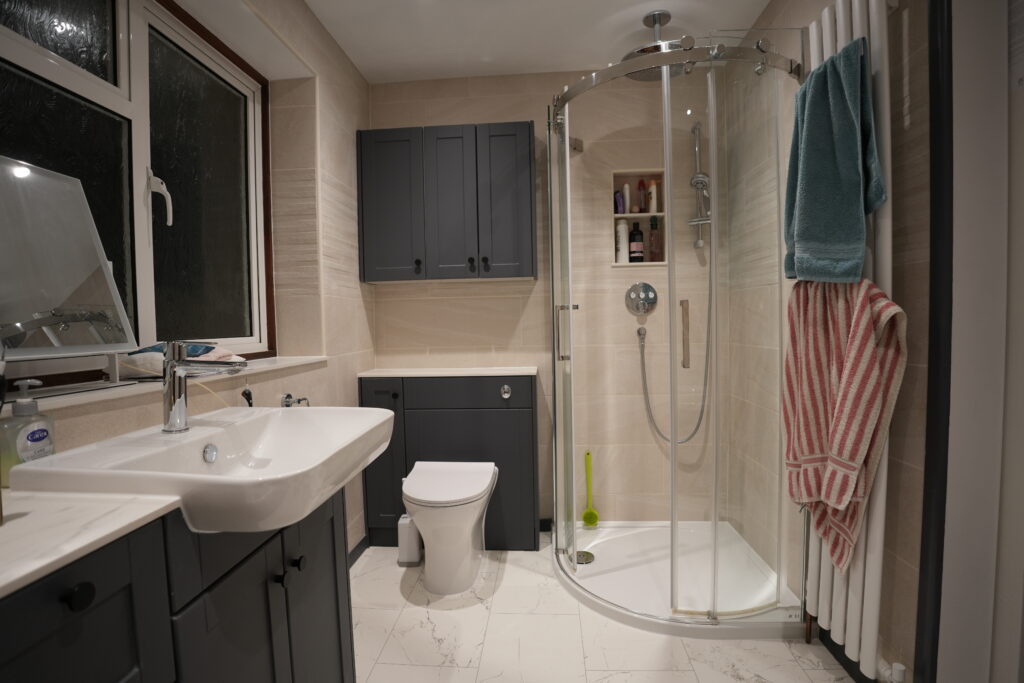
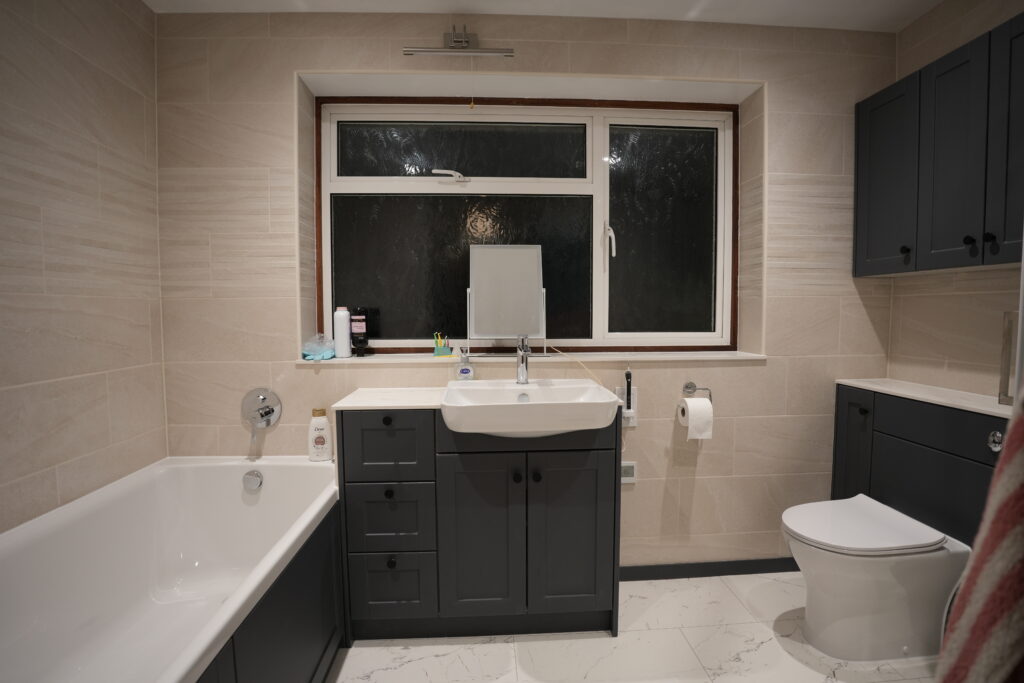
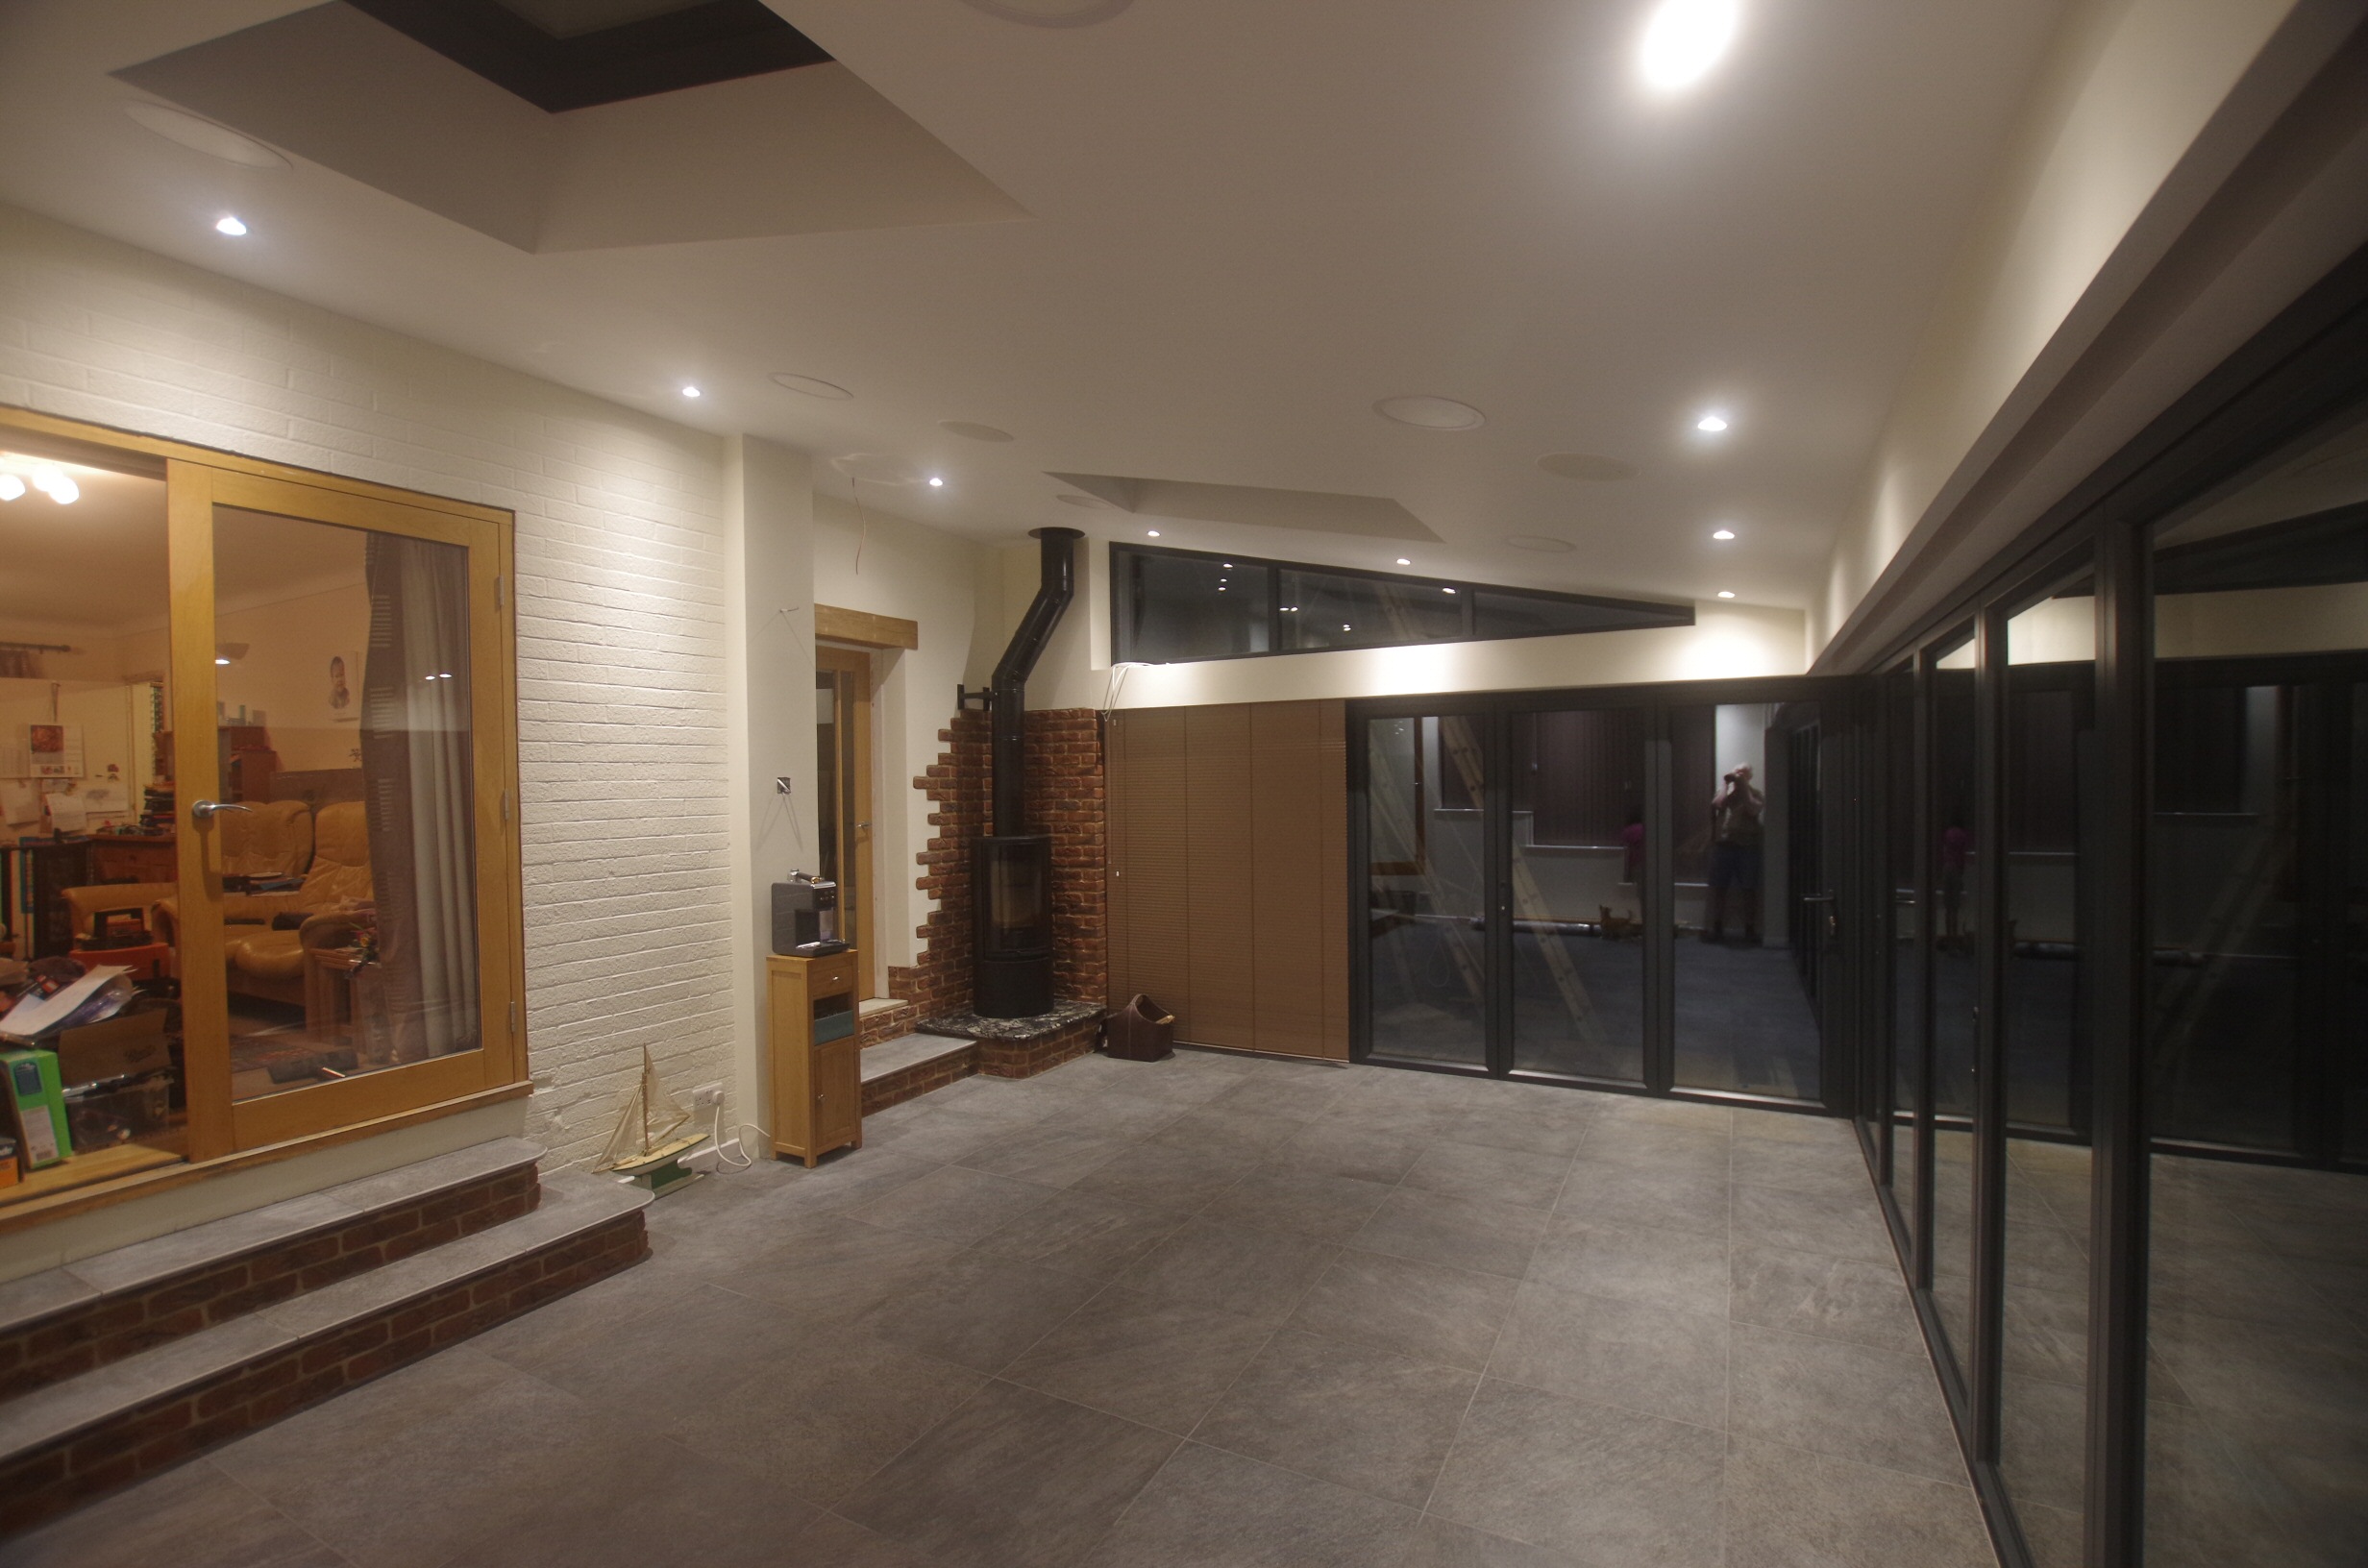
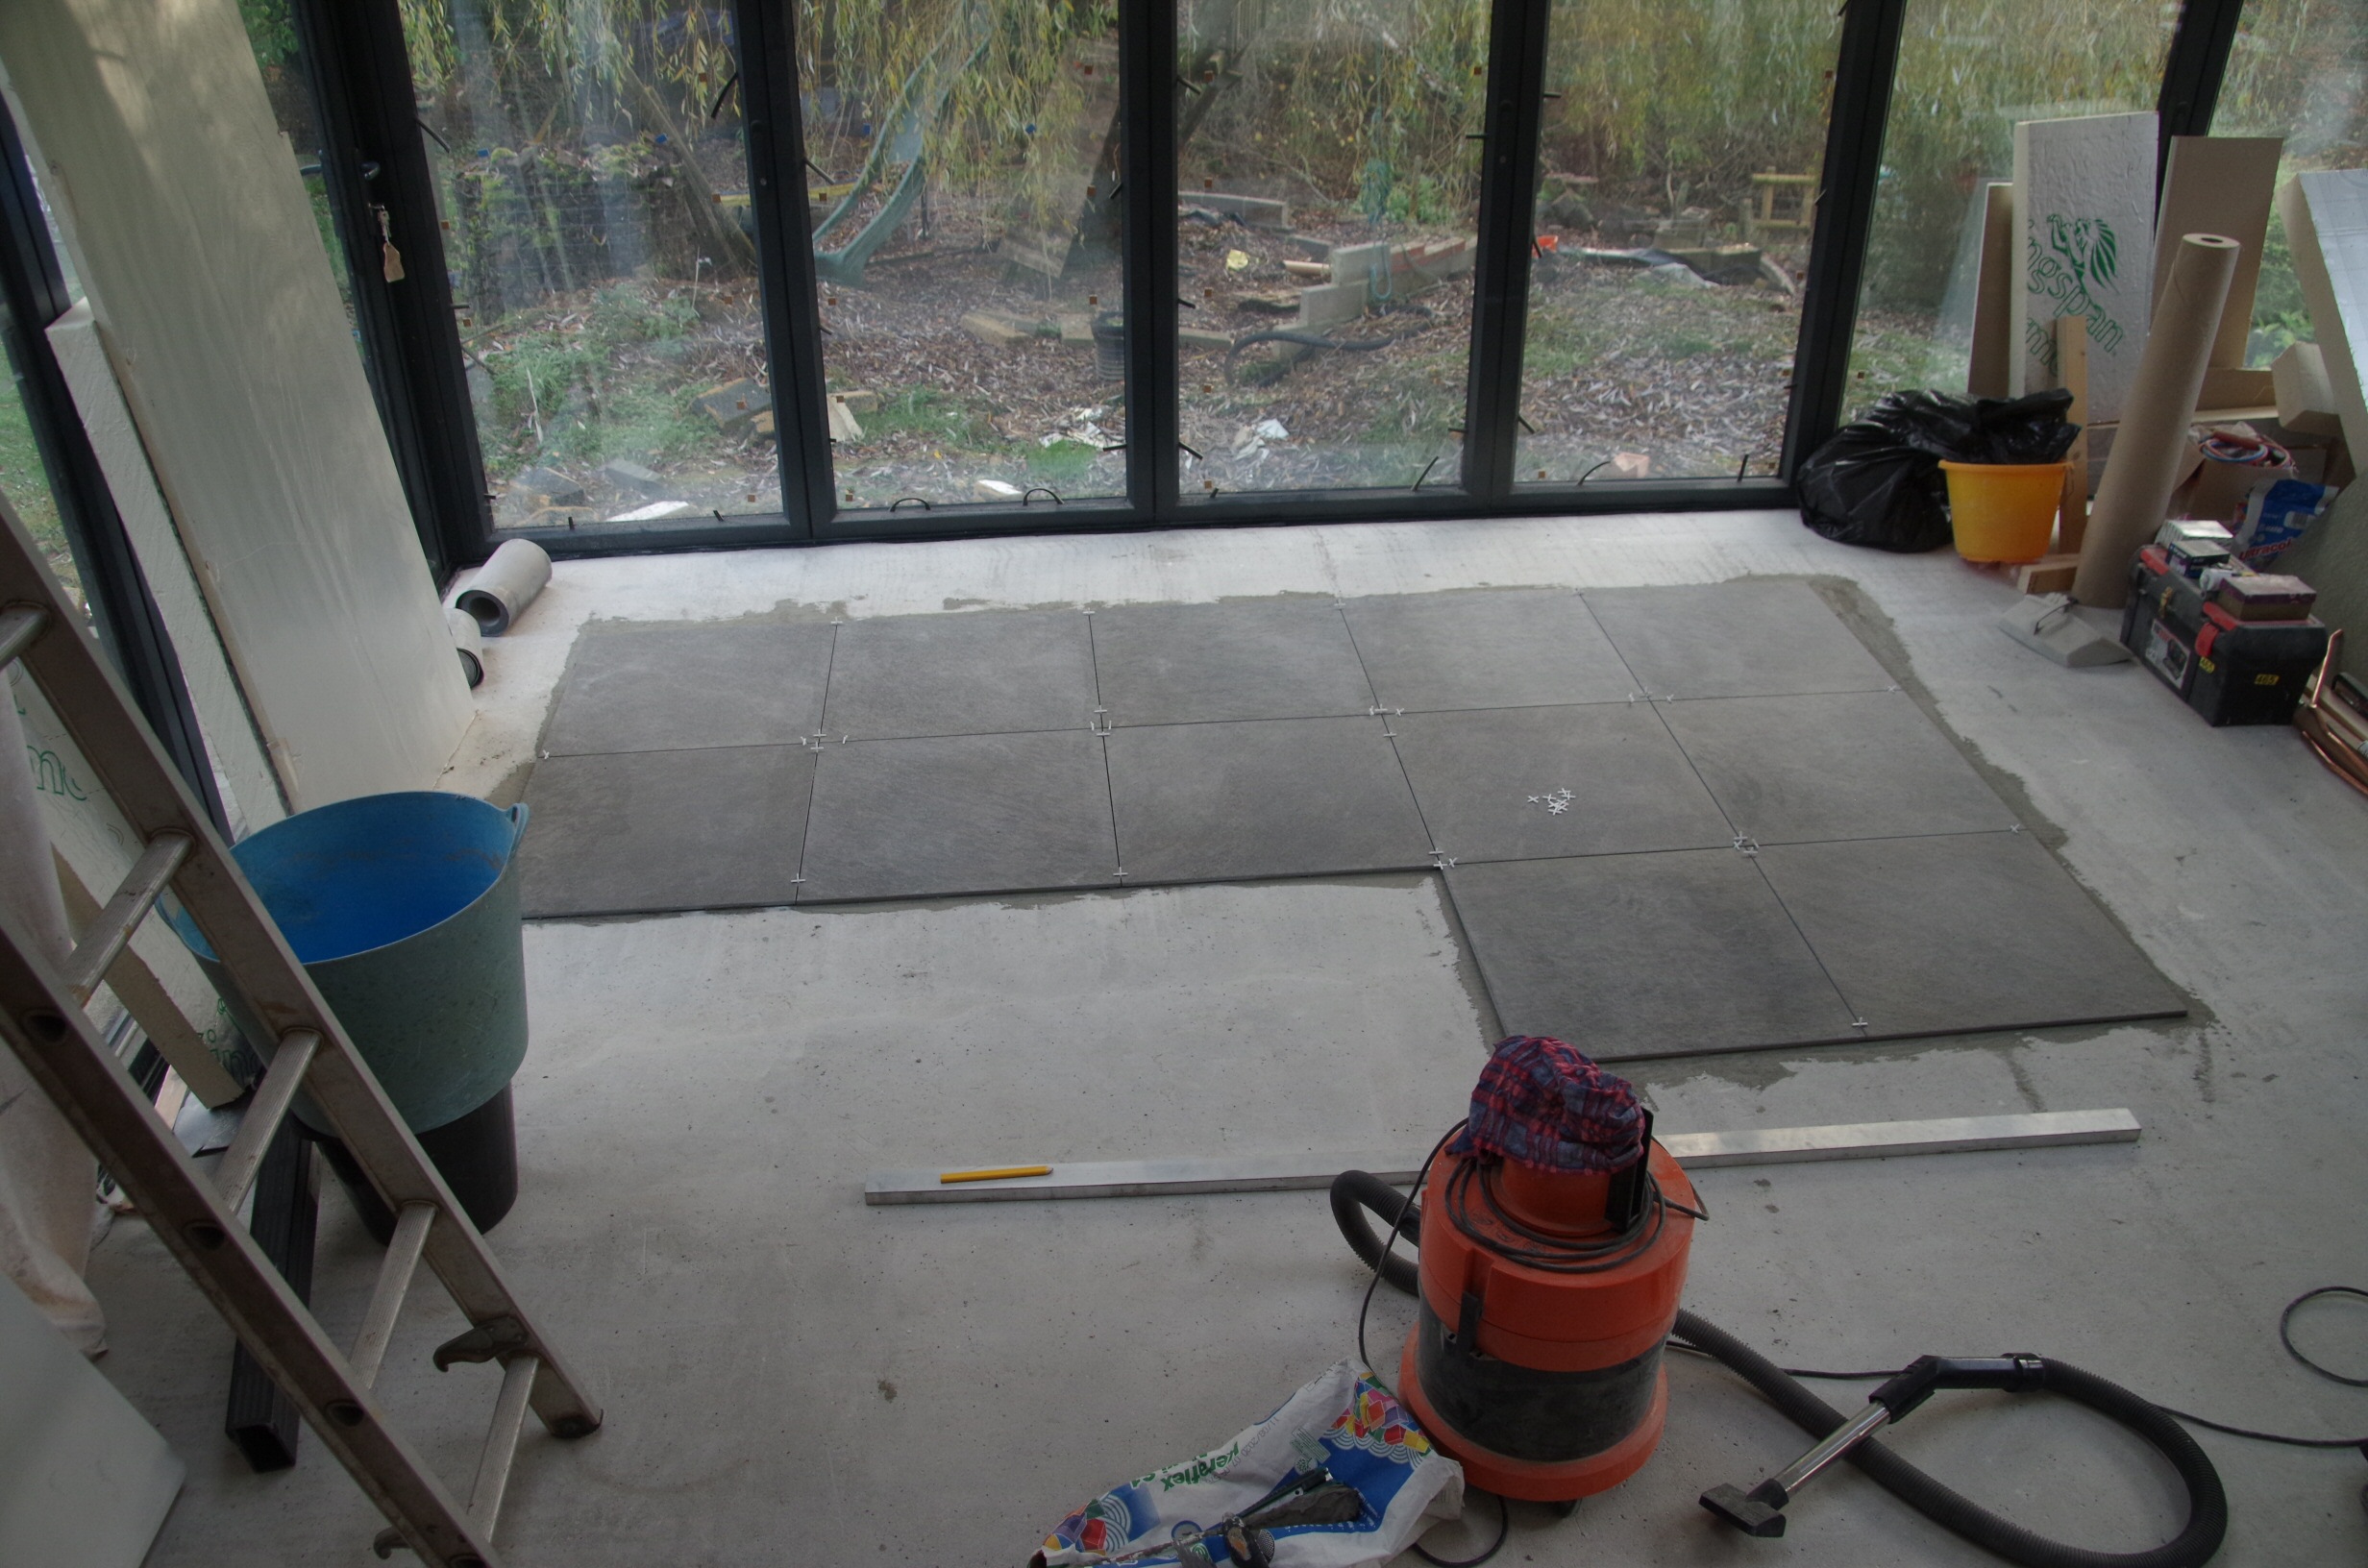
Finally the shower and floor.
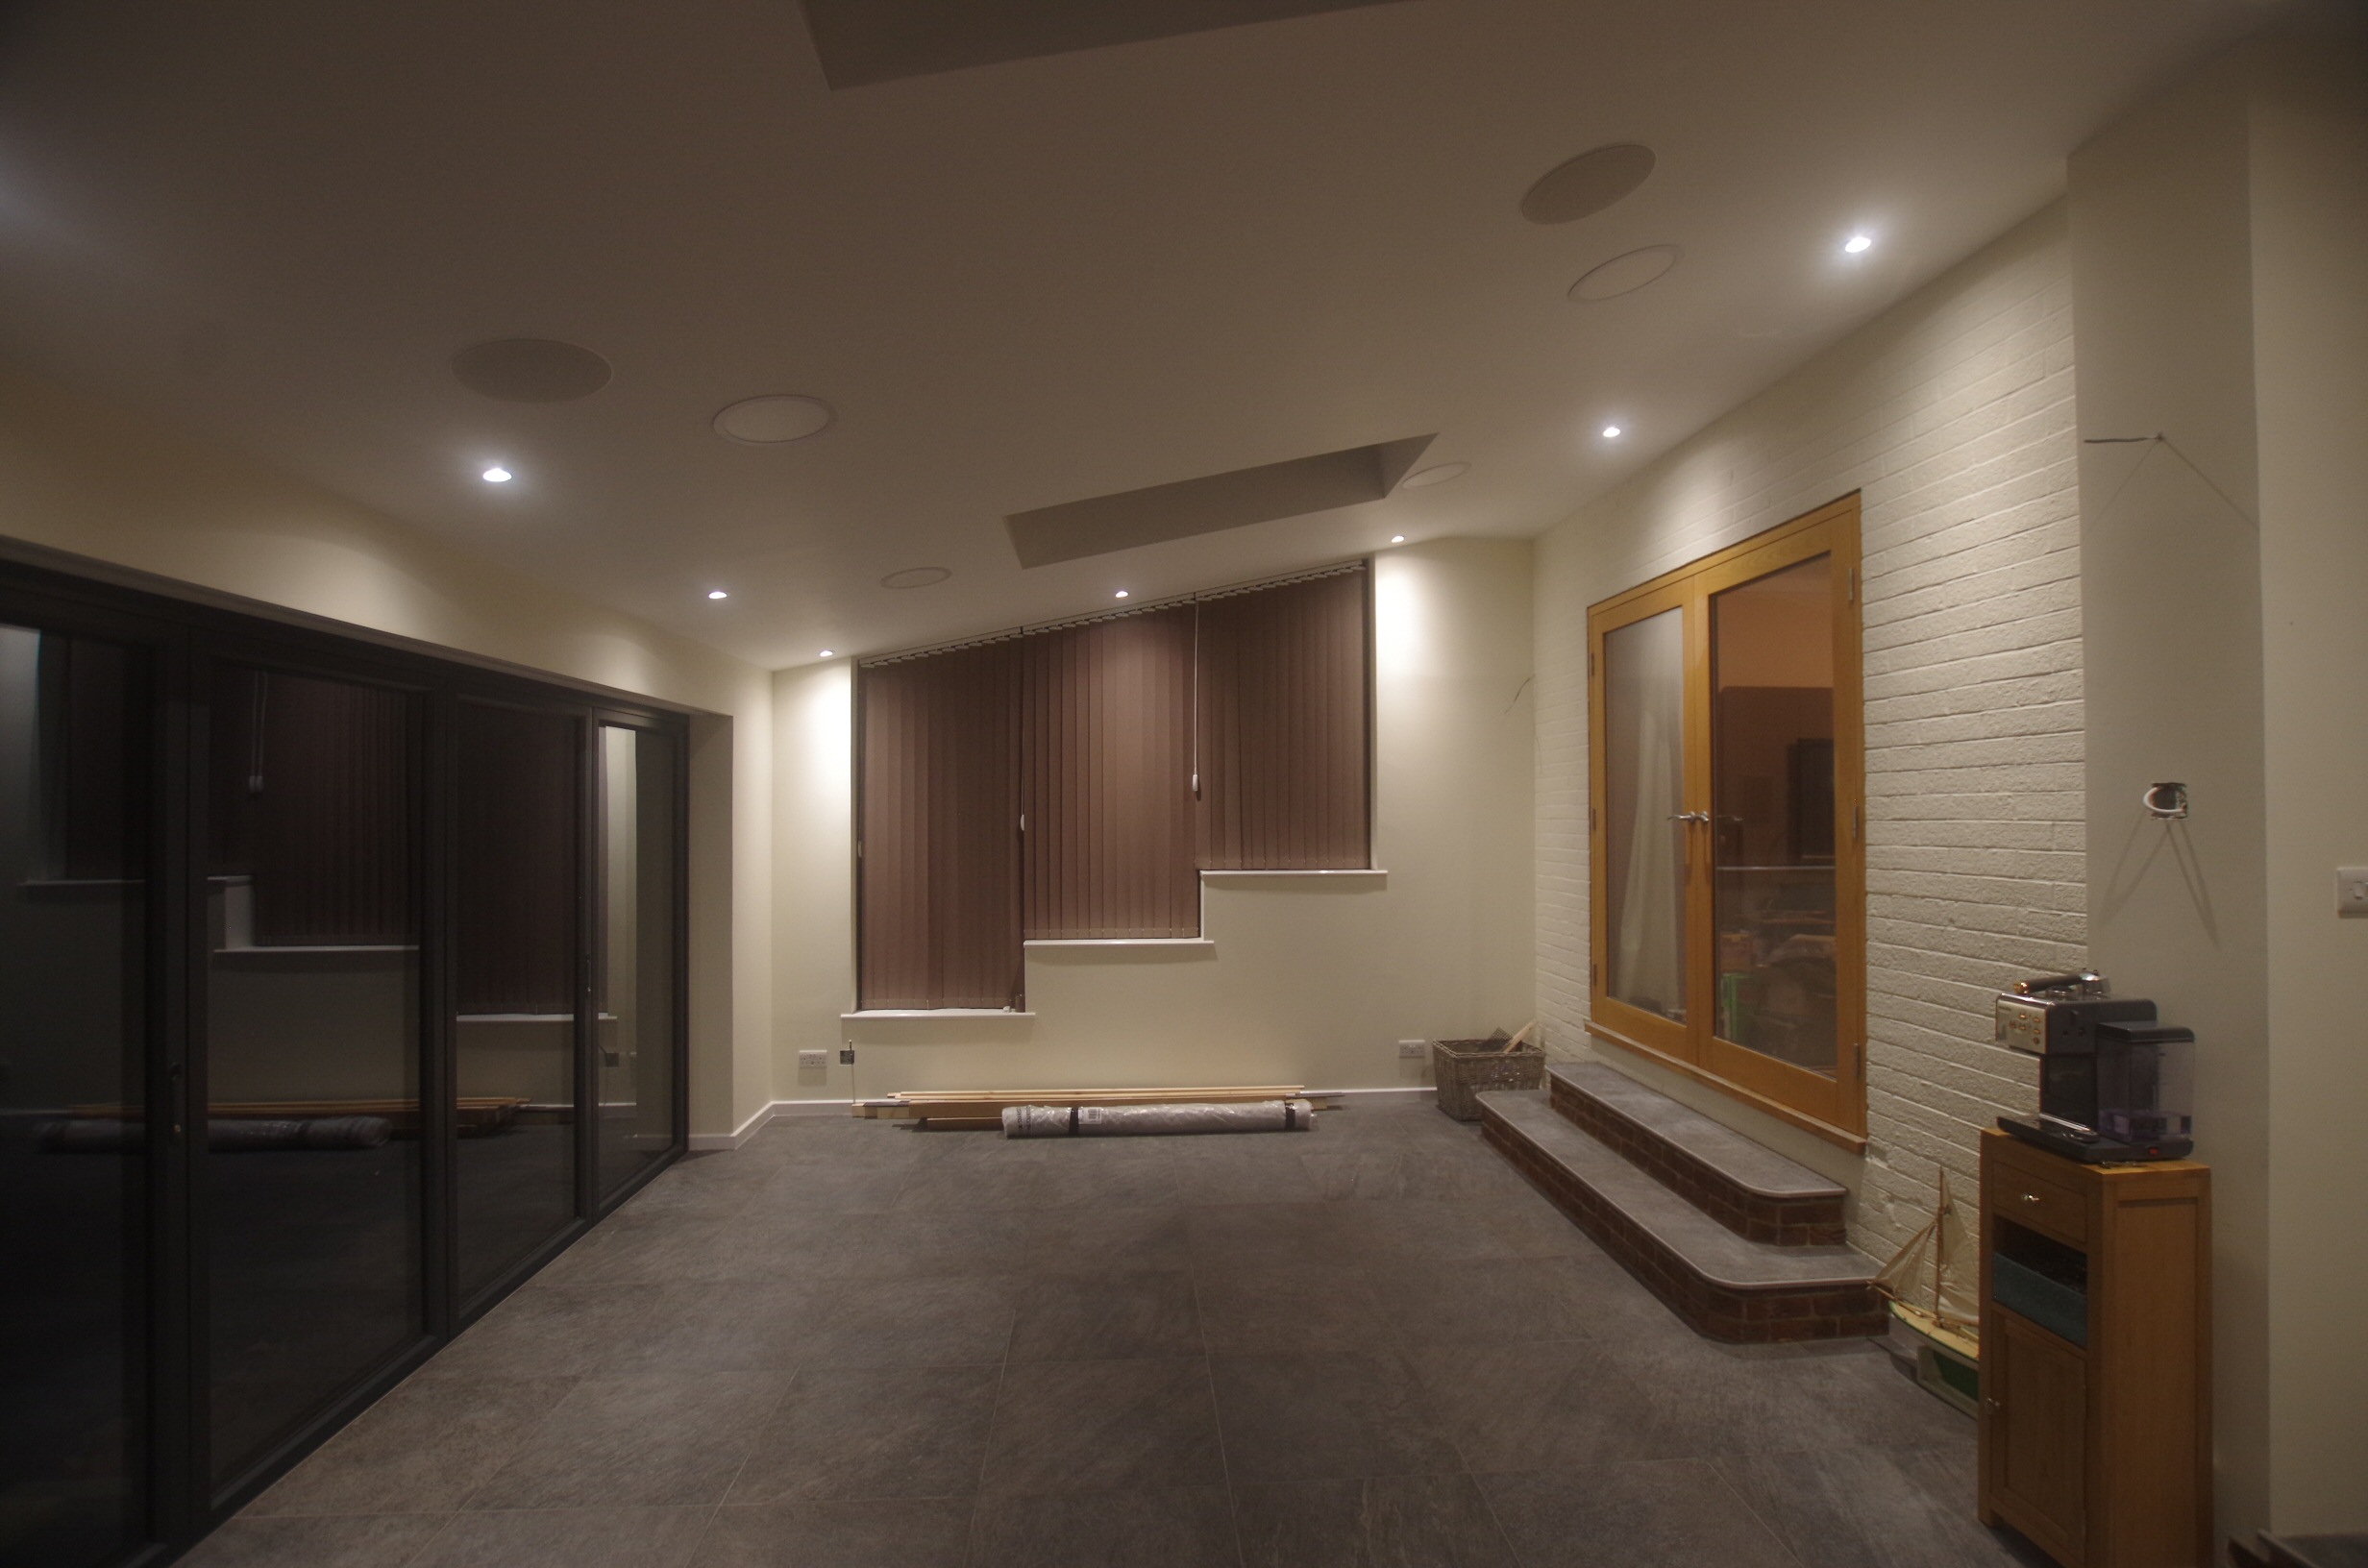
Taken with a wide angle which makes it look more spacious than it really is!!
We’re very happy with the result. On to the next room…
Updating the 60’s bathroom, it’s 70’s decoration and 80’s shower. We think it hadn’t had any tlc since the shower was added.
We are rearranging to give, hopefully, a nicer layout and retain a separate shower and bath. As the shower is used most it will be bigger than the current one and located where the door is. I’ve cut in a new door into bedroom 4 which will become part of the landing for access to the side extension.
Bath is moving back to it’s original location and is the biggest we can fit in.
I’ve replaced the hot water cylinder with heat store and heat exchanger which works better than I thought it would but will be adding a hot loop to give near instant hot water at the tap.
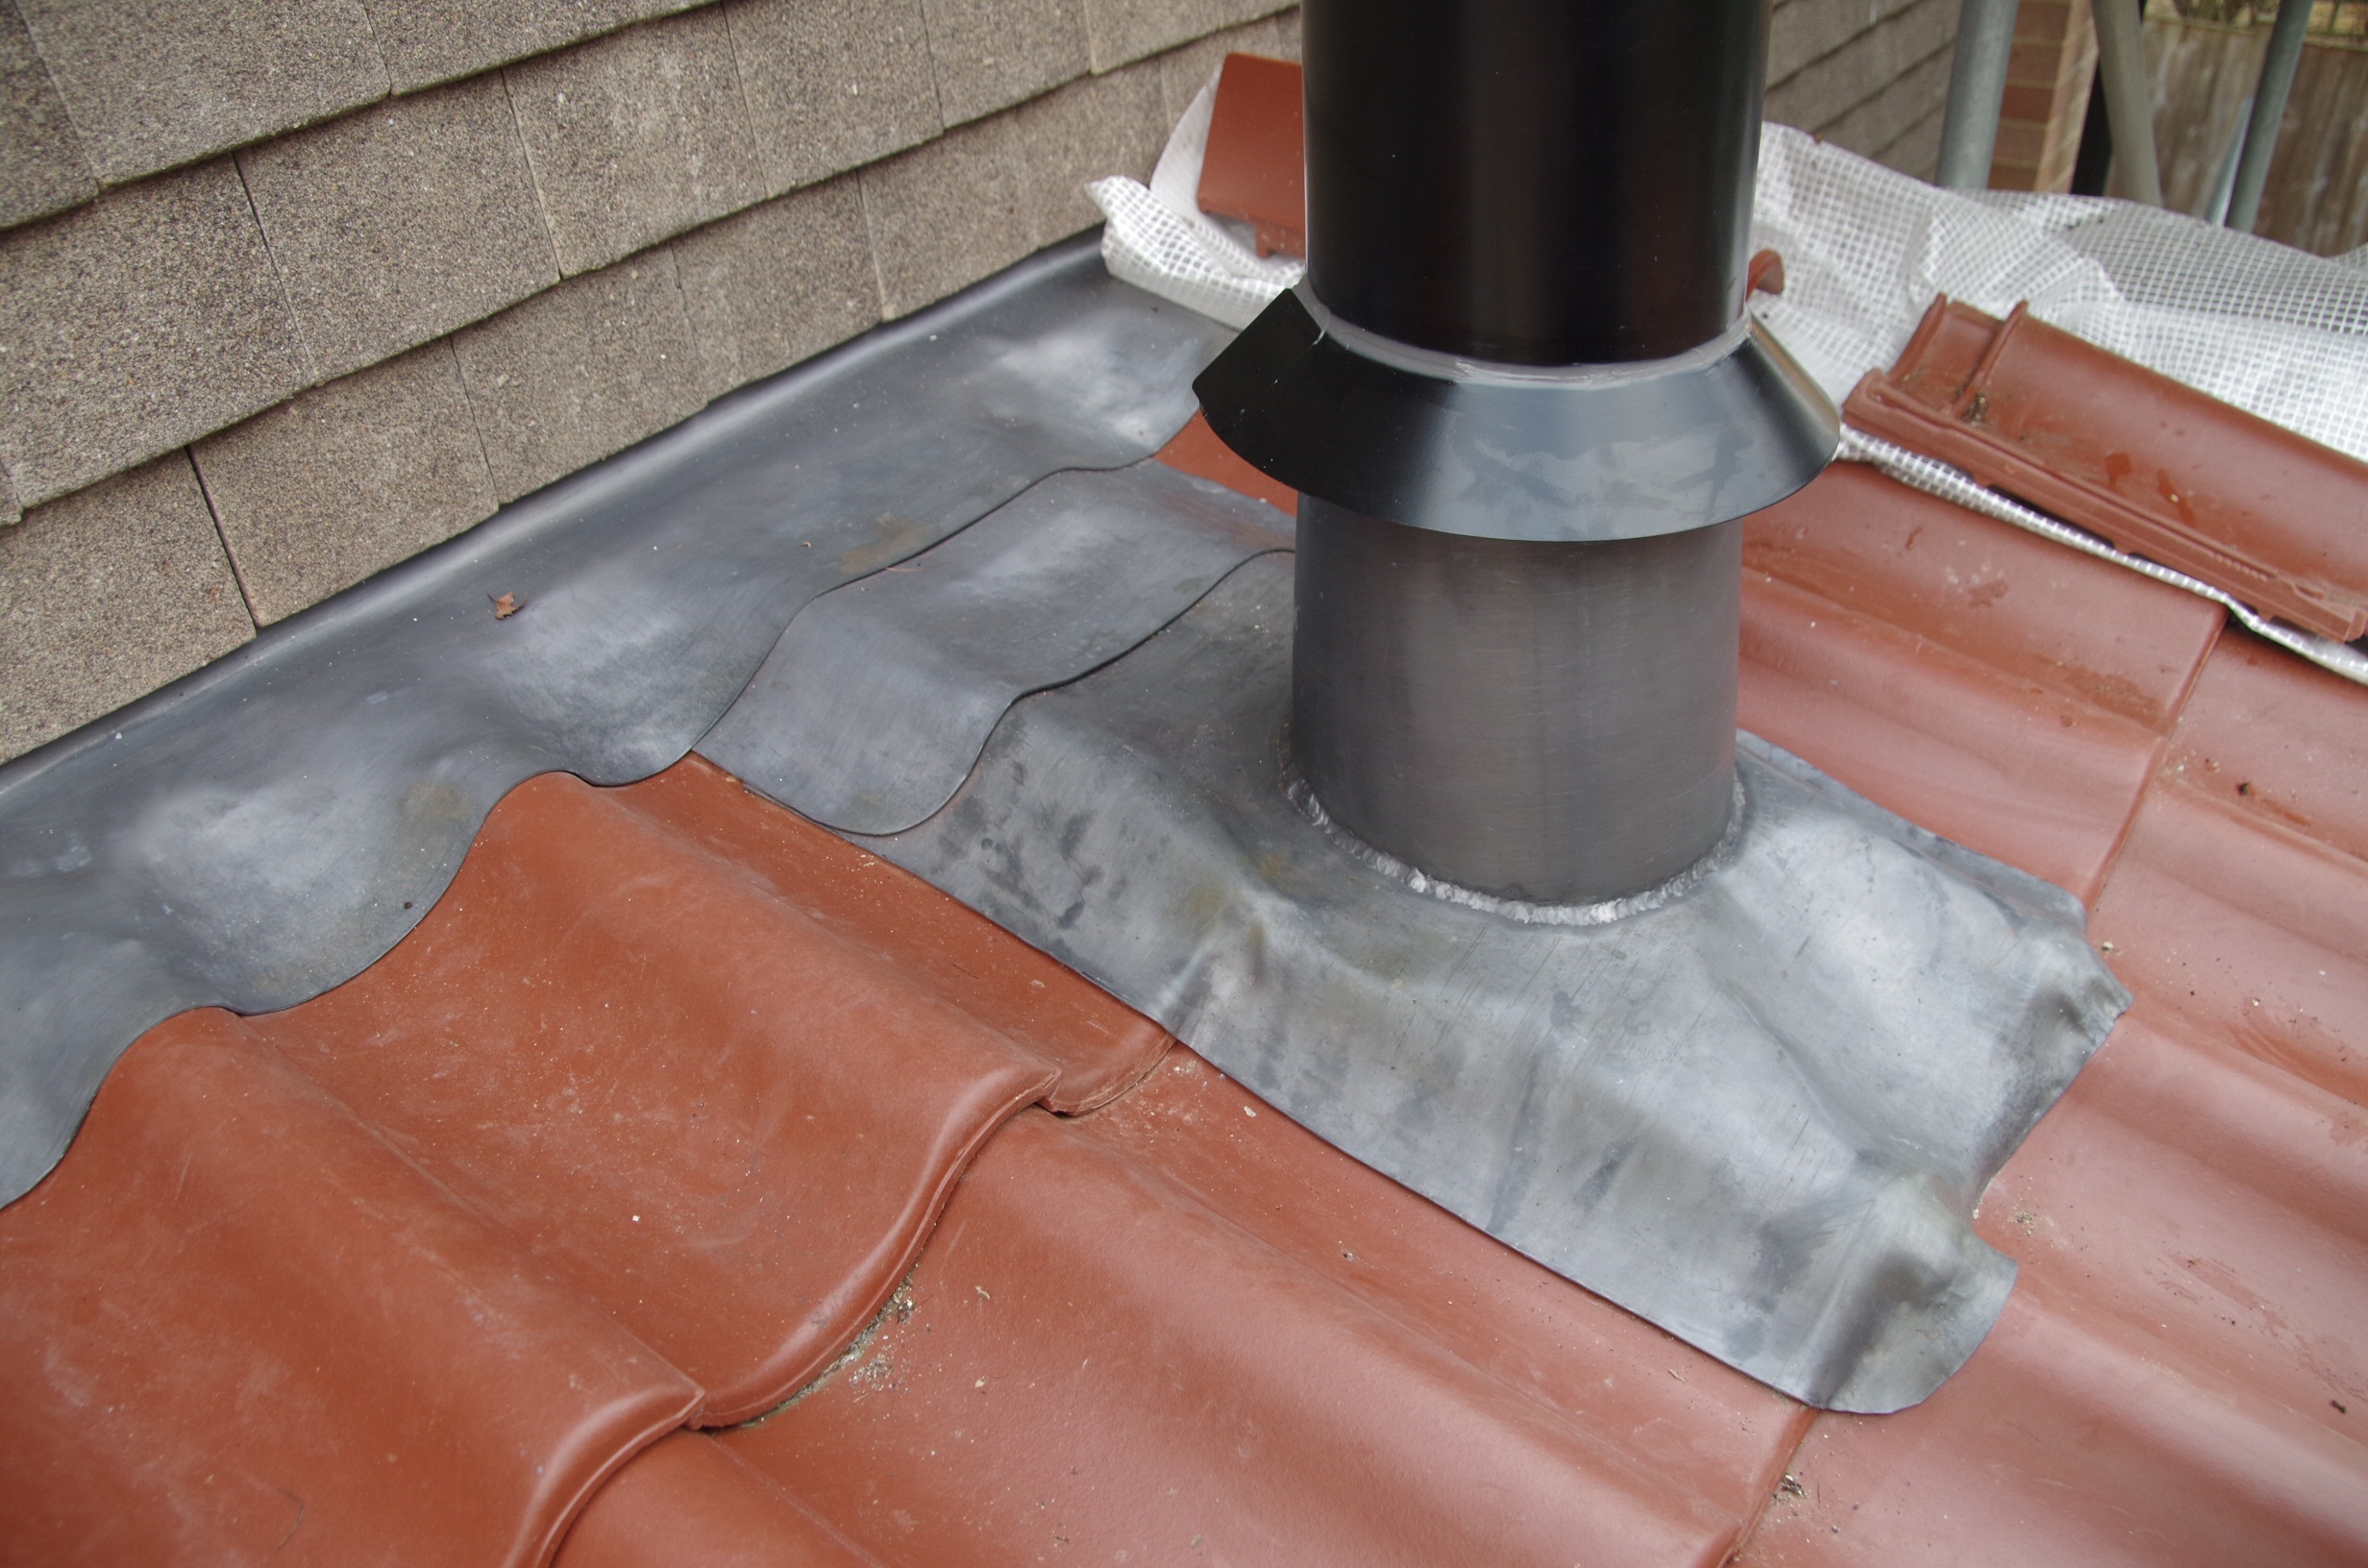
Replaced the soil stack that was coming apart at the joints. There is no original pipework in the house, soil, heating and water has all been updated.
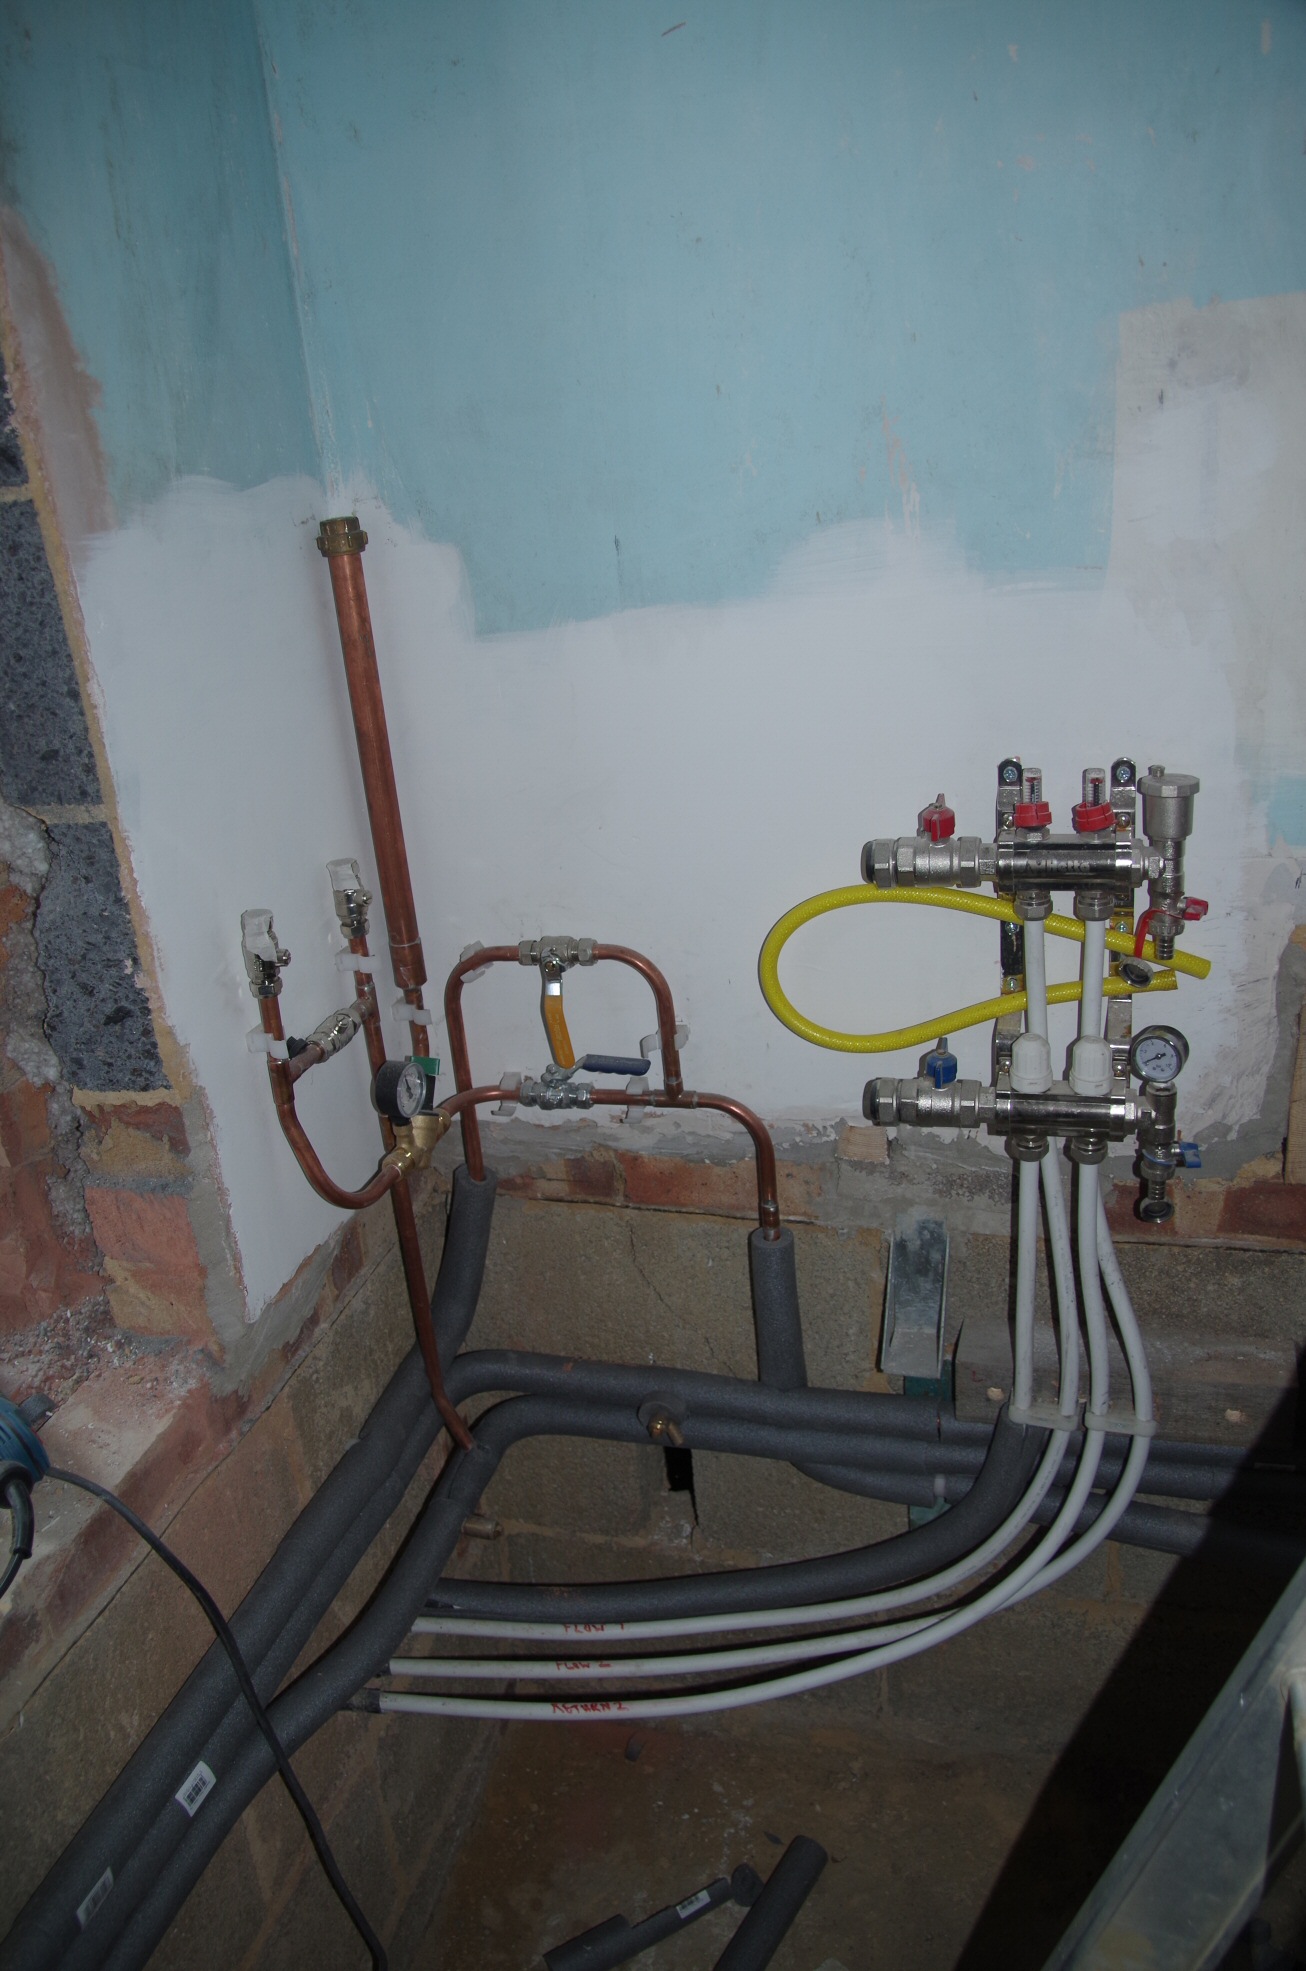
Underfloor heating is only a small loop running from the heat store which will also heat a towel rail radiator.
Bathroom shortly after moving in, 30-May-09Bathroom shortly after moving in, 30-May-09
Bath taps are concealed in the wall, note the big hole which is on a wall that is double thickness and tile hung outside with no cavity. Not great construction but handy as there was plenty of thickness to chisel into.
Nest to do is block off the old door, finish tiles and add the shower with its dual pattern rain head and hand shower, nice, but a pain to fit.
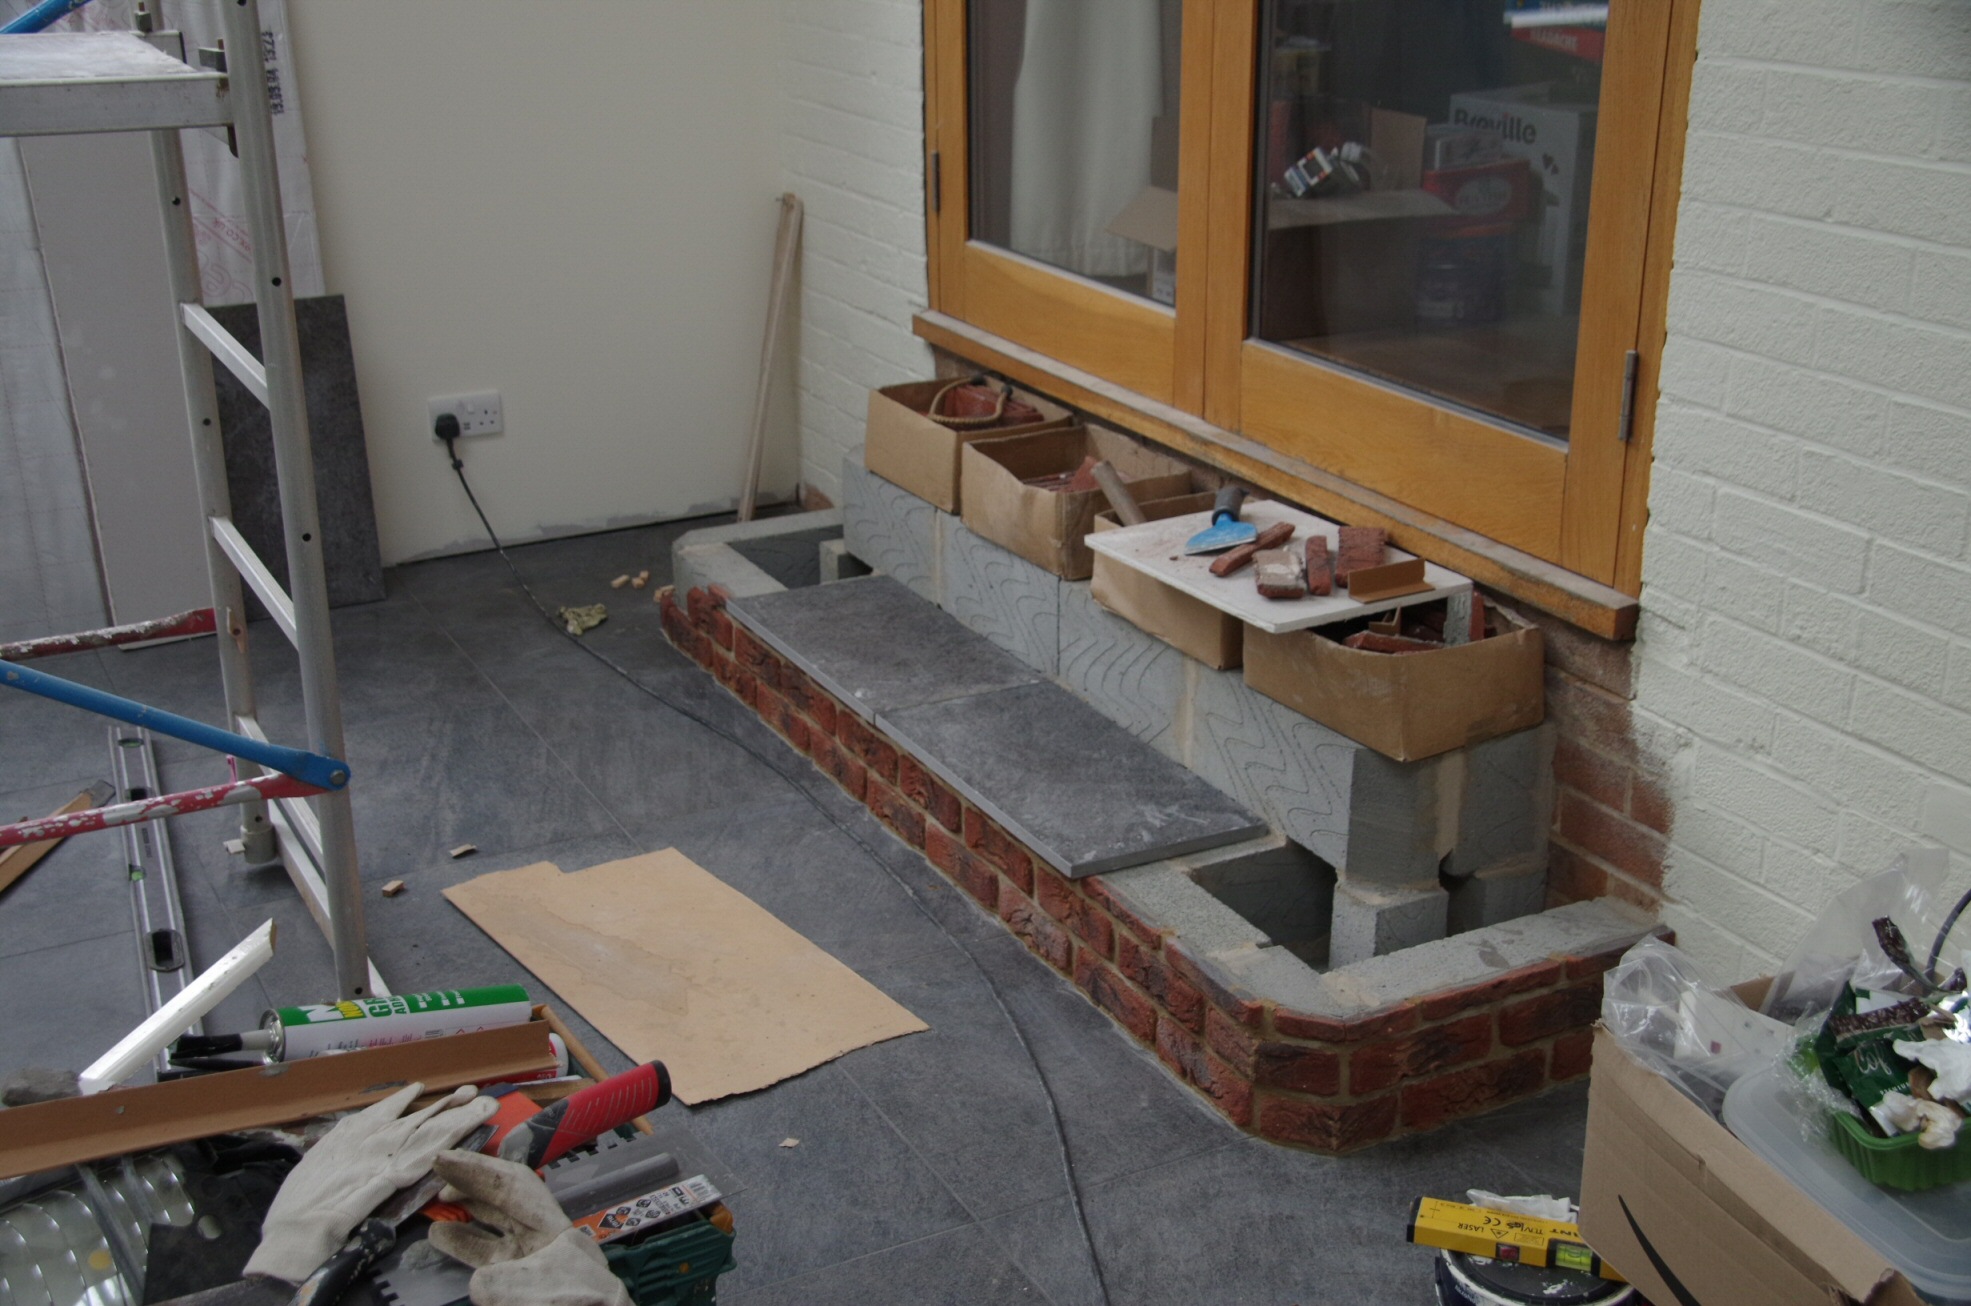
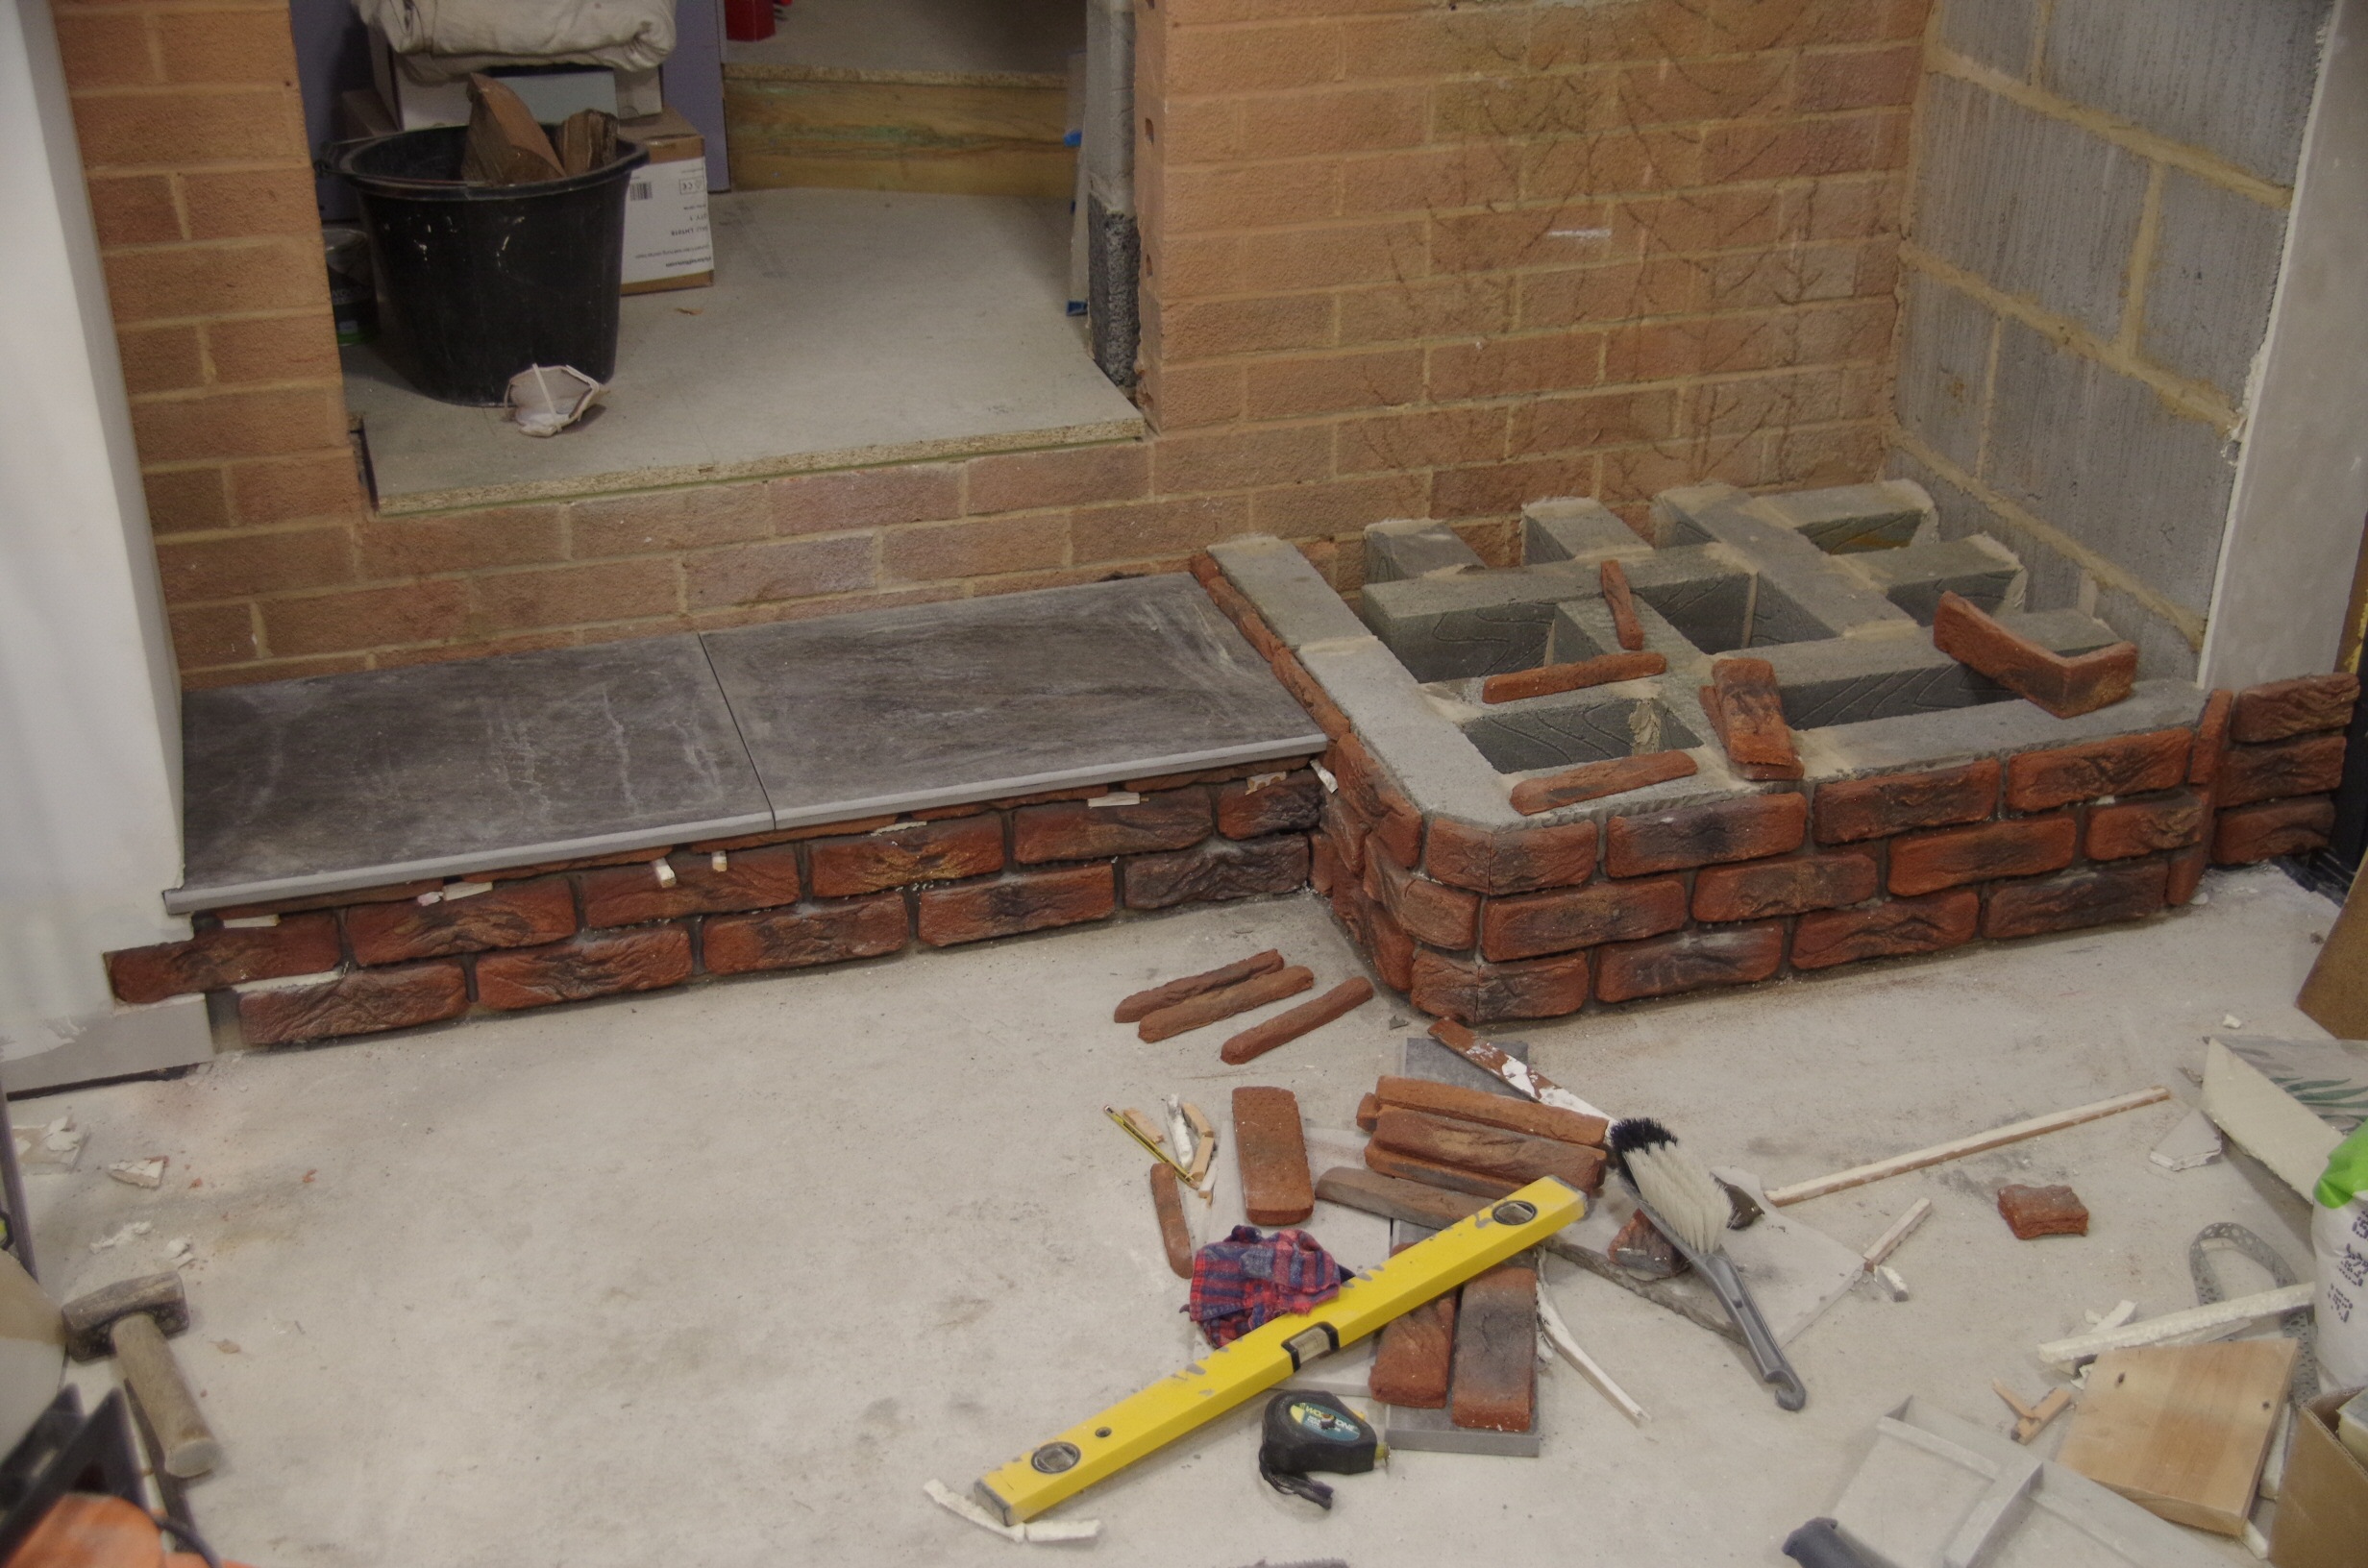
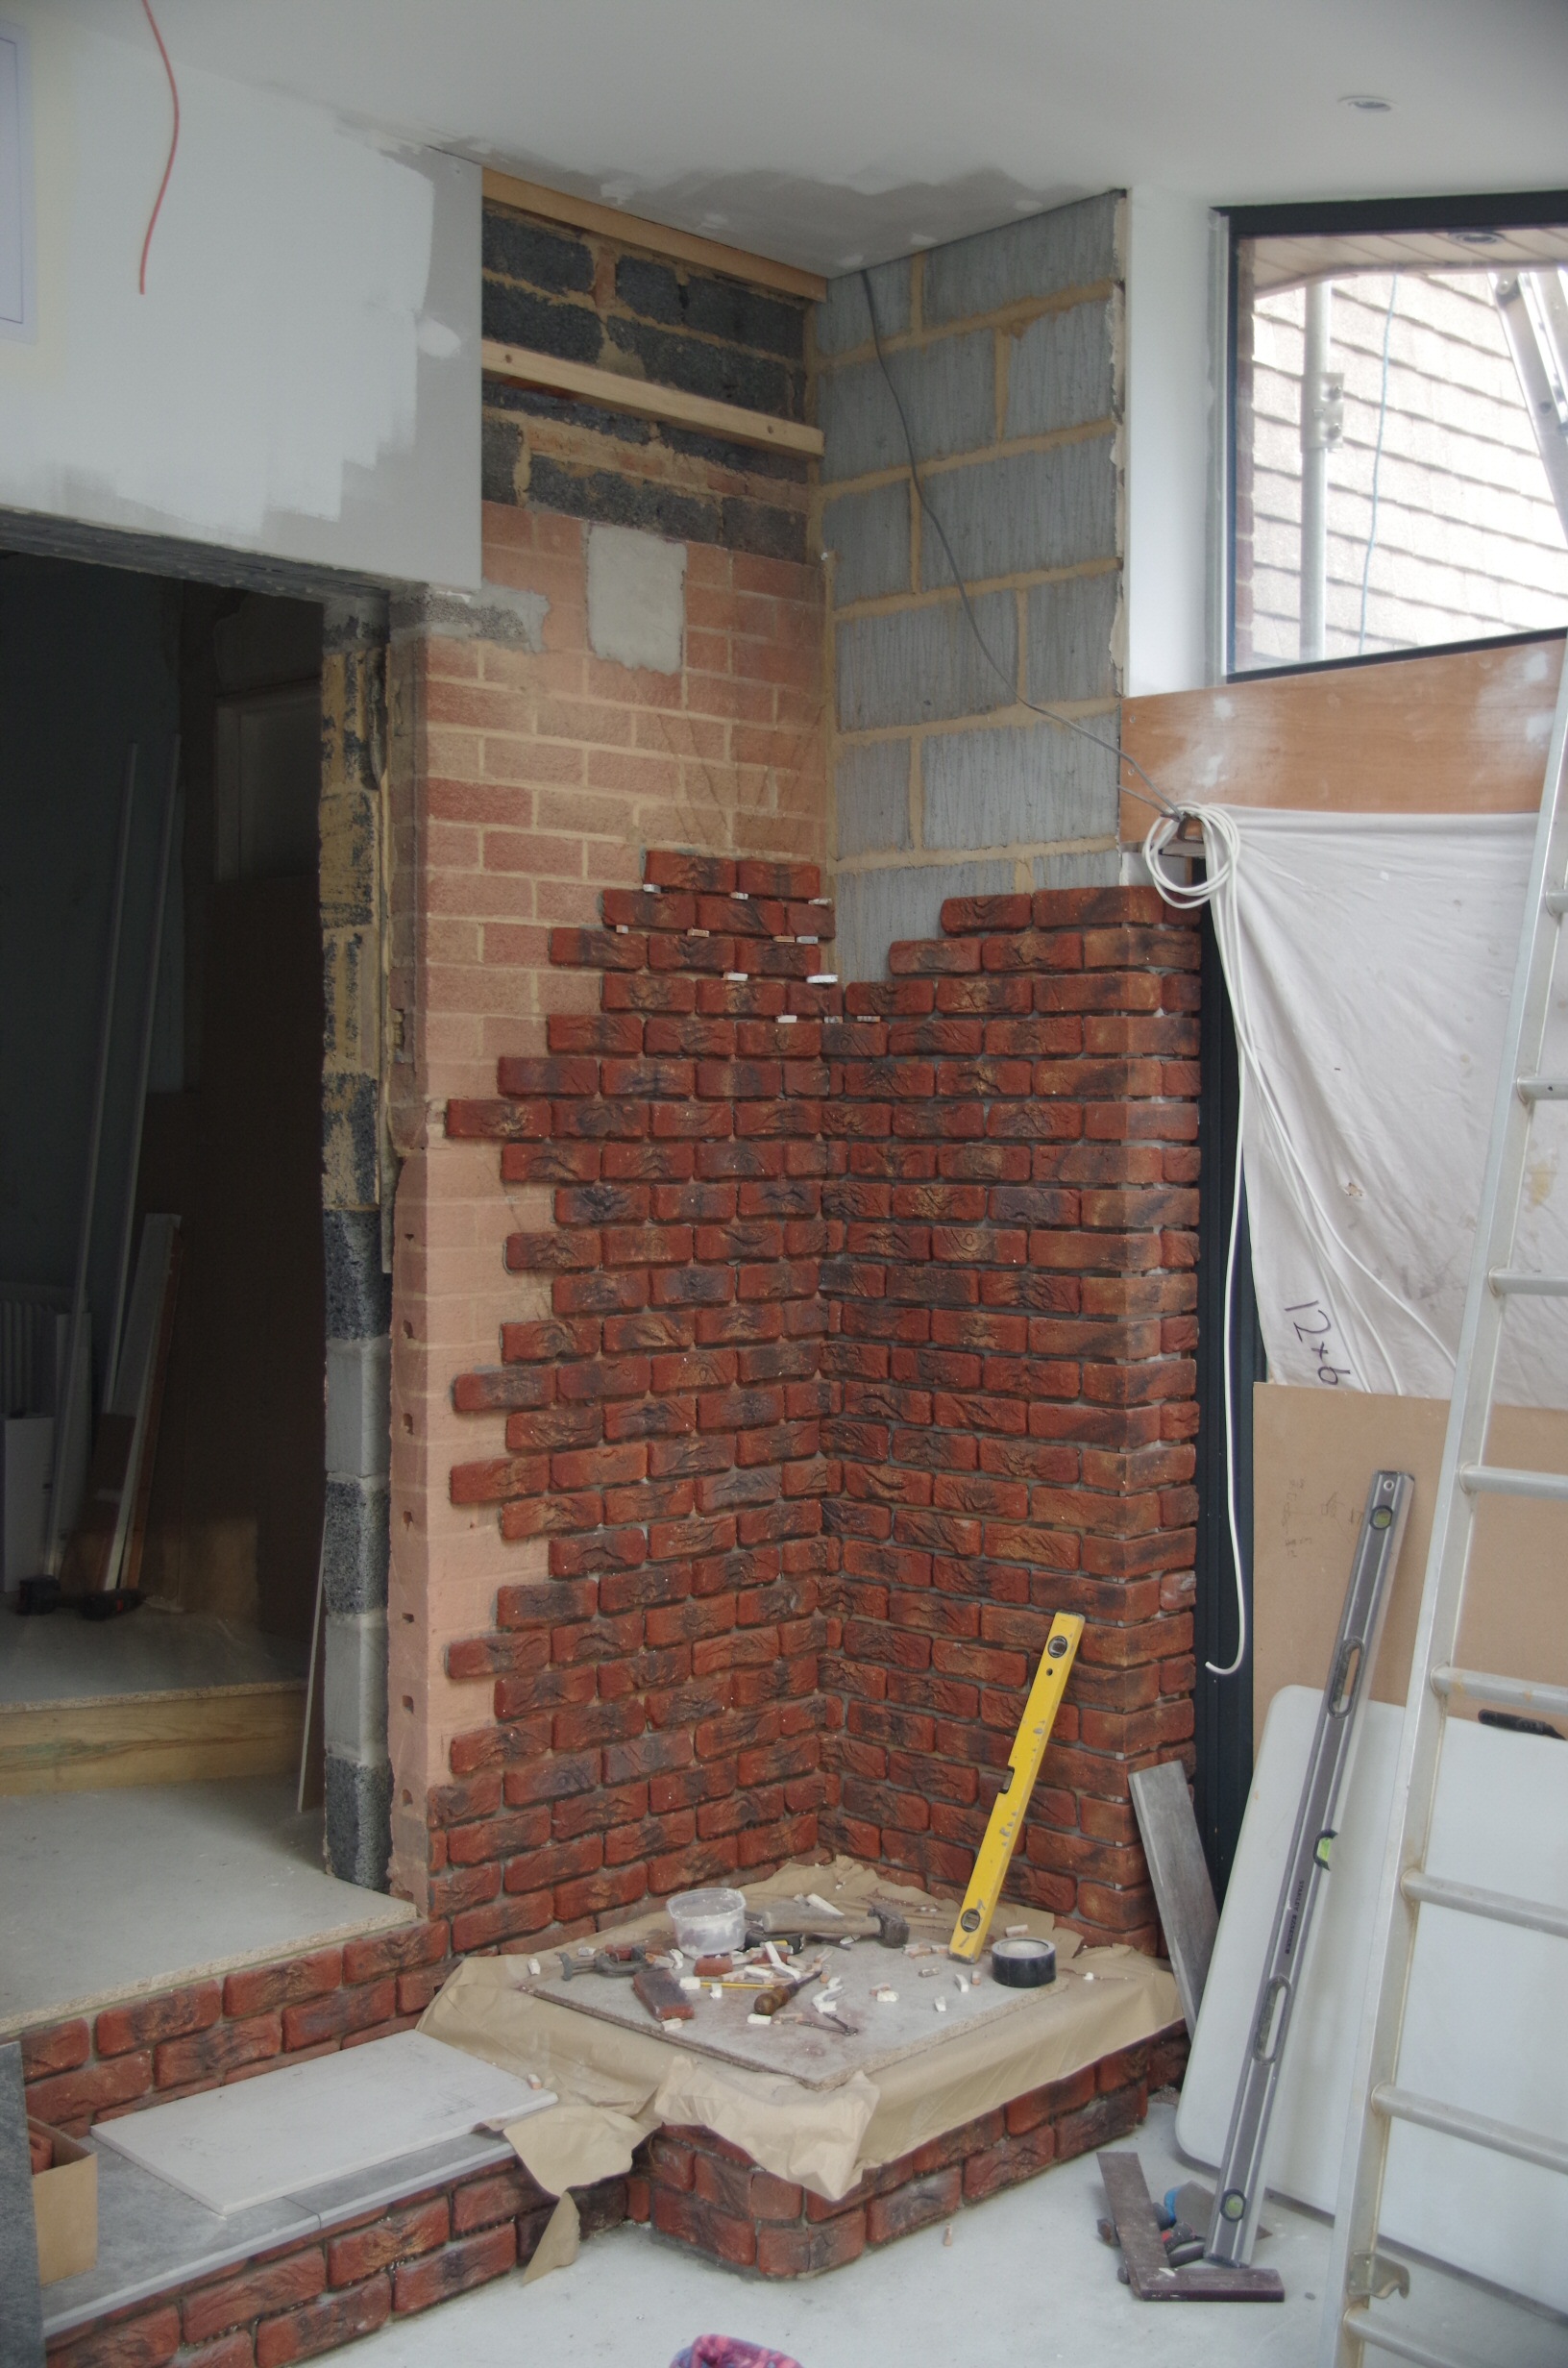
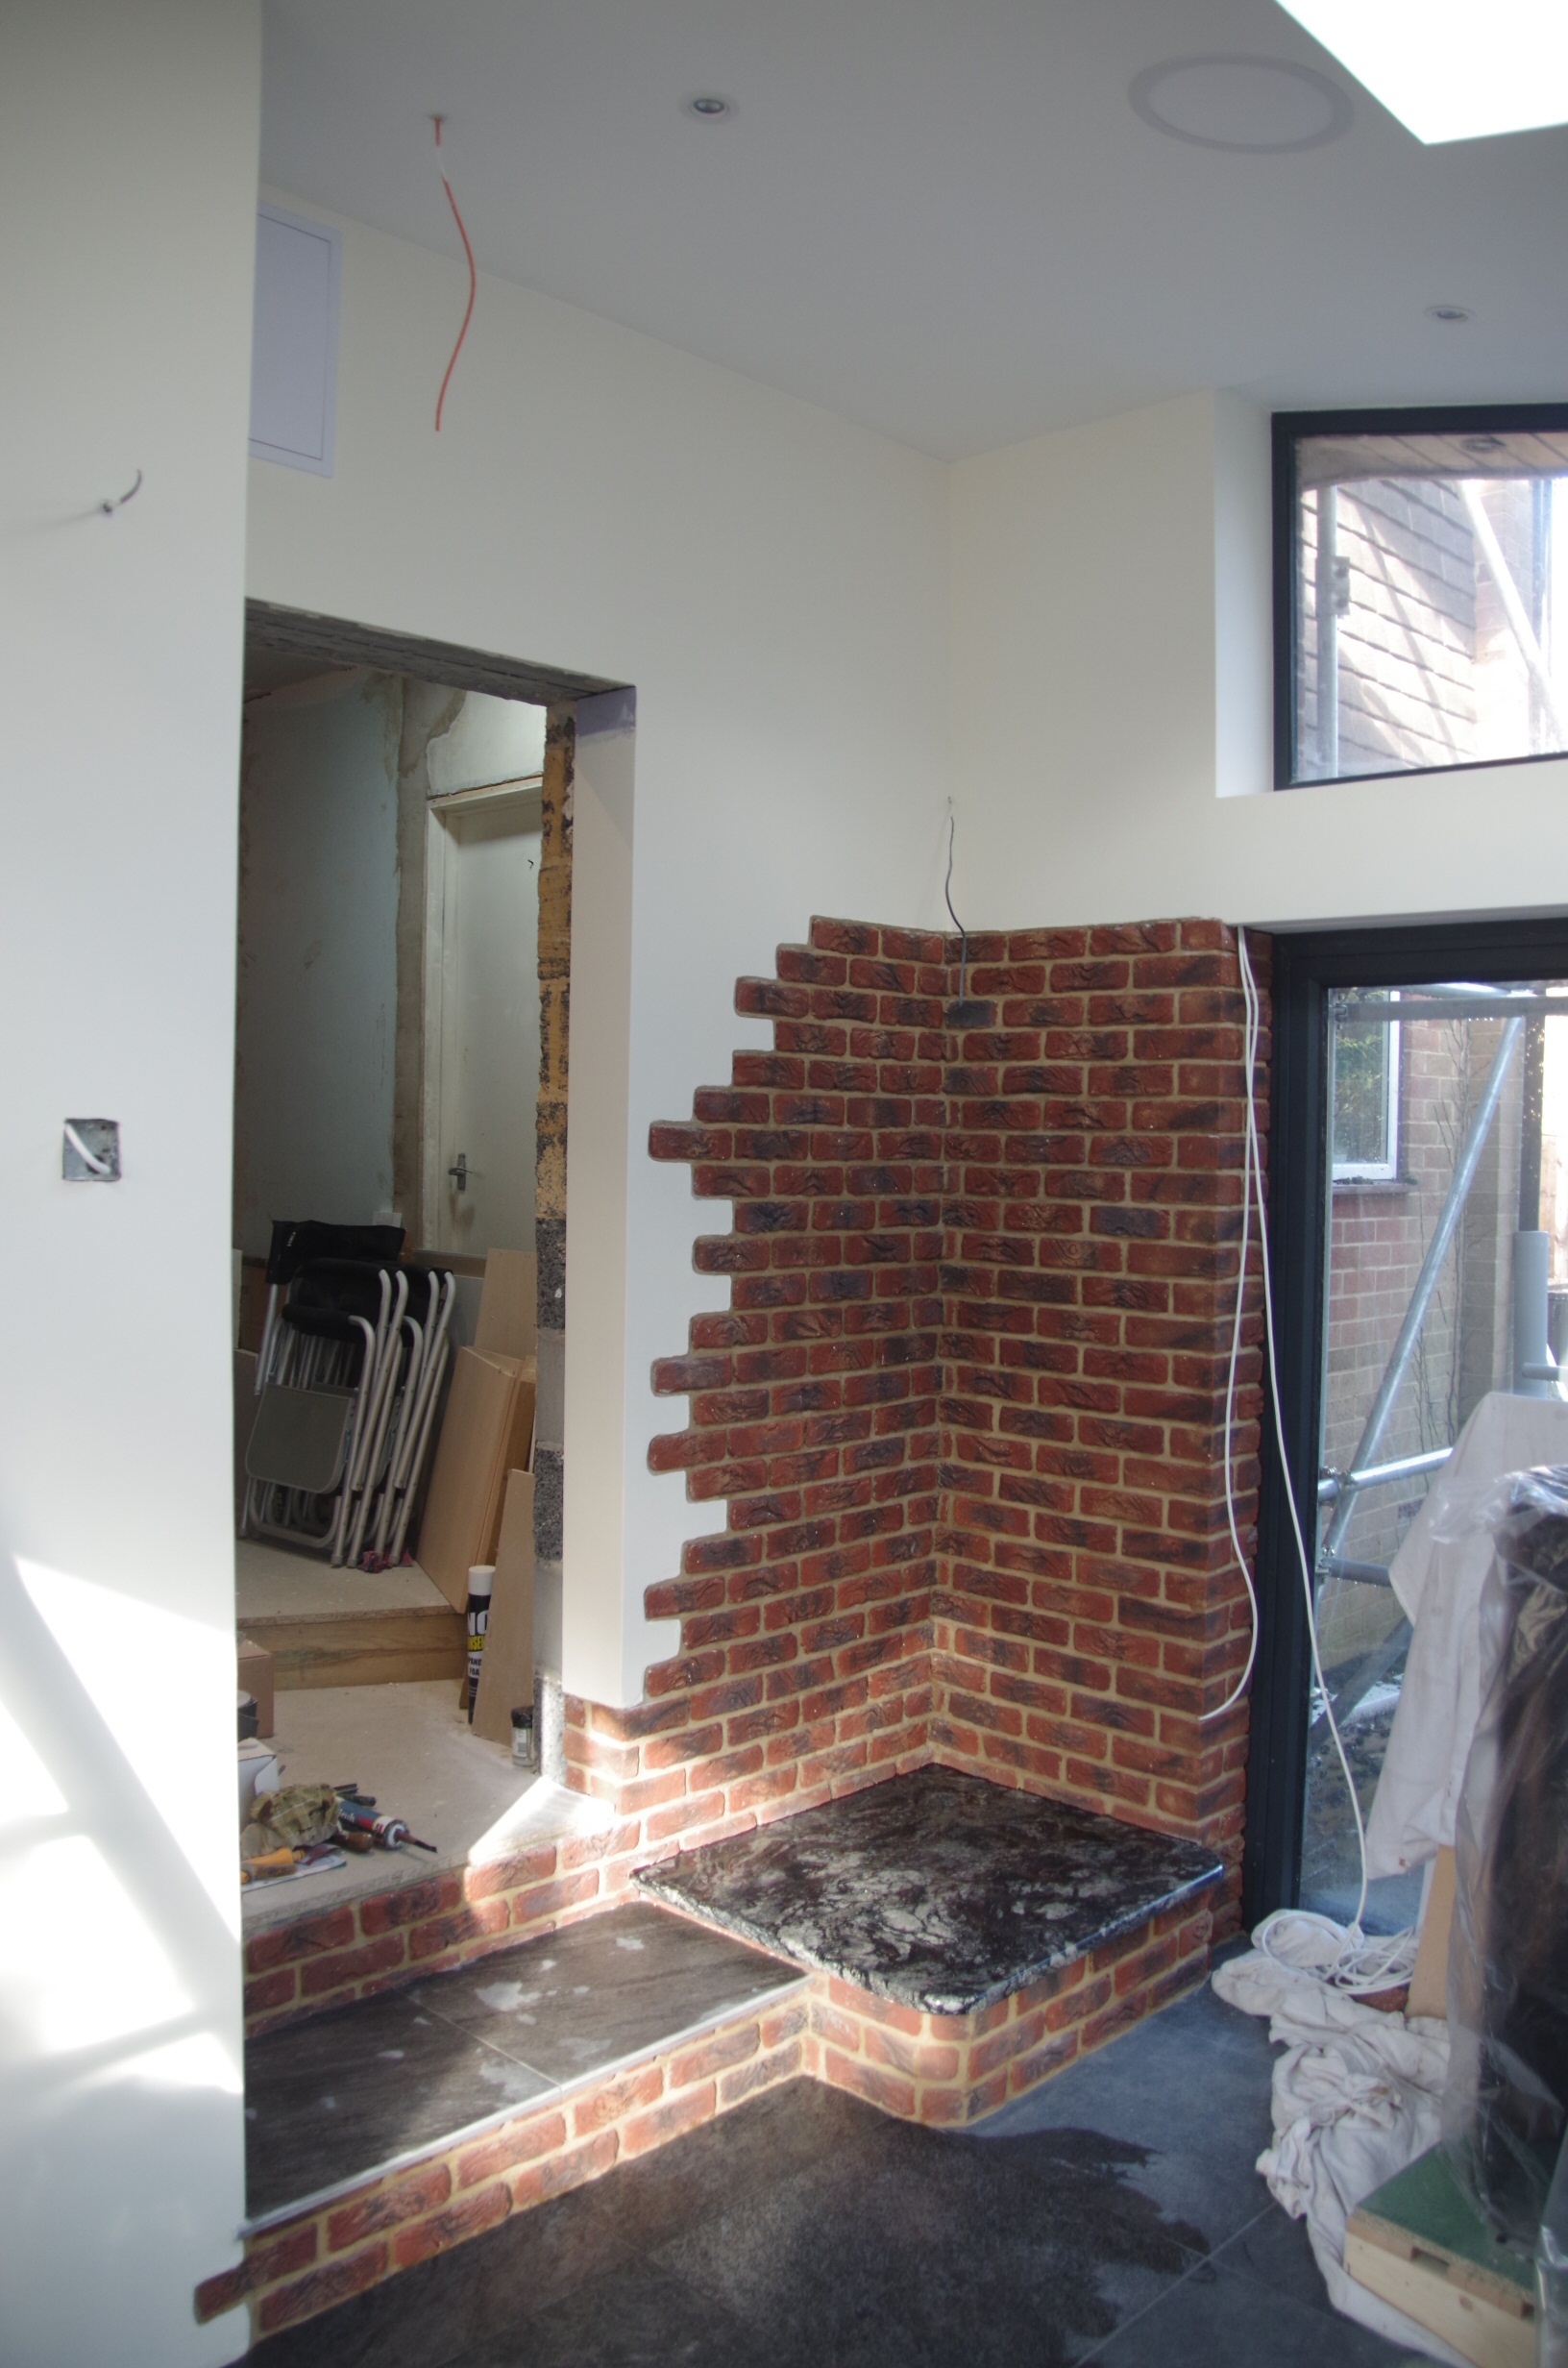
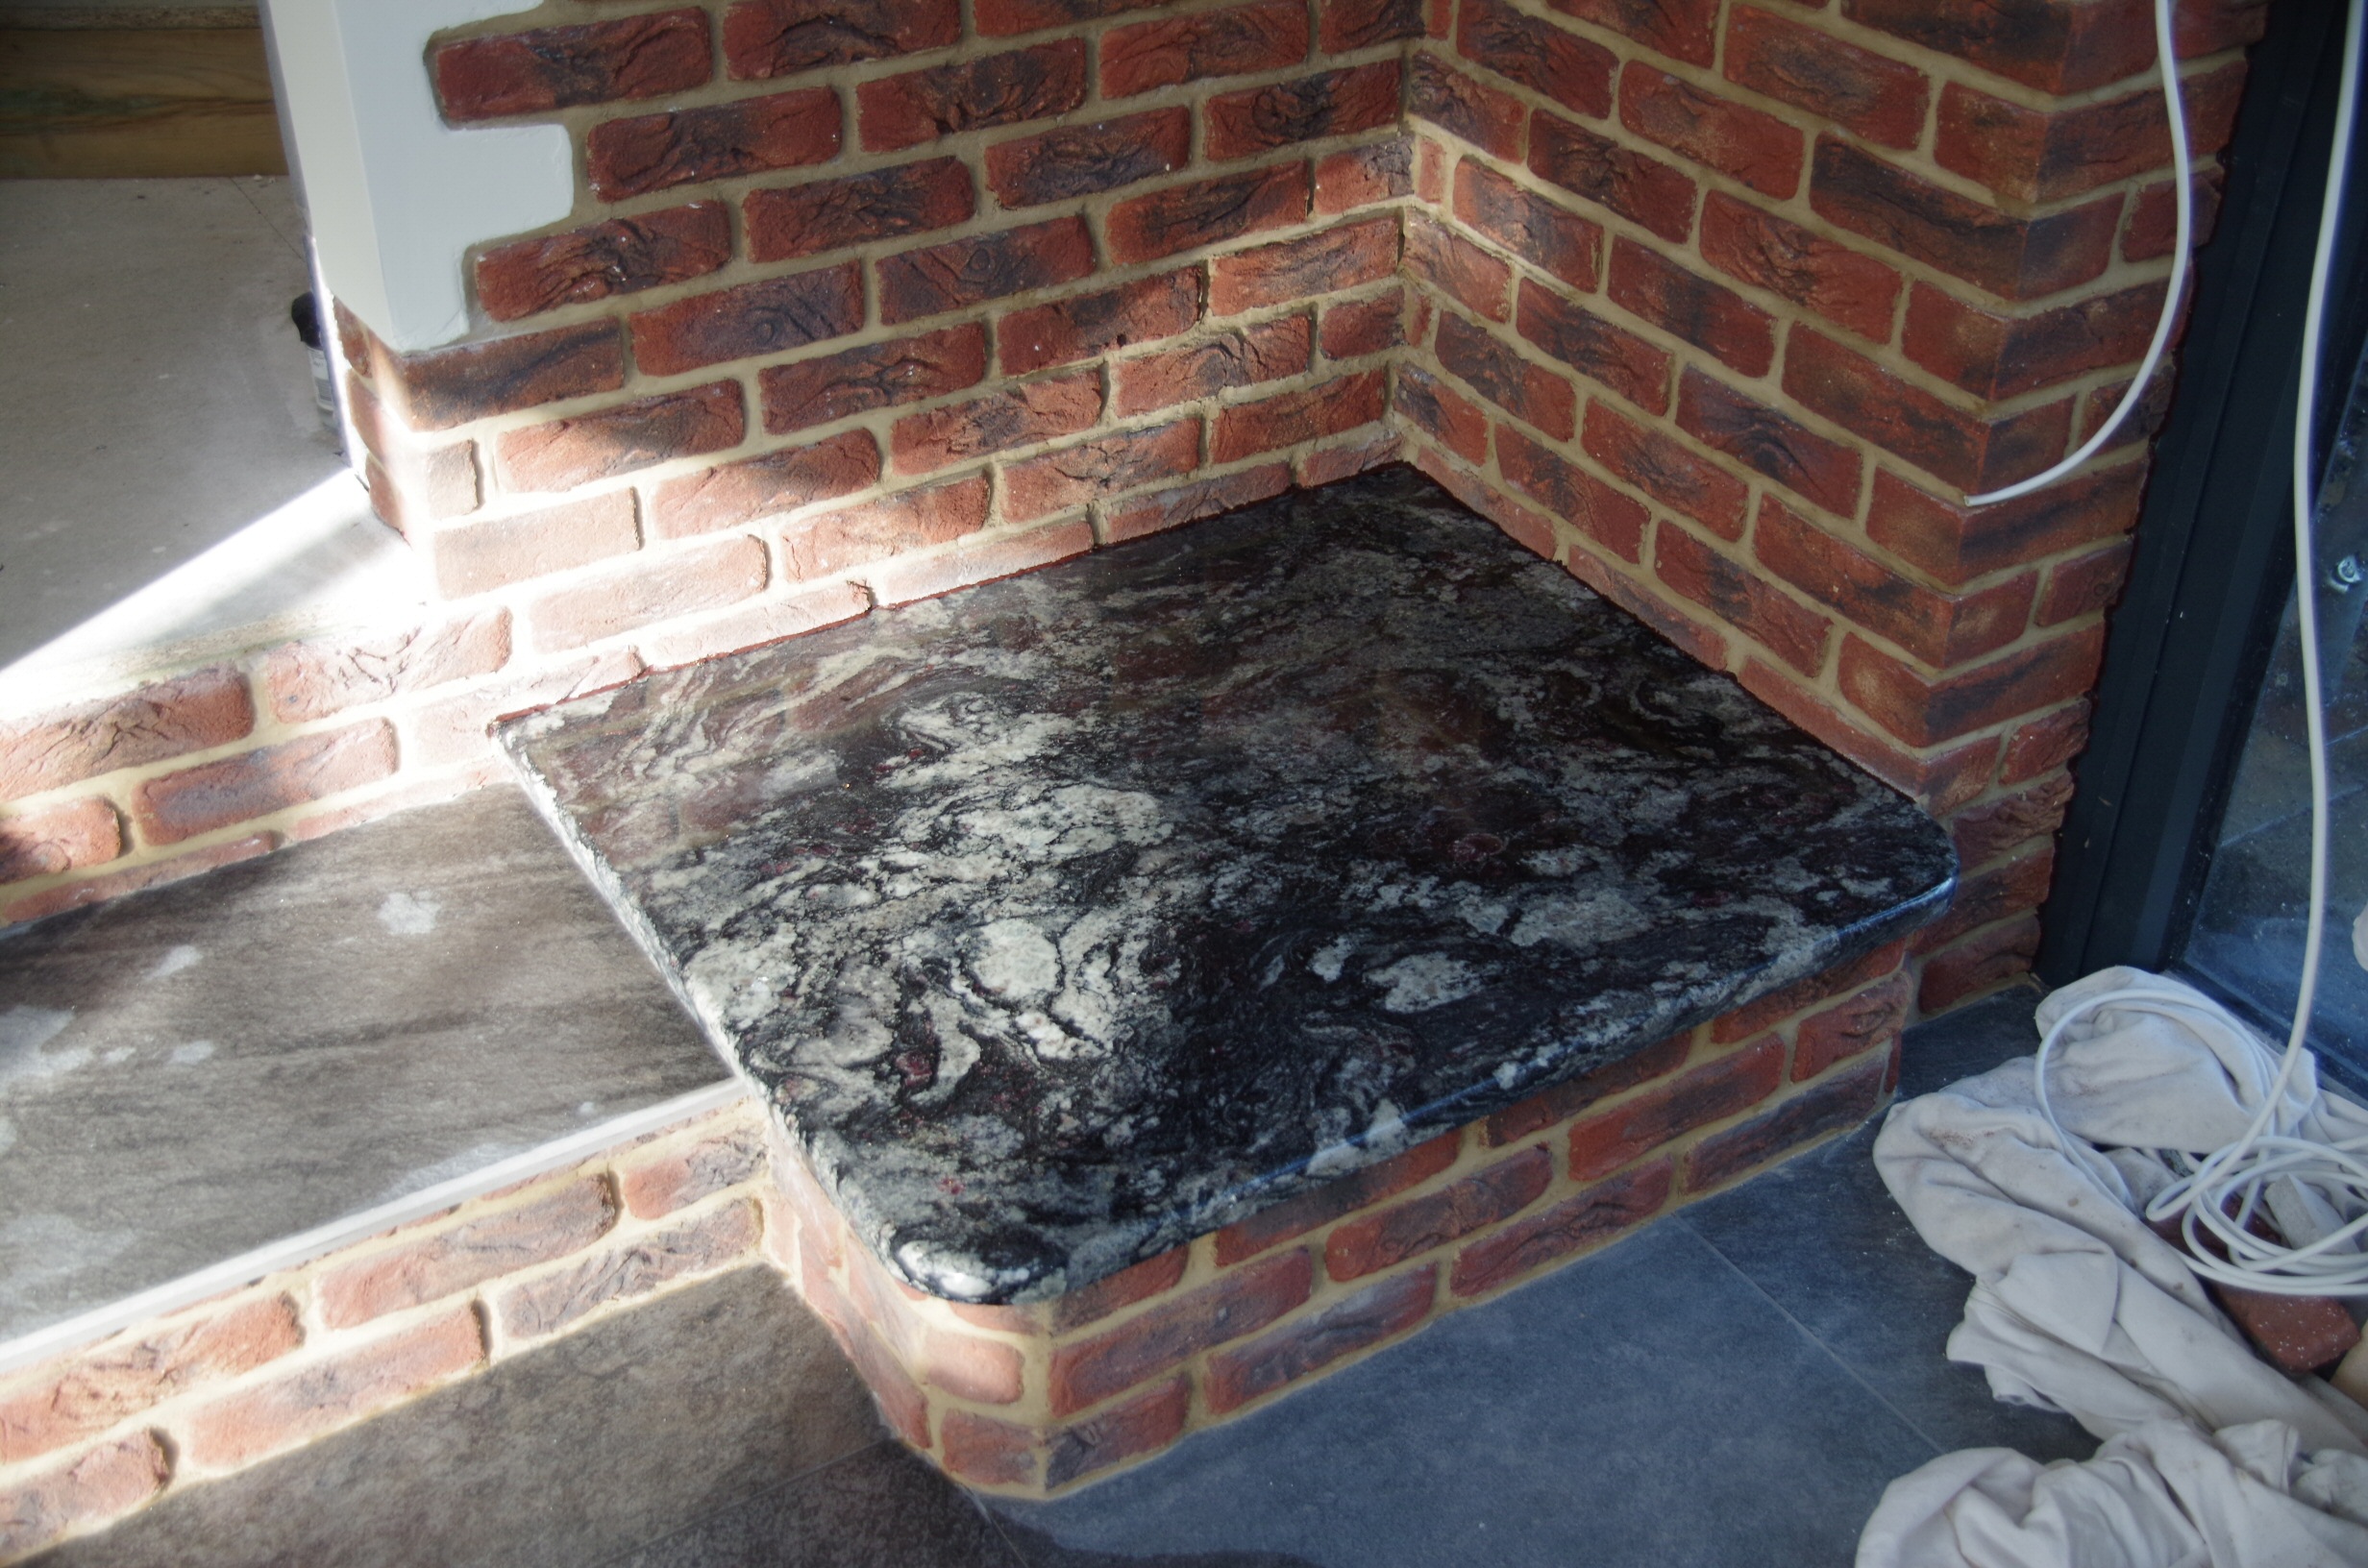
Hearth and step are thermal blocks faced with brick slips. The pointing takes forever and is boring. I used Mapei flexible adhesive, some rapid set but some the slow set that I used for the floor tiles. Slow set gives lots of working time.
The hearth stone was cut and shaped by a local stone works, they didn’t cut the first one in the orientation we specified which meant the pattern didn’t look right so they cut another one but obviously the second pattern wasn’t our first choice so a bit disappointing. Even so it’s a fantastic bit of stone with bits of semi-precious red bits and flecks of gold bits.
I very pleased with my lead work and lead burning, pity its on the roof out of view.
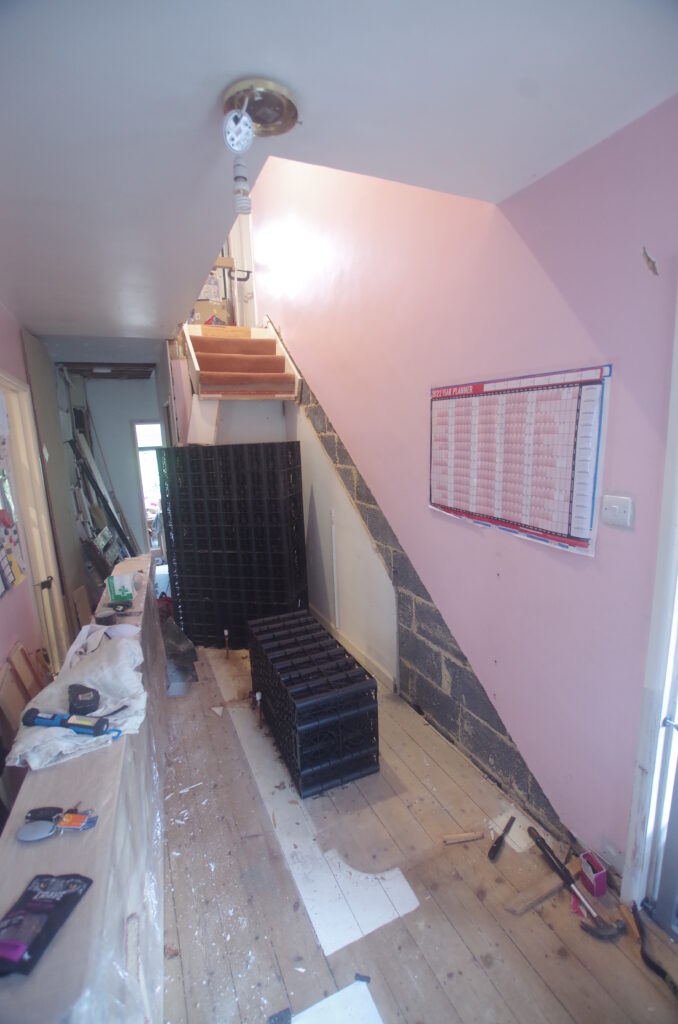
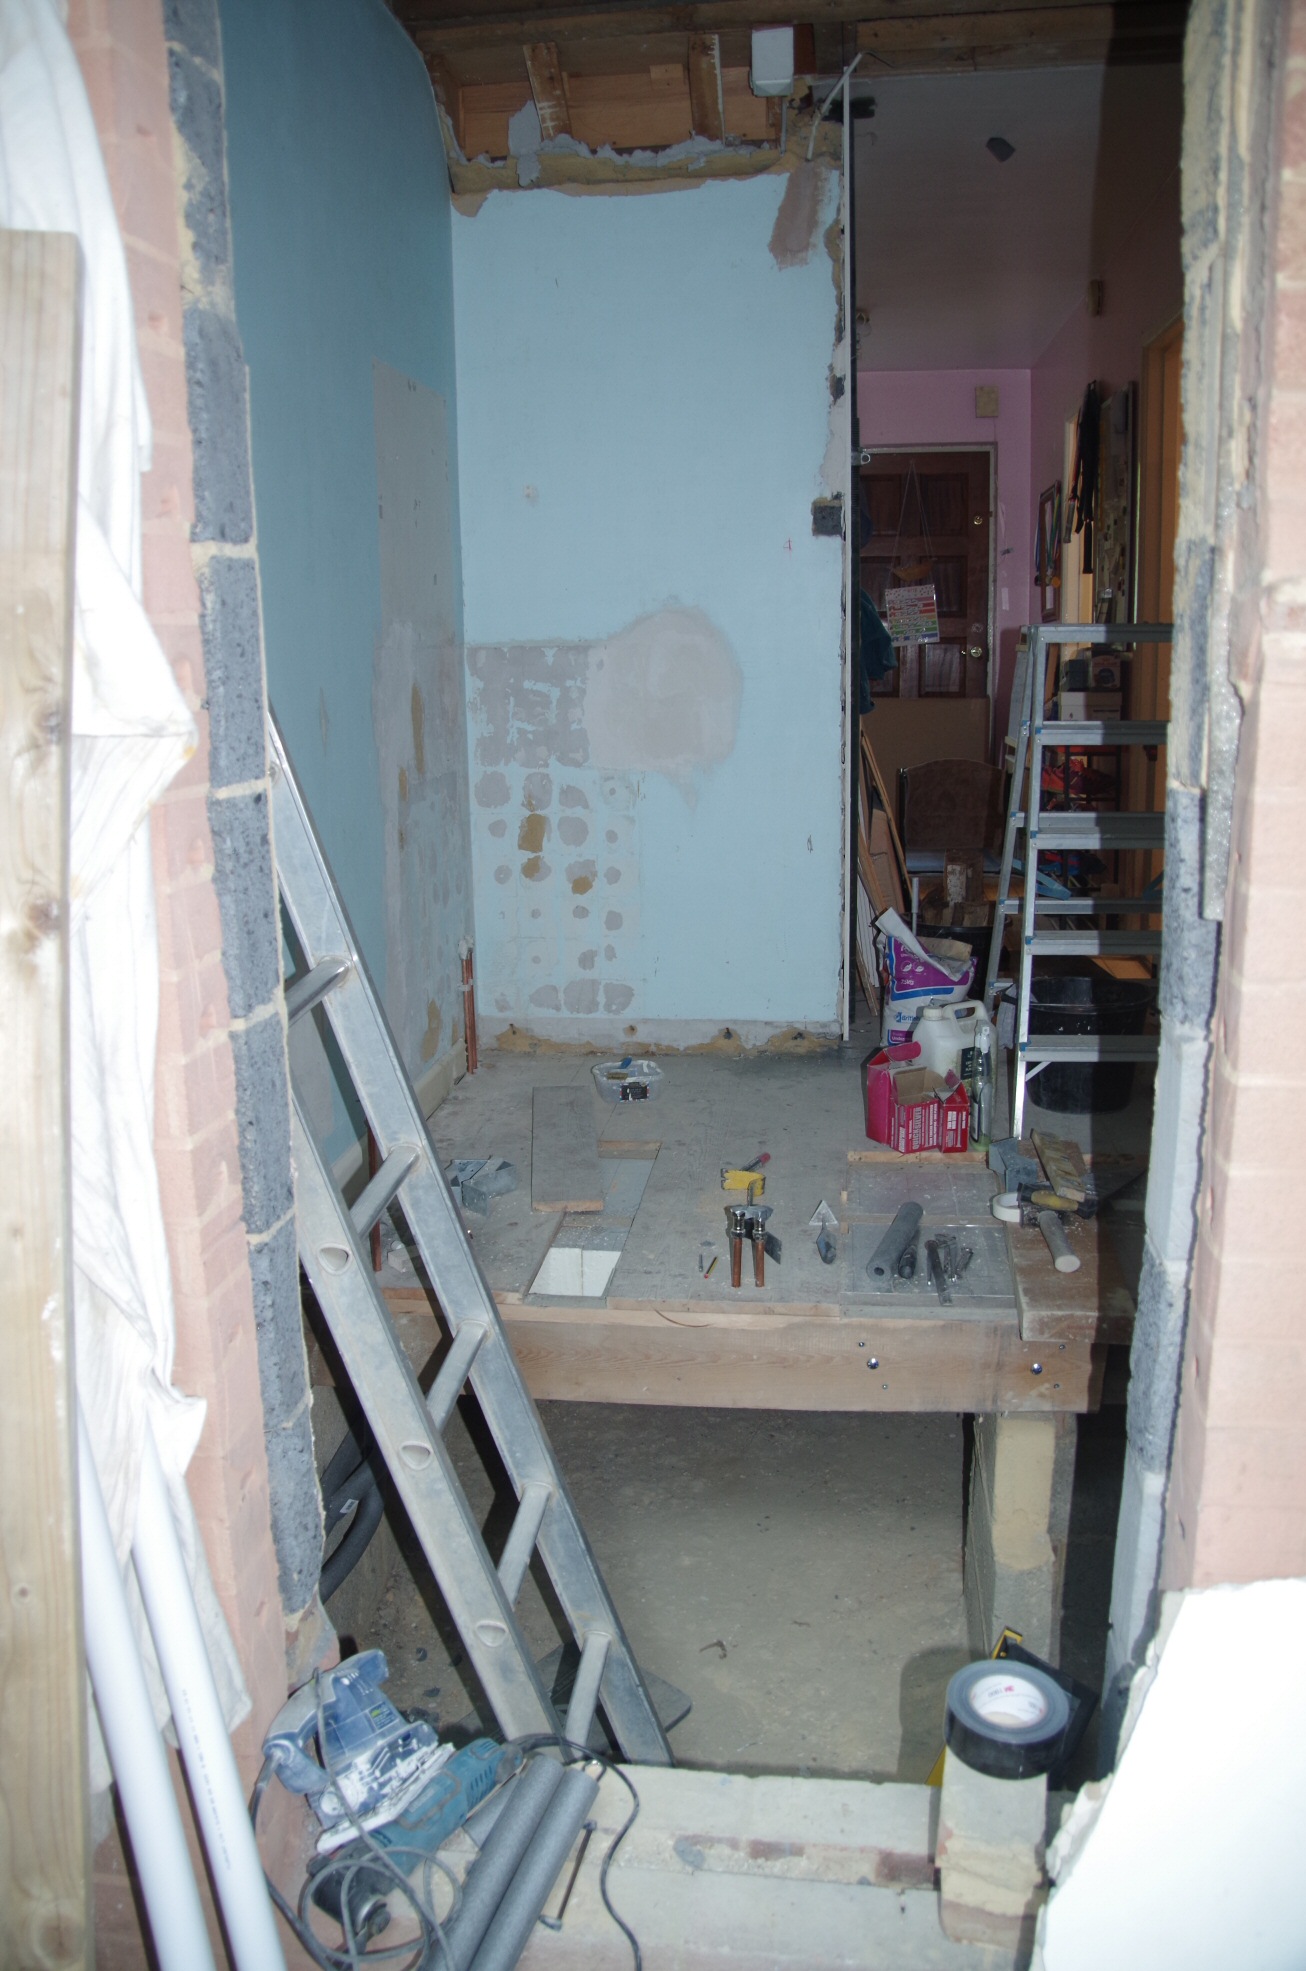
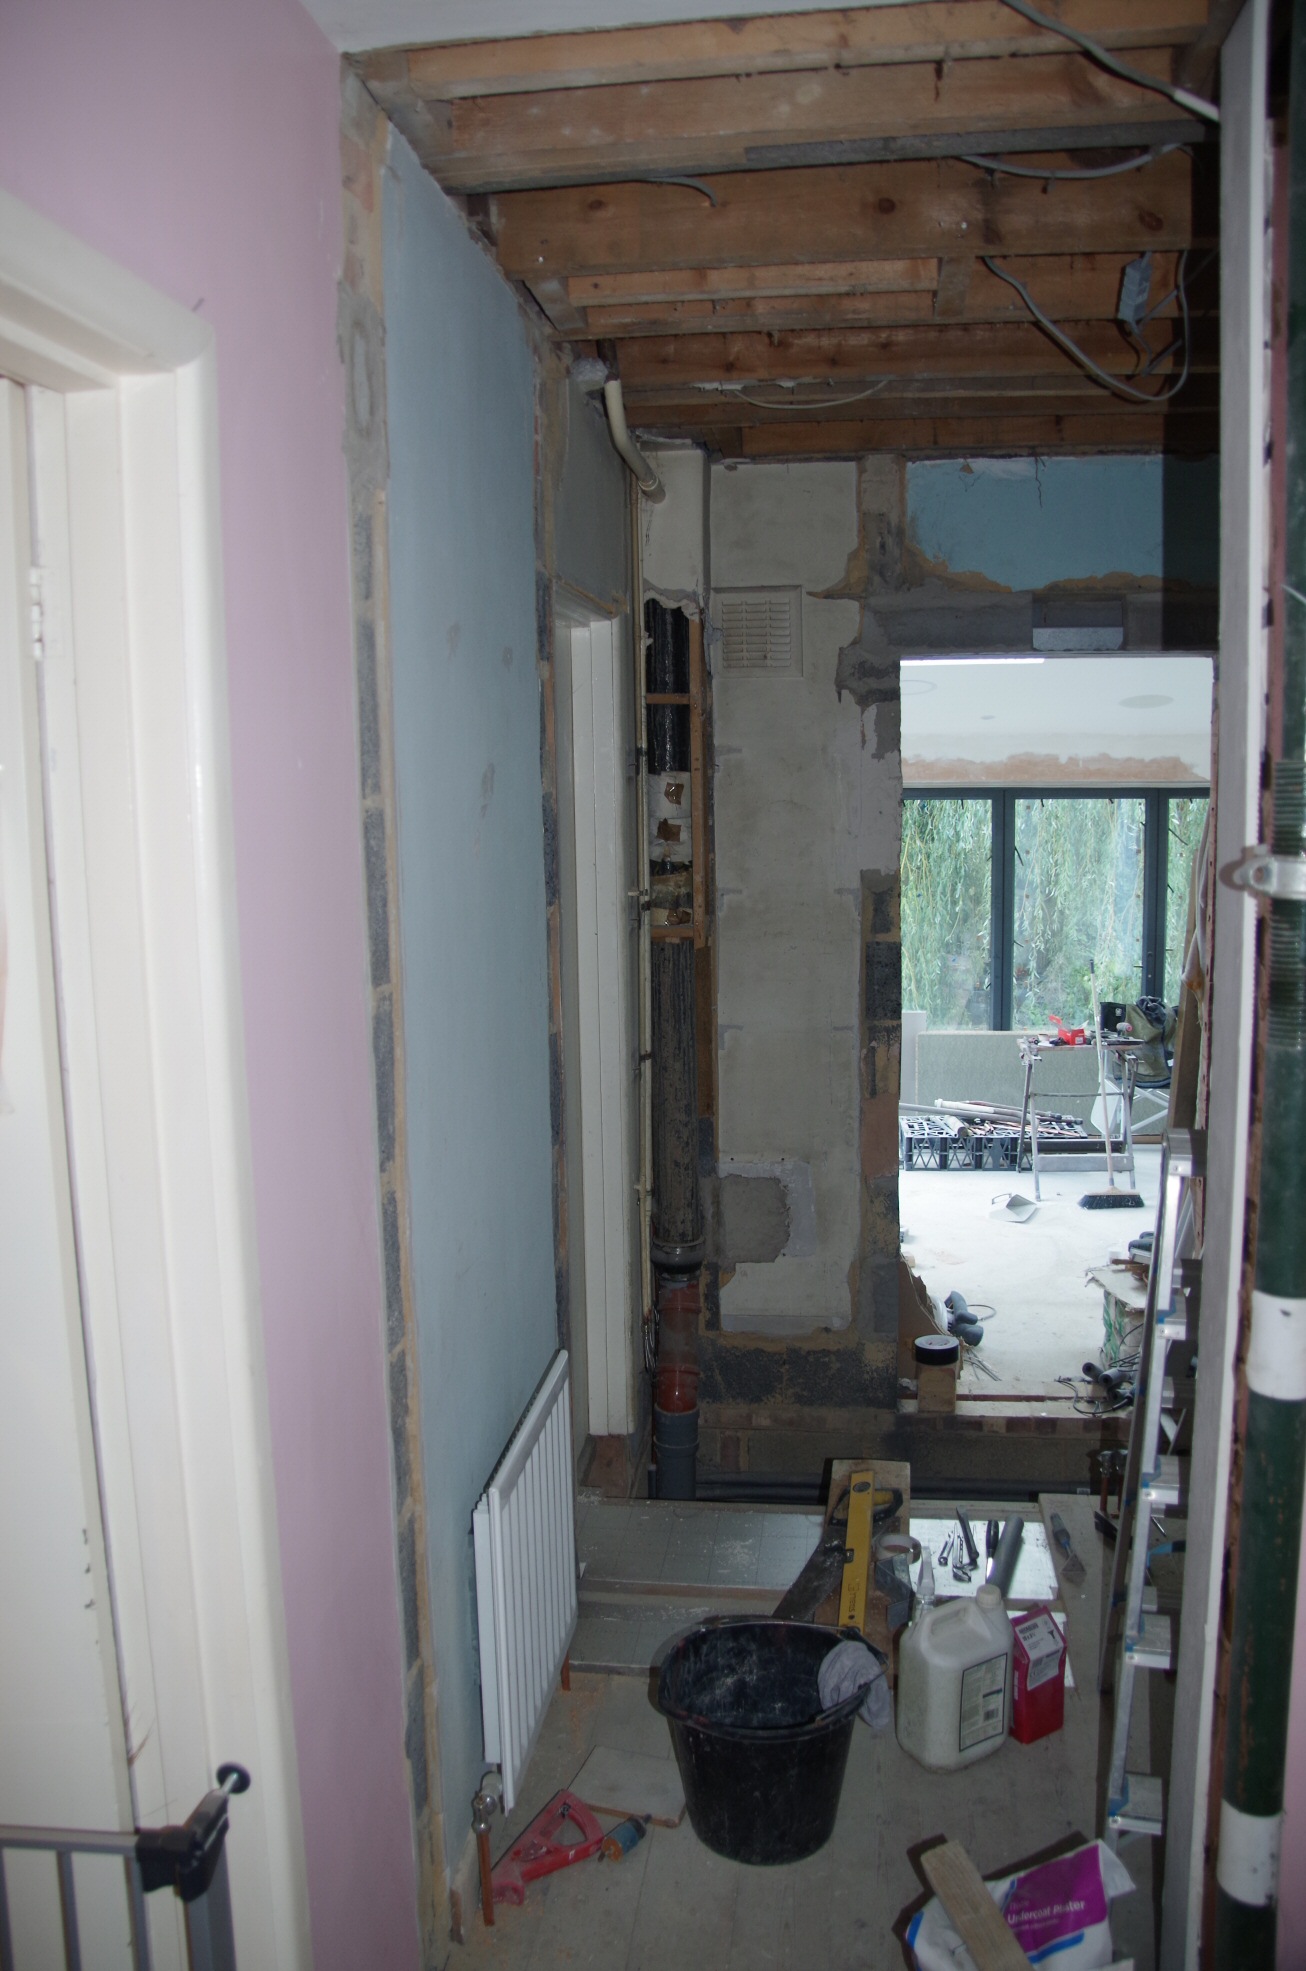
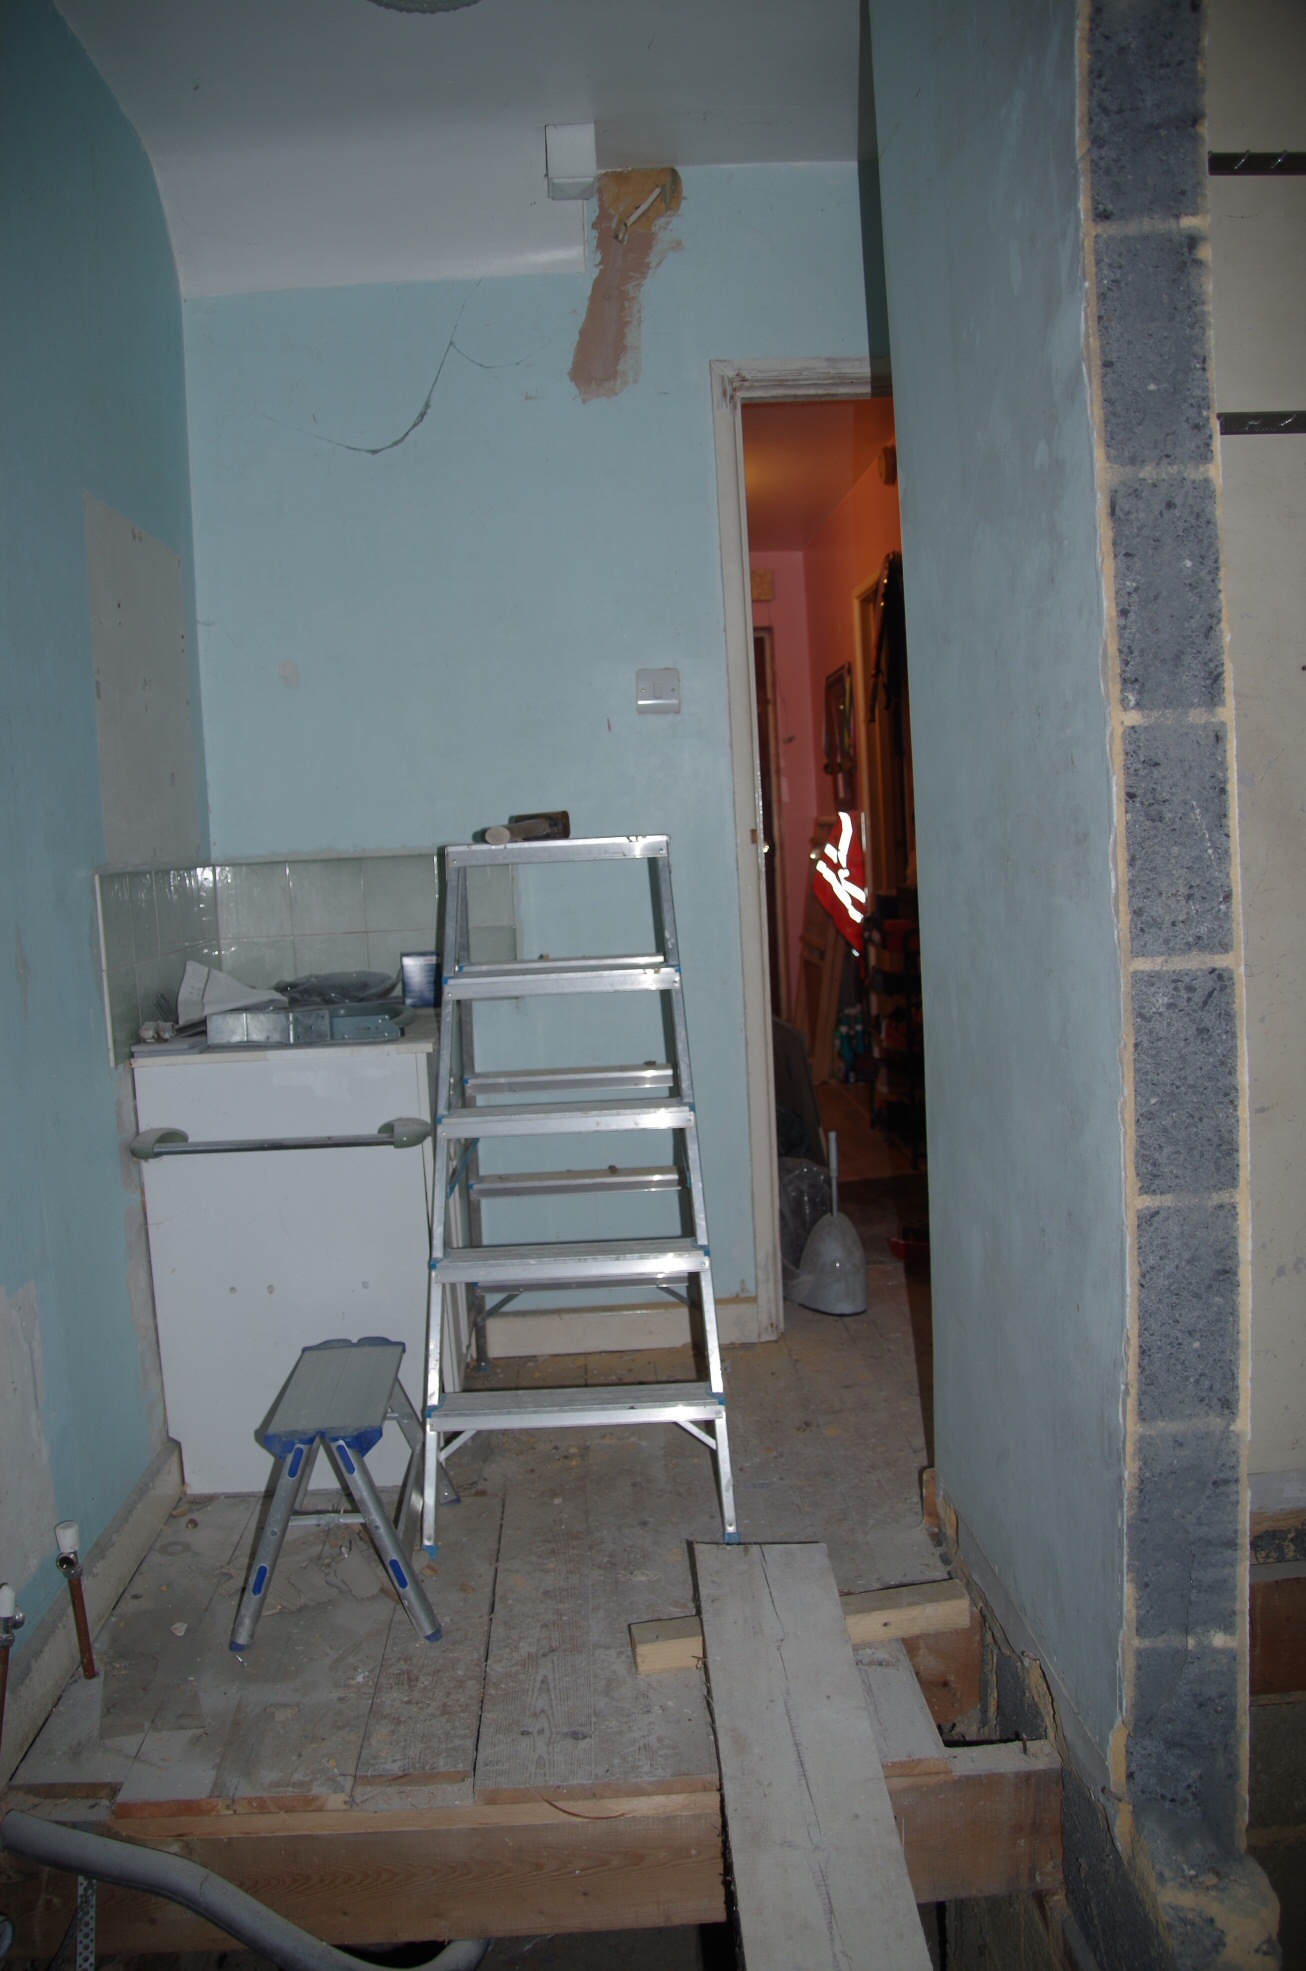
After demolishing the larder and cloakroom, it’s time to make a new cloakroom and passageway to the orangery.
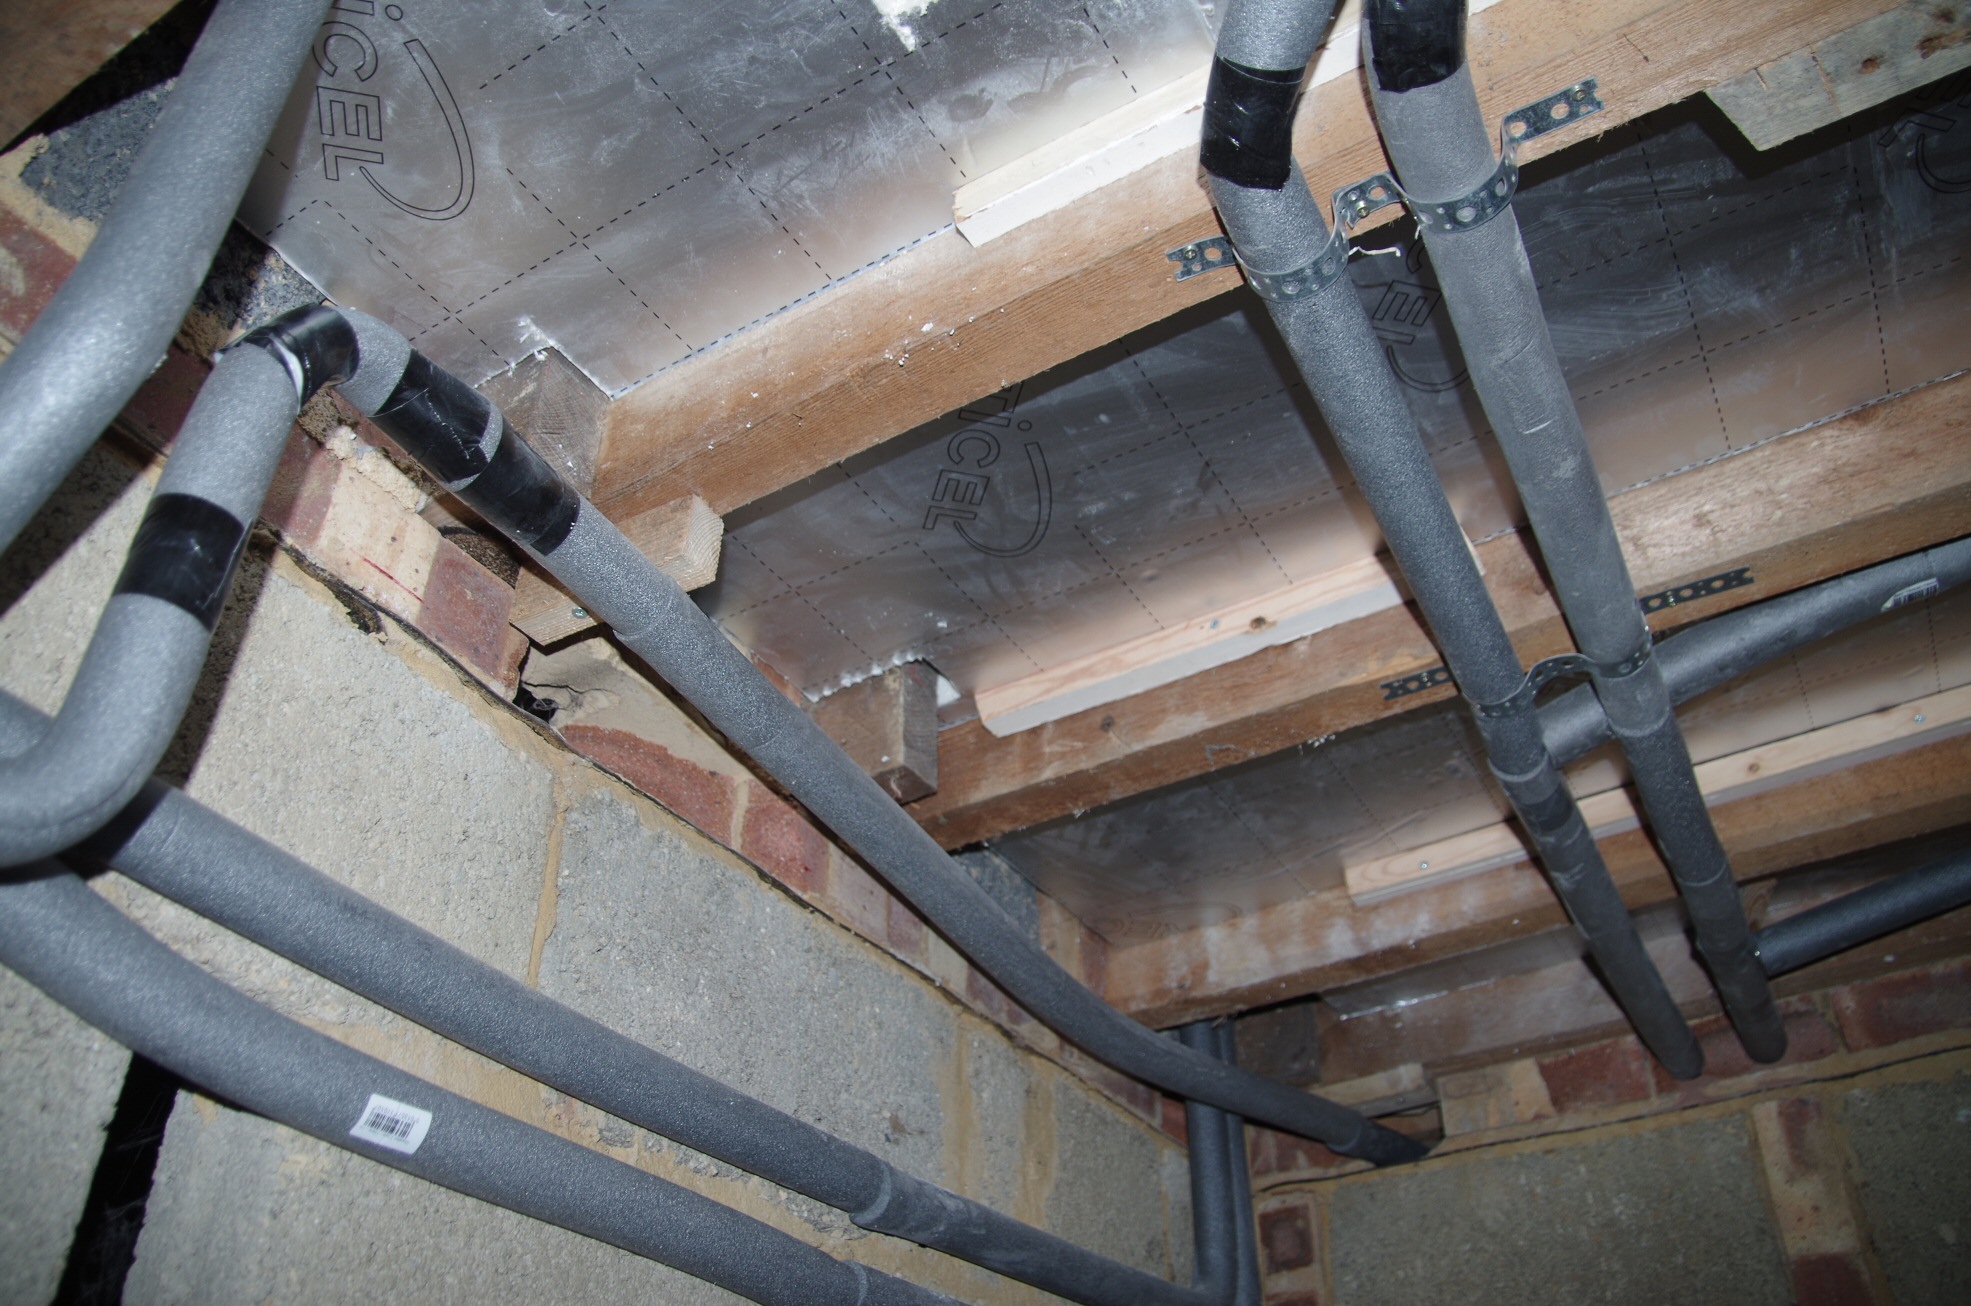
Insulation under the floor and new stopcock, pressure reducing valve, anti-knock pipe, provision for water softener and orangery underfloor heating stuff. Next is the cloakroom soil and basin waste pipes now that the radiator is moved and feed pipes for toilet and basin are in and hopefully the right location.
Empty space.
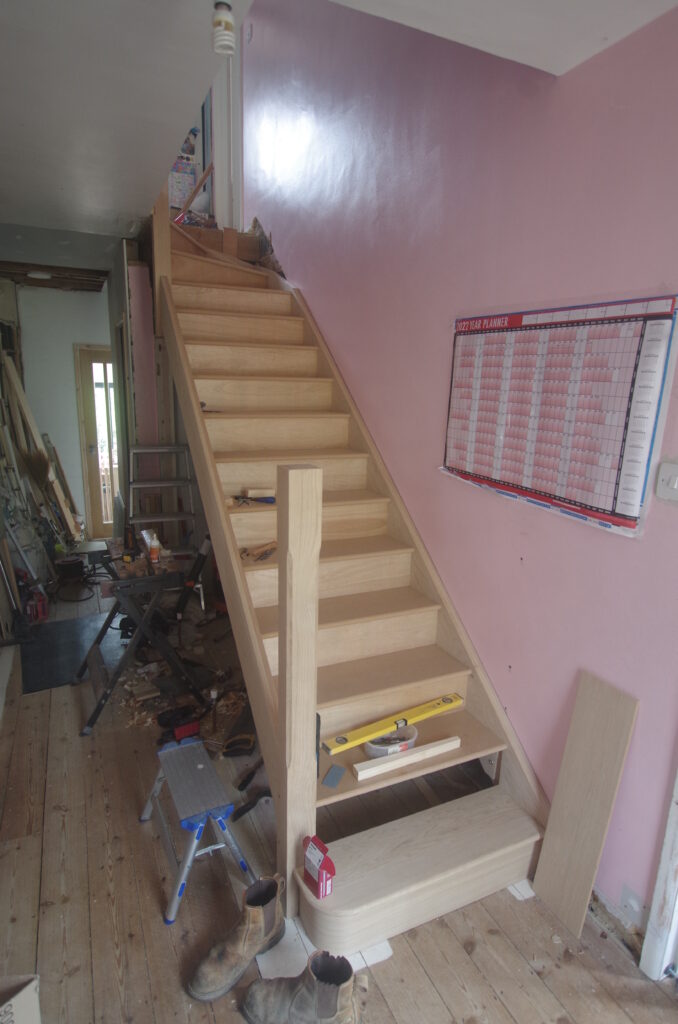
Passageway.
Insulation.
Pipes.
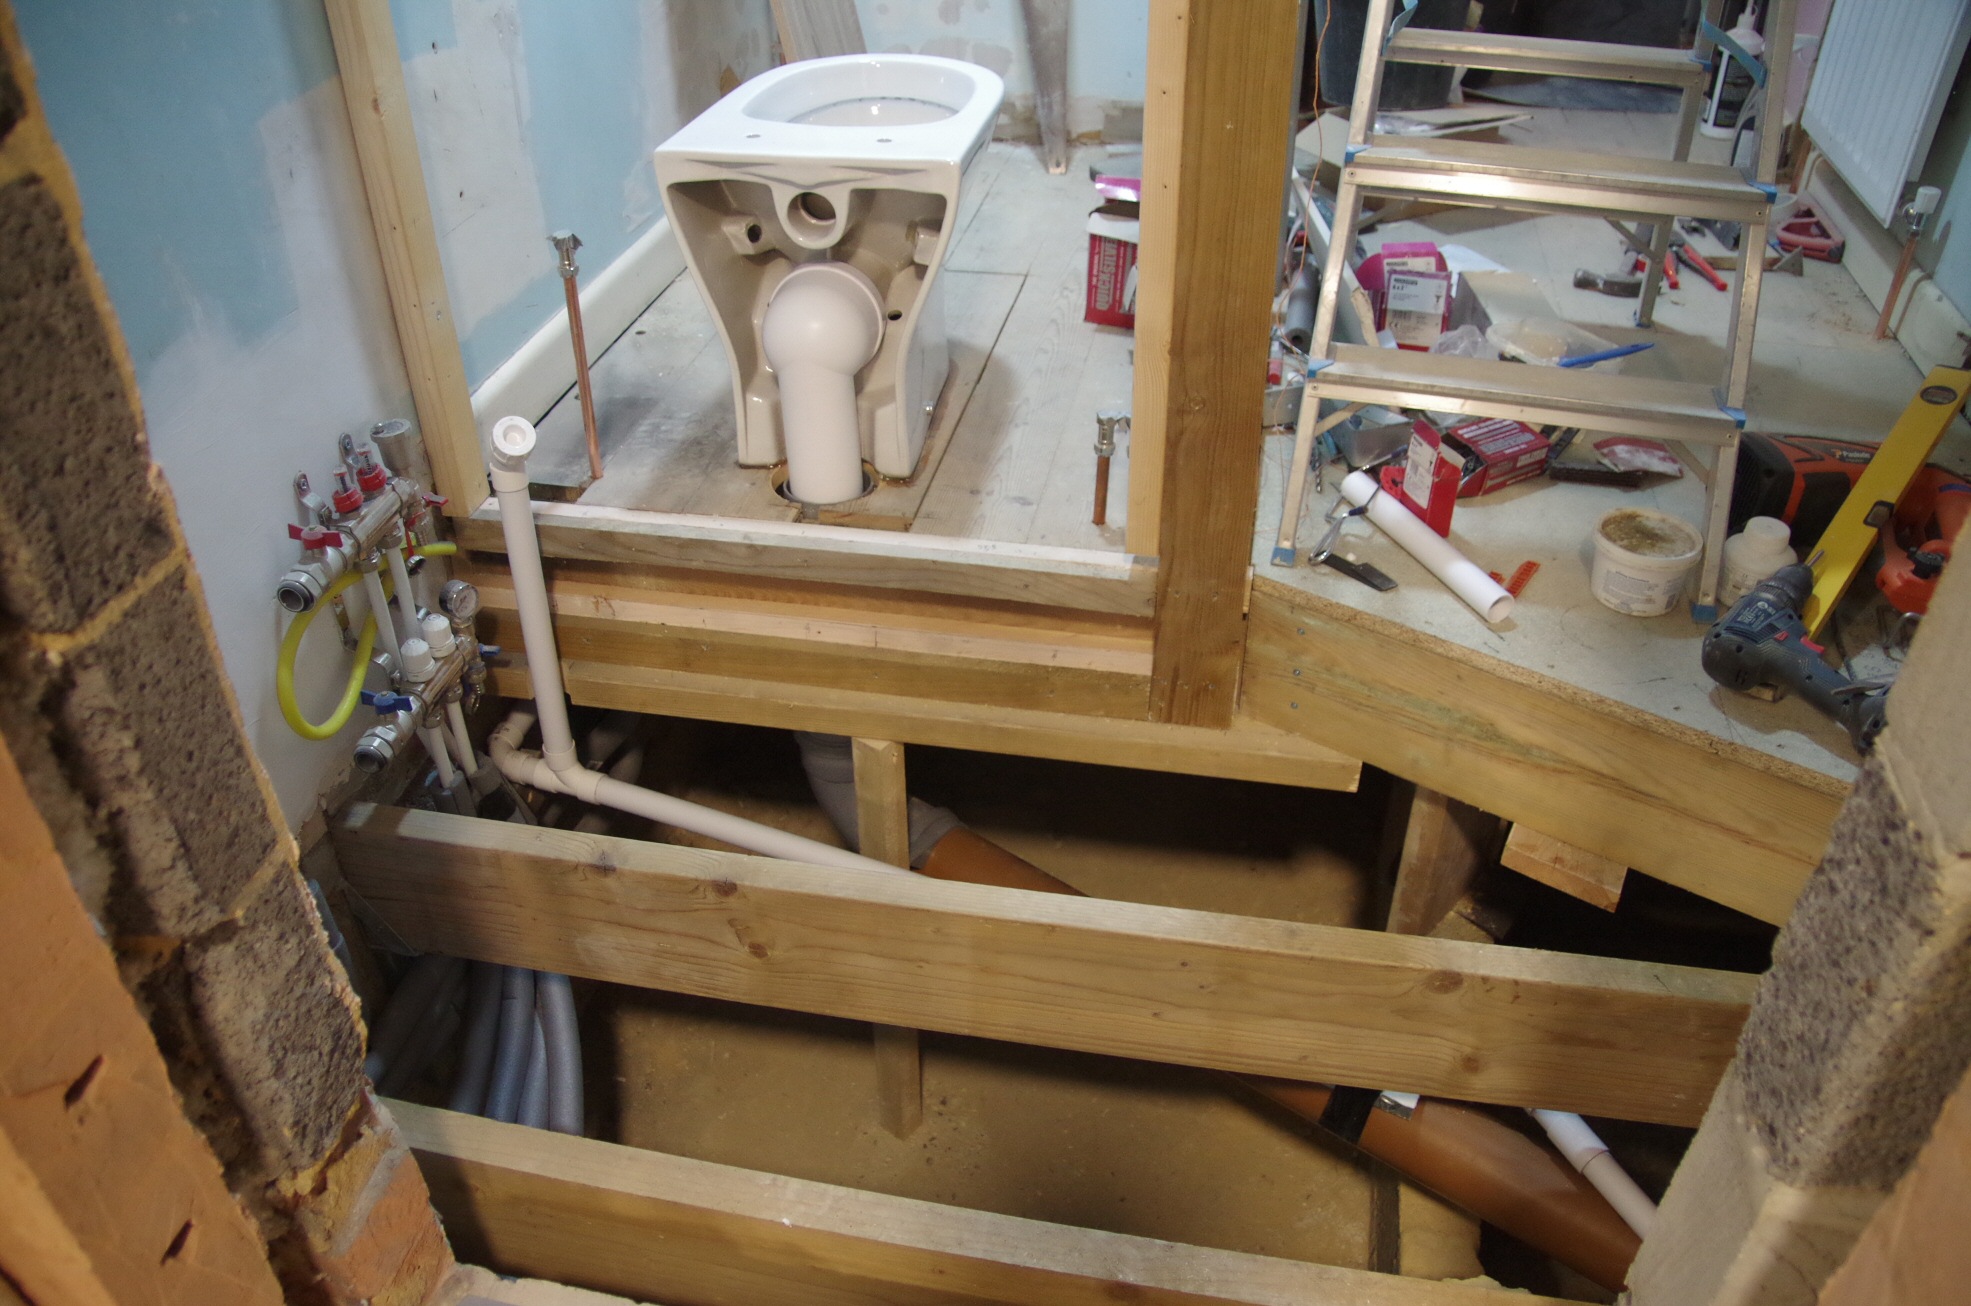
After adding all the underfloor pipes, the joists went in for the new lowered floor area.
Joists for floor.
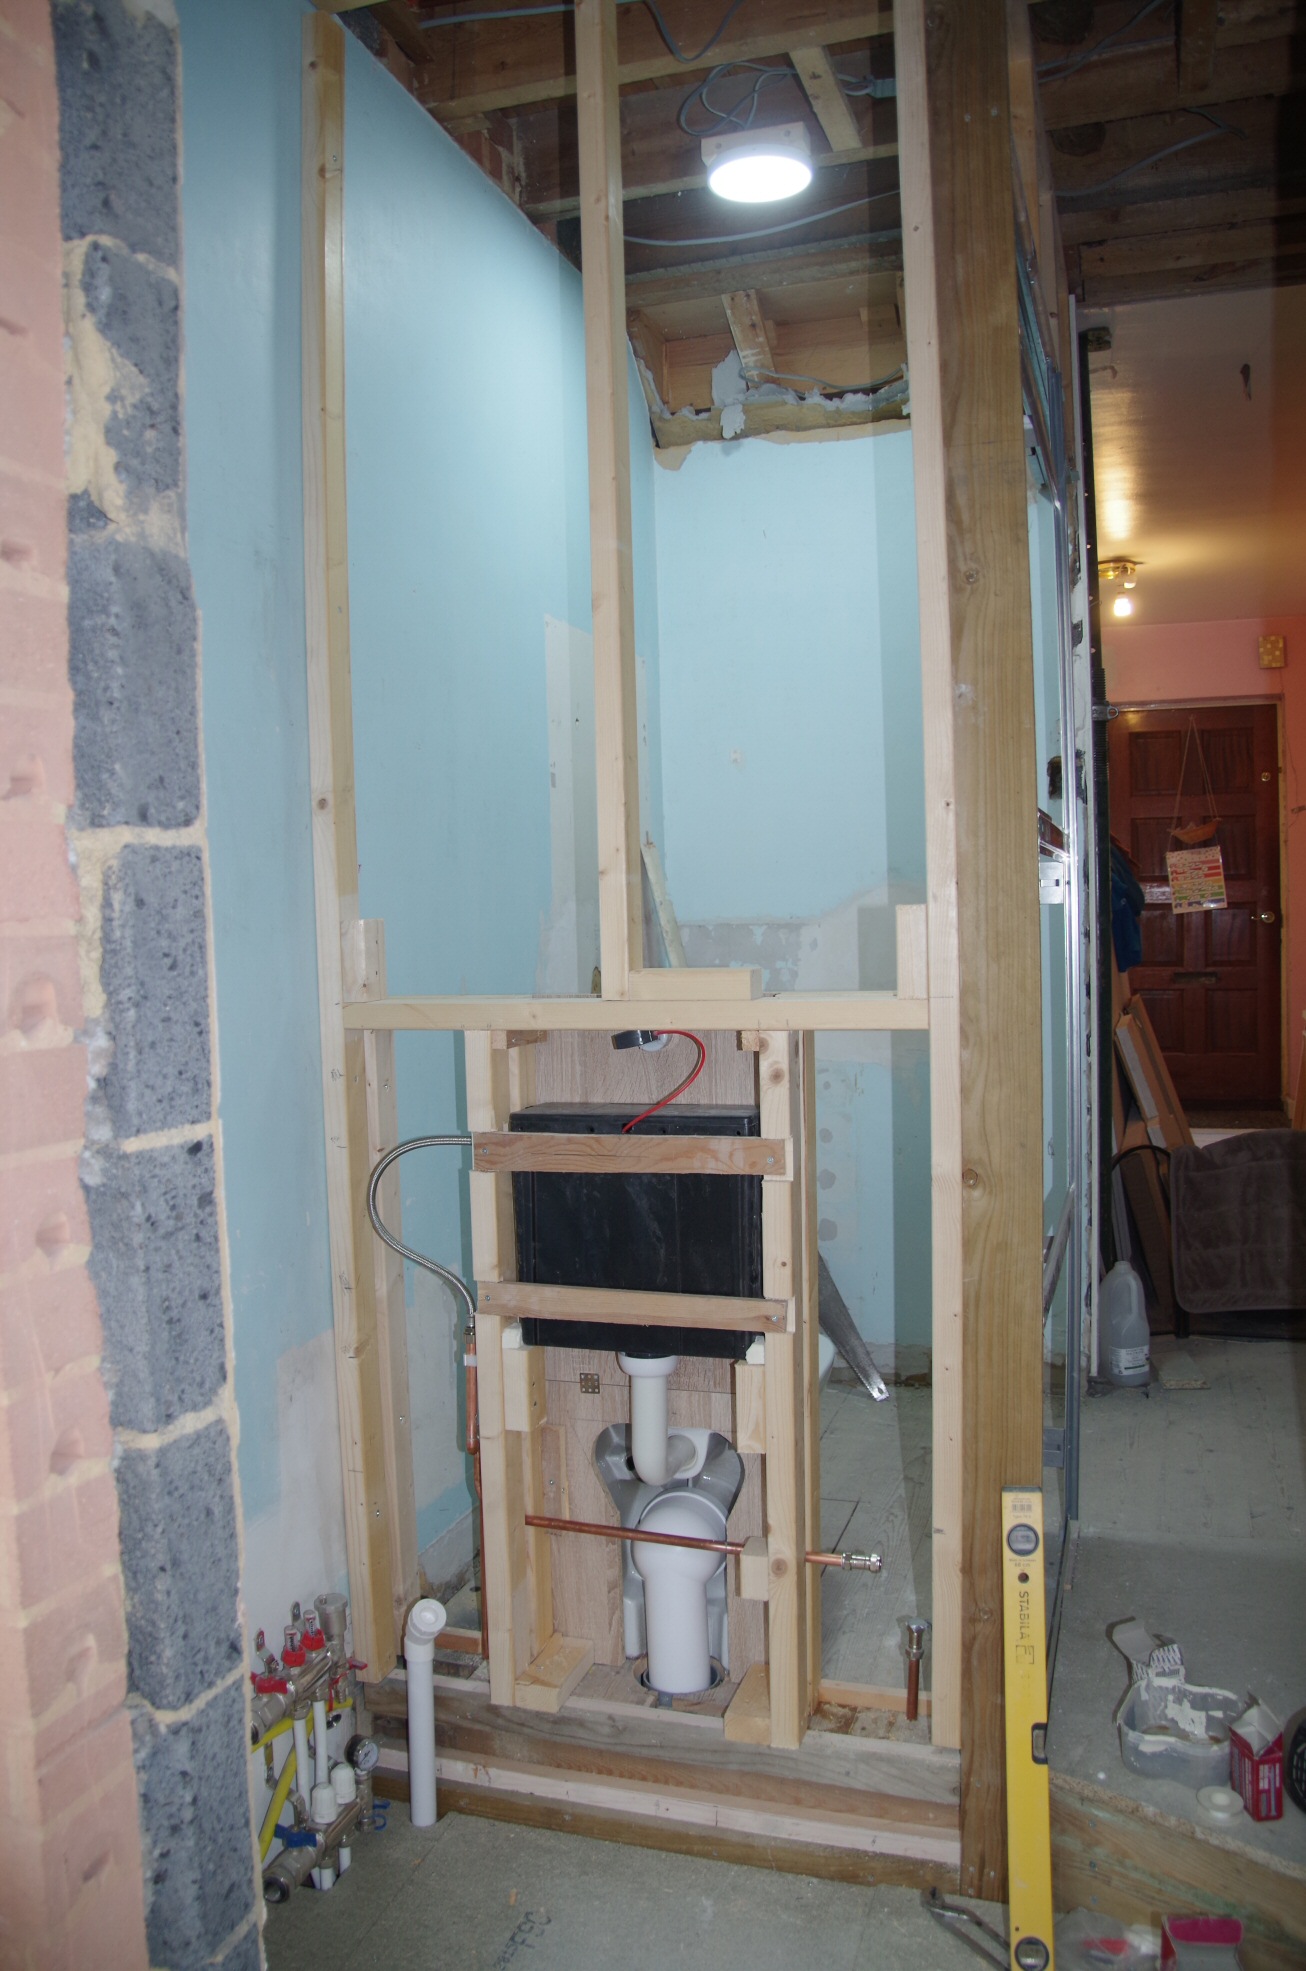
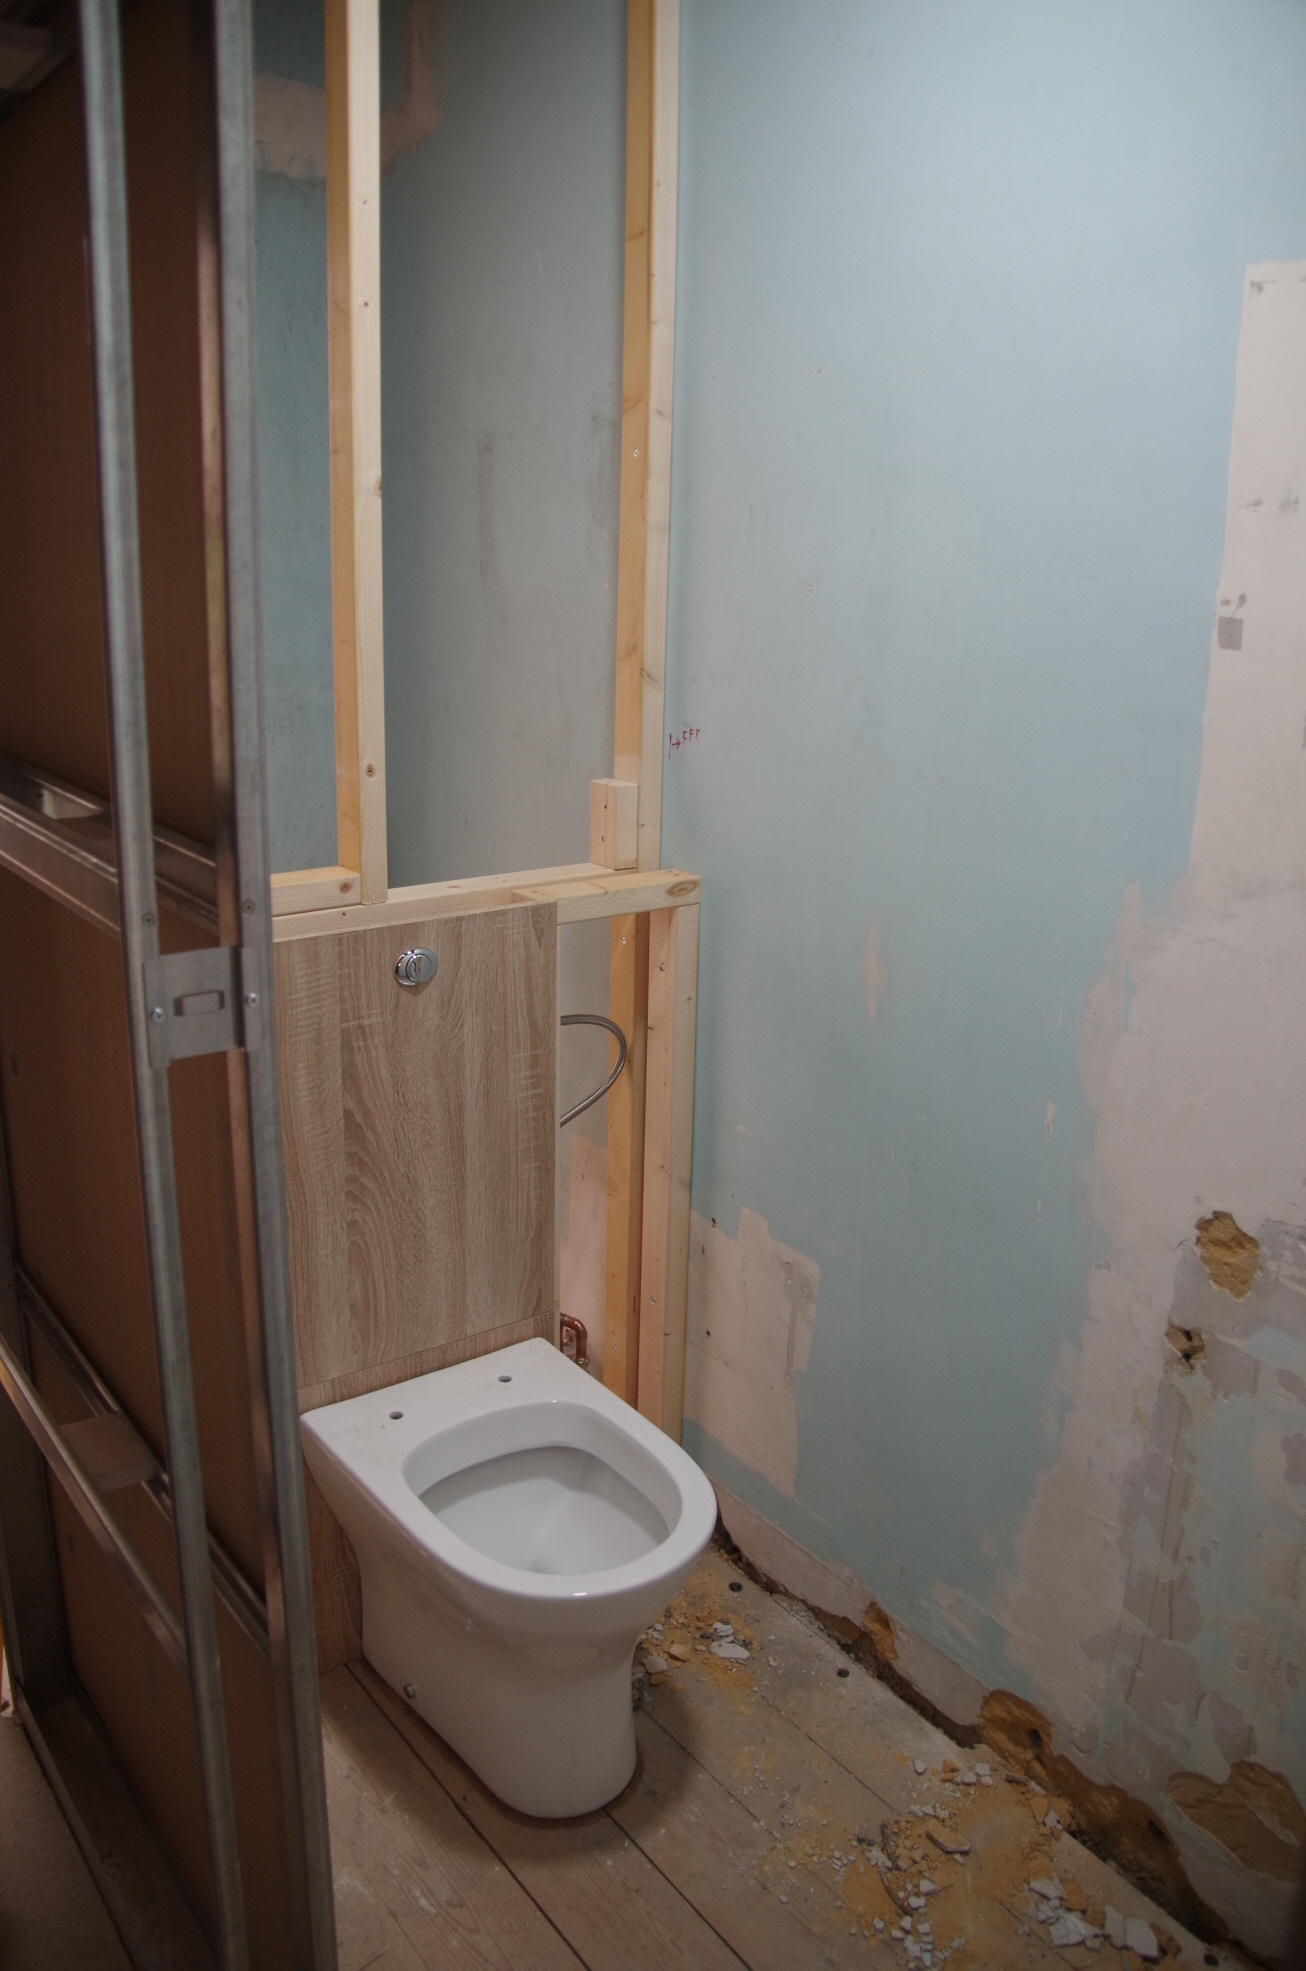
Stud work.
A flushing loo!
Floor down, stud work in, pan and cistern plumbed in and working.
Next is the plaster boarding and patch up the wall.
Before removing the larder, I had to remove the airing cupboard wall which is supported by the larder. The airing cupboard is a later part of the project!
The lintel supporting the airing cupboard and the one for the door to the old cloakroom where in the main supporting wall so had to be carefully cut out using the Allsaw and drill.
Looking to orangery door – note larder wall in the way.