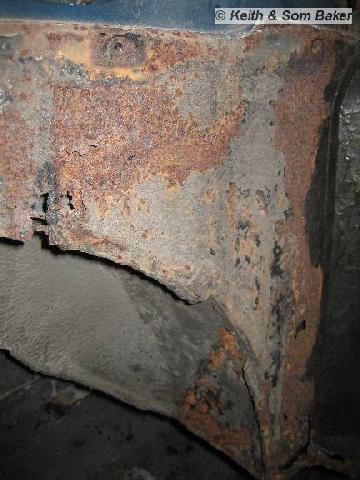
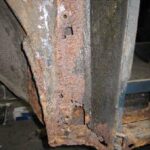
The n/s inner wing was in worse condition than the o/s so I decided to replace the two inner wing panels and patch the A post.

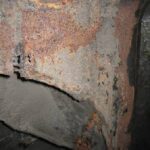
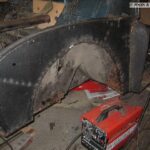
Cut out the wing and made a repair section for the bump stop on the inner wheel arch and also a repair section round the wheel arch seam.
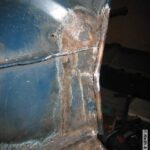
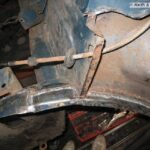
Lining up the inner wing needs lots of measuring and eyeing up to get right. At the A post end it is easy as the panel fits in one place and only its height needs setting, I lined up the top of the wing edge and measured from the courtesy light switch to the door stay bolts. At the front end measure from the bumper bar (although mine was bent) and also lay a straight edge across both wings and eye it up to the bulkhead.
Although there is little that can be done it is worth checking the distance from the bulkhead to the front – the new panel is 5mm longer, other wing is dented on the front edge.
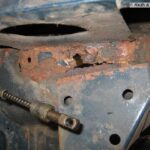
I patched the A post and welded on a new back section – however when I came to fit it, it had turned banana shaped and was not to useful, so in the bin it went and a new panel bought.
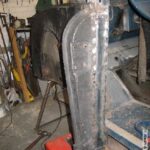
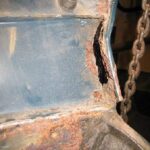
The A post is easier than the inner wing to fit but a door trial fit is essential. Height measured from the courtesy light switch to the door hinge, also lines up with the stay bolts although this is when I found that these were 5mm higher than the other side or the original. Once lined up tack it on and trial fit the door. A quick measure of the door opening to the A post hinges will check the angle is right, Mine was out by quite a bit so I cut of the tack welds on the front edge and knocked it forward. Trial fit of the door and it all seemed perfect (I expect that will change somehow when I fit the door finally!).