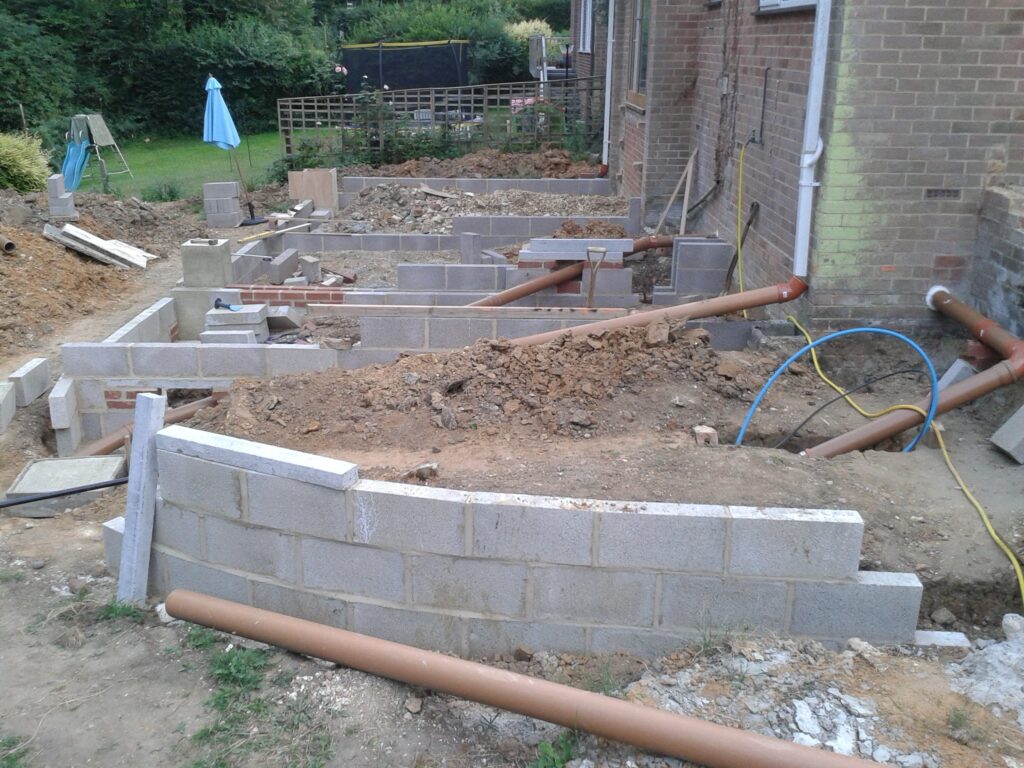
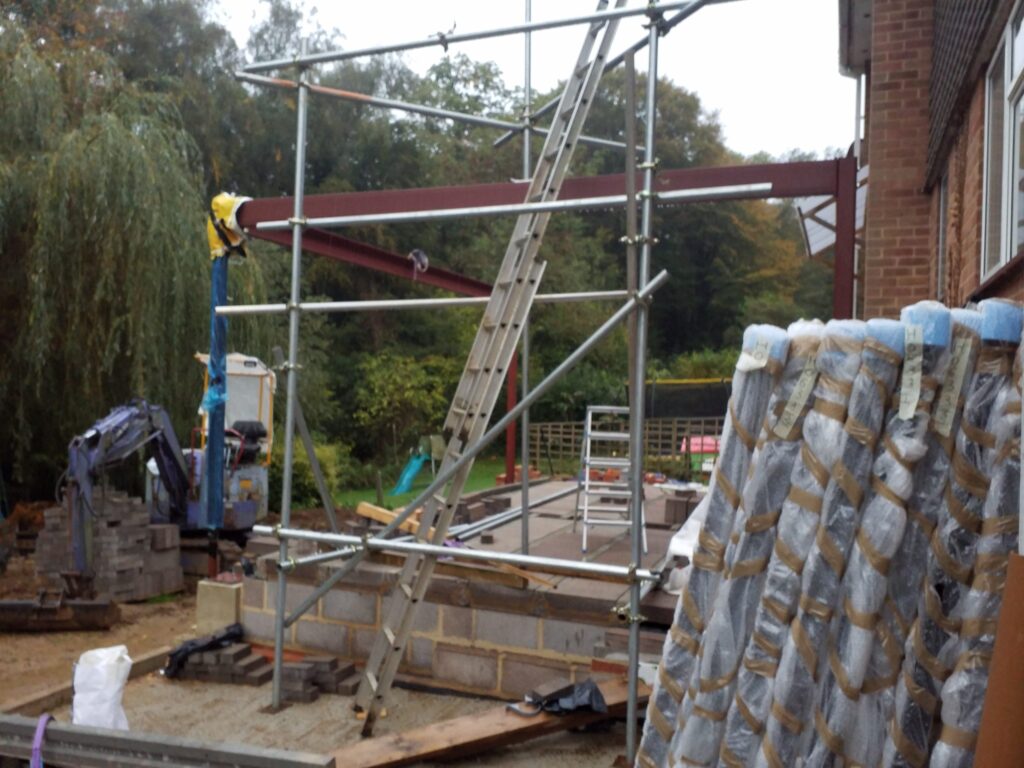
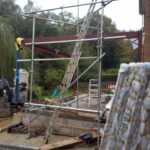
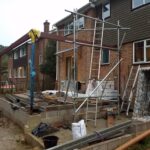
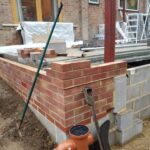
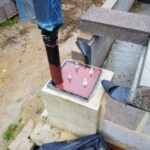
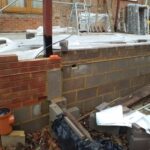
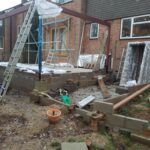
Foundation walls complete and most of the floor blocks in. We lifted the beams one with with the digger and the other with a scaffold winch. We did the corner post first but in hindsight should have done the other two first as they where not so critical. The corner post only has compressive strength and flexed as I put the frame up. I had to adjust it after to get it perfectly upright which was the critical bit for installing the bi-folds later on. The corner post is part of the door framing and has a structural post through it. The intention was to have a small corner post and none of the frame visible. The main frame posts are in the wall cavity and are sized to self support the whole roof, although I also tied it in to the brickwork.
Footings
Not quite the start of the project. Footings with the foundation walls part done. This picture shows the concrete piers being formed with ply boxing, the near one done and the far one in construction. The piers were later drilled and studs stuck in with KEM-II which is great stuff and also holds the wall plate that supports the roof to the house. Before this I had to move the drains, both soil and rainwater.
Holz Hausen log seasoning
The Holz Hausen is the German approach to seasoning wood. Google it and you’ll find sites on how to build them properly. This is my attempt, it’s my 4th or 5th one over the years. Mine seem to season more on the sunny side, the shrinkage causes it to go lopsided and sometimes collapse 🙂
New House Project
Now that we have moved house we have a new house fixing project !
We are now in the process of fixing all the emergency bits before the winter sets in. The previous owners were old and didn’t do much maintenance, just a few poorly installed shelves.
Oak DVD case – LED lite!
After our holidays last year we had to turn our attentions back to the house and again we’re running out of space. So one of the projects was the DVD case.
The DVD case was made to sit on our sideboard in the stair alcove. This dictated the shape as we wanted to fit all our DVDs in it with room for more (although the to shelf has wine glasses).
Som bought me a router and I got a few cutters to fit it. I did the whole DVD case using the router, its a great tool and as this was solid oak it made it so much easier than by hand.
The lighting is done using white LEDs which I embedded within the wood so only the round end of the LED is showing. All wiring is in channels in the shelving which I then filled with an oak fillet that contained the wiring and LED.
All routed joints Ran out of G-clamps! Embedded LED lighting before it became popular. Cosy!