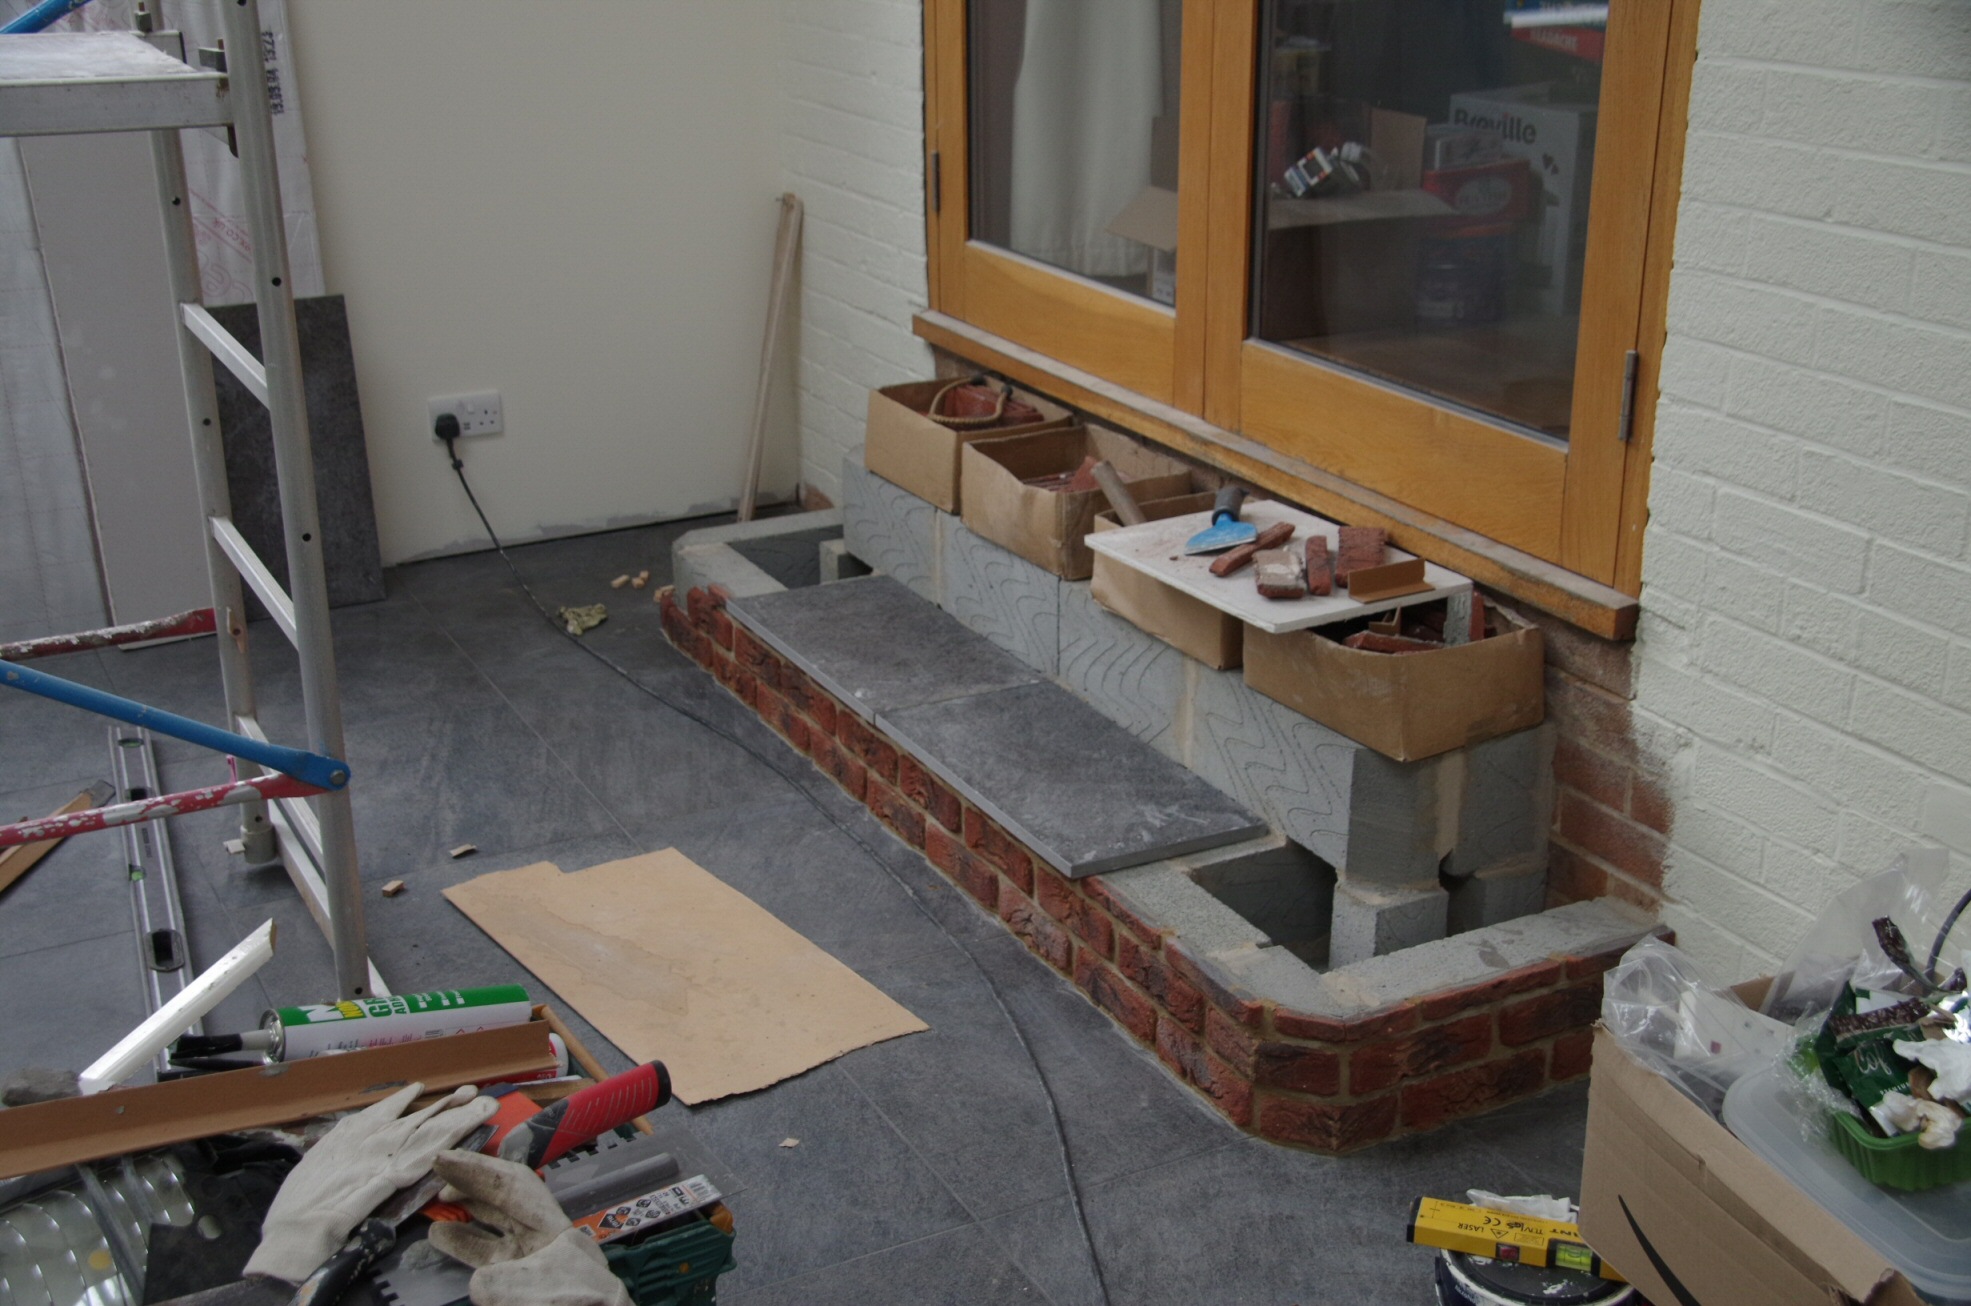
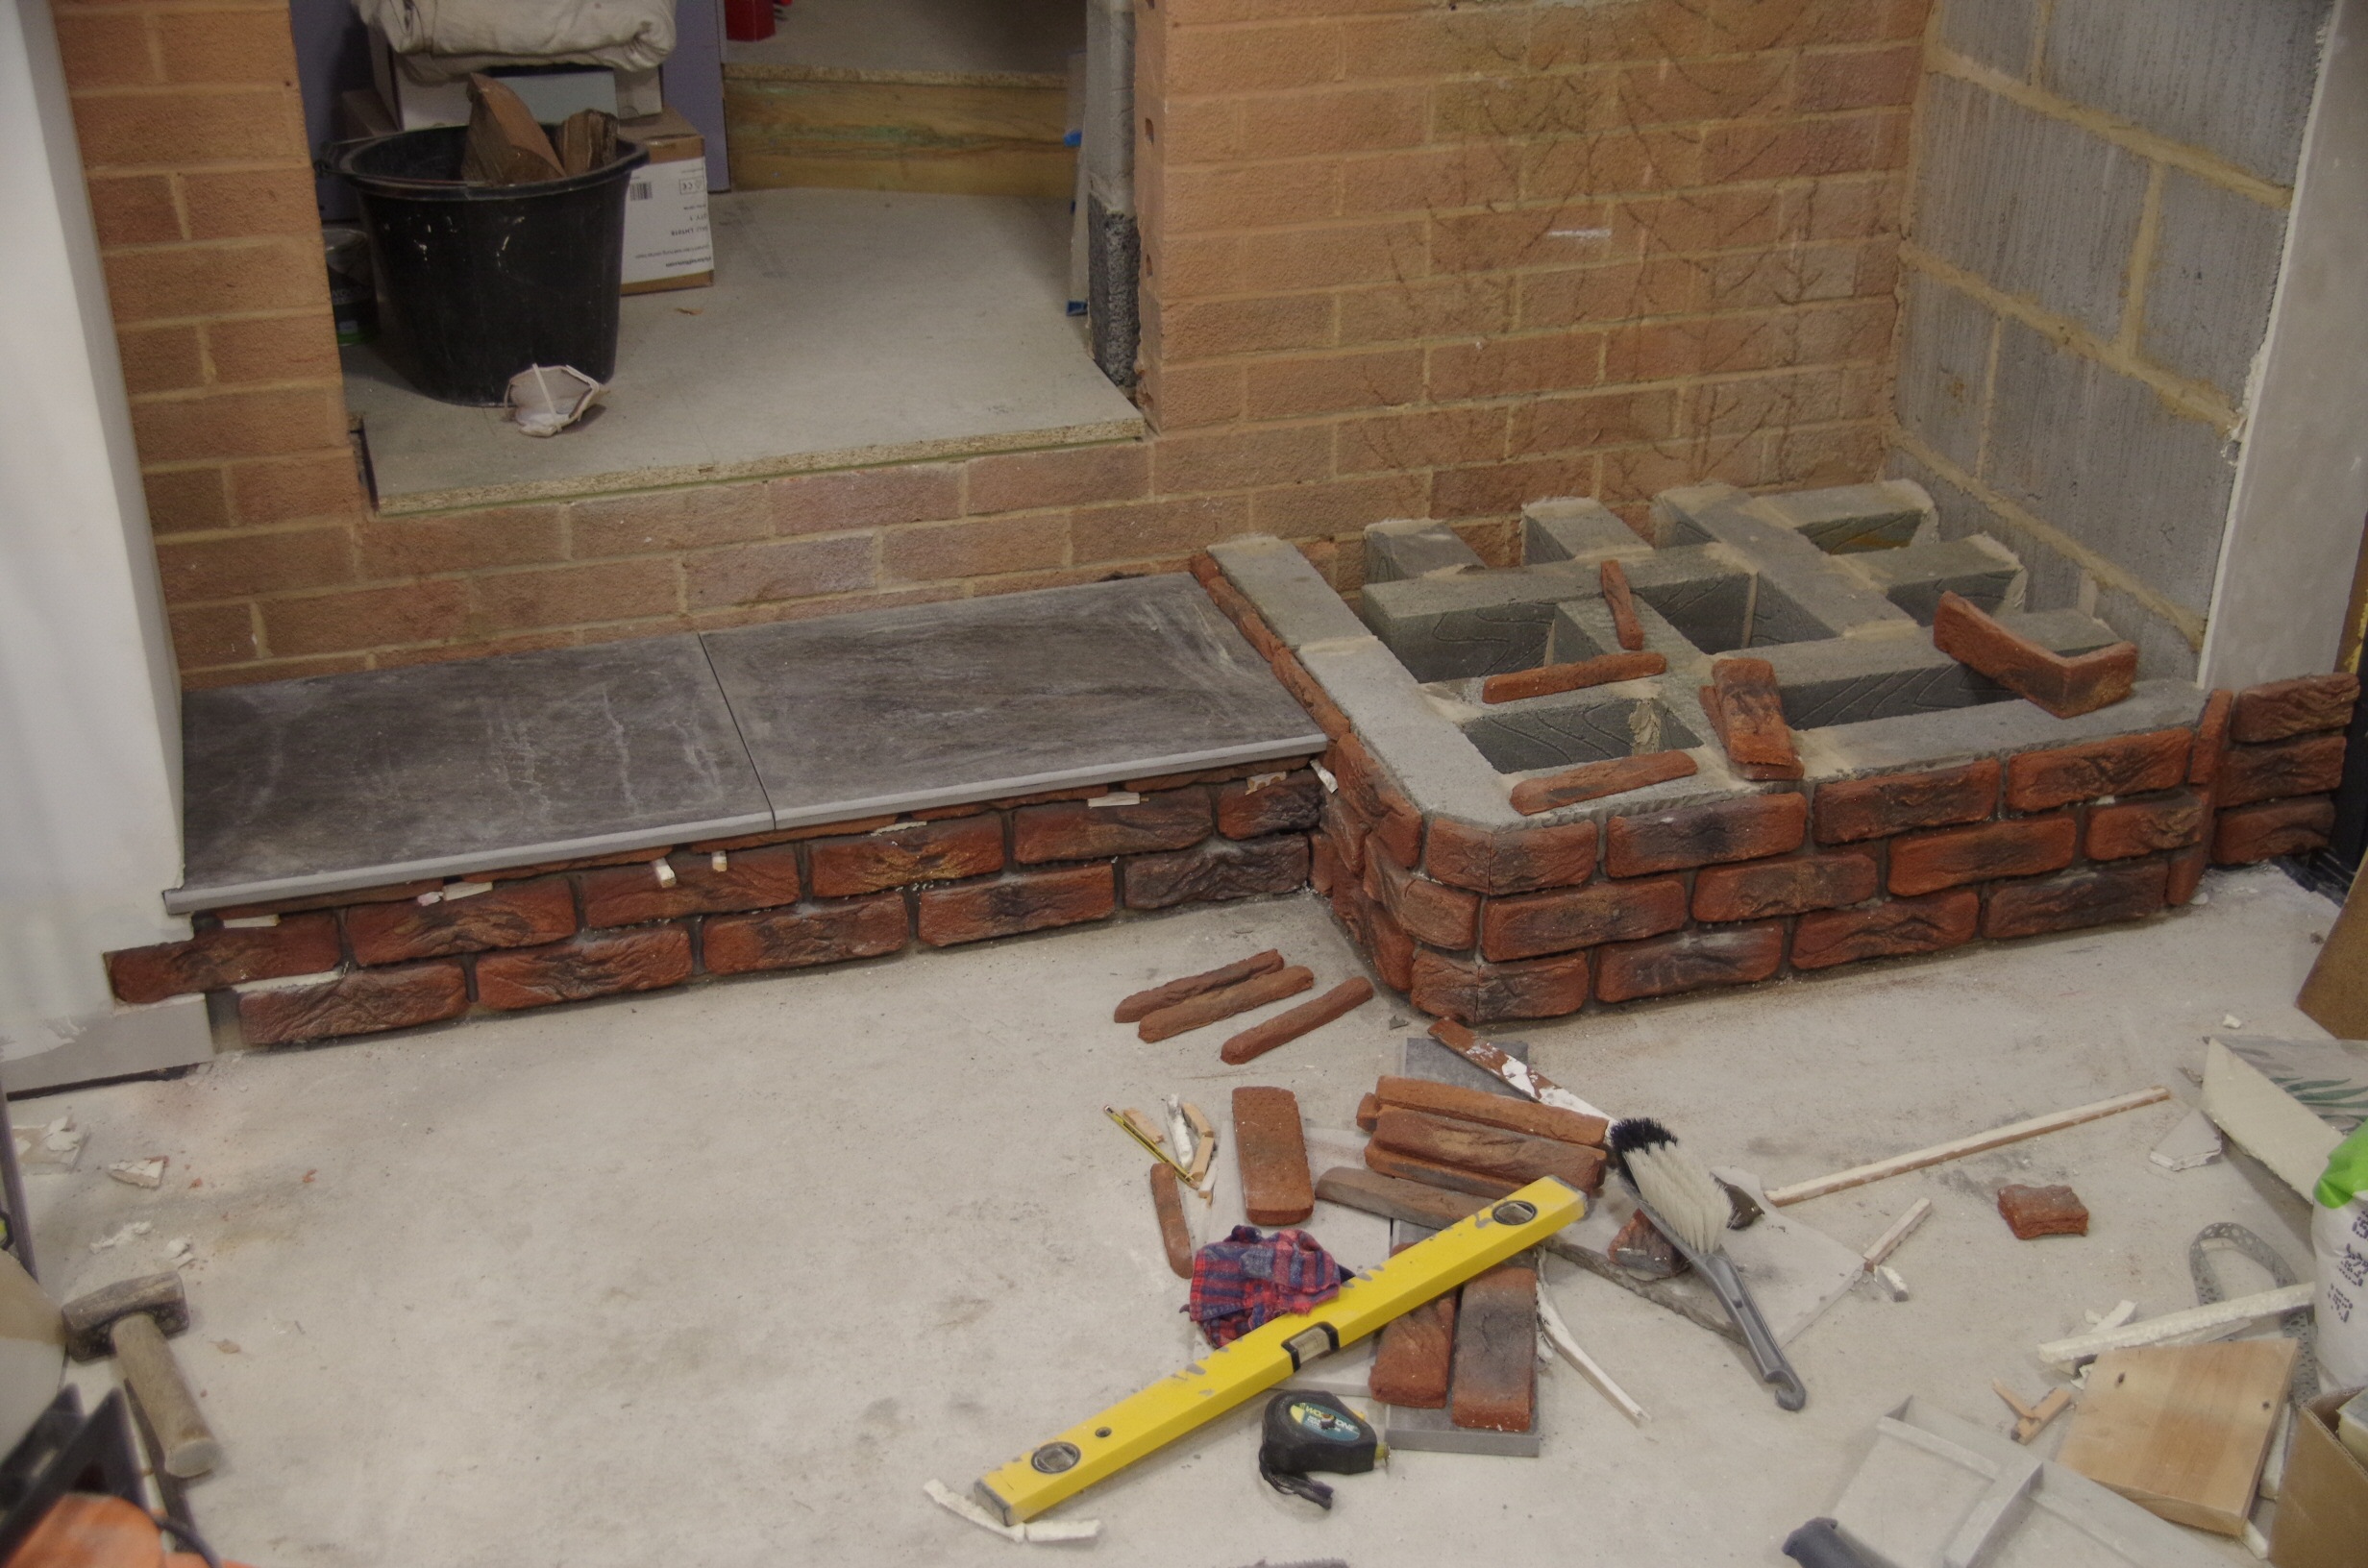
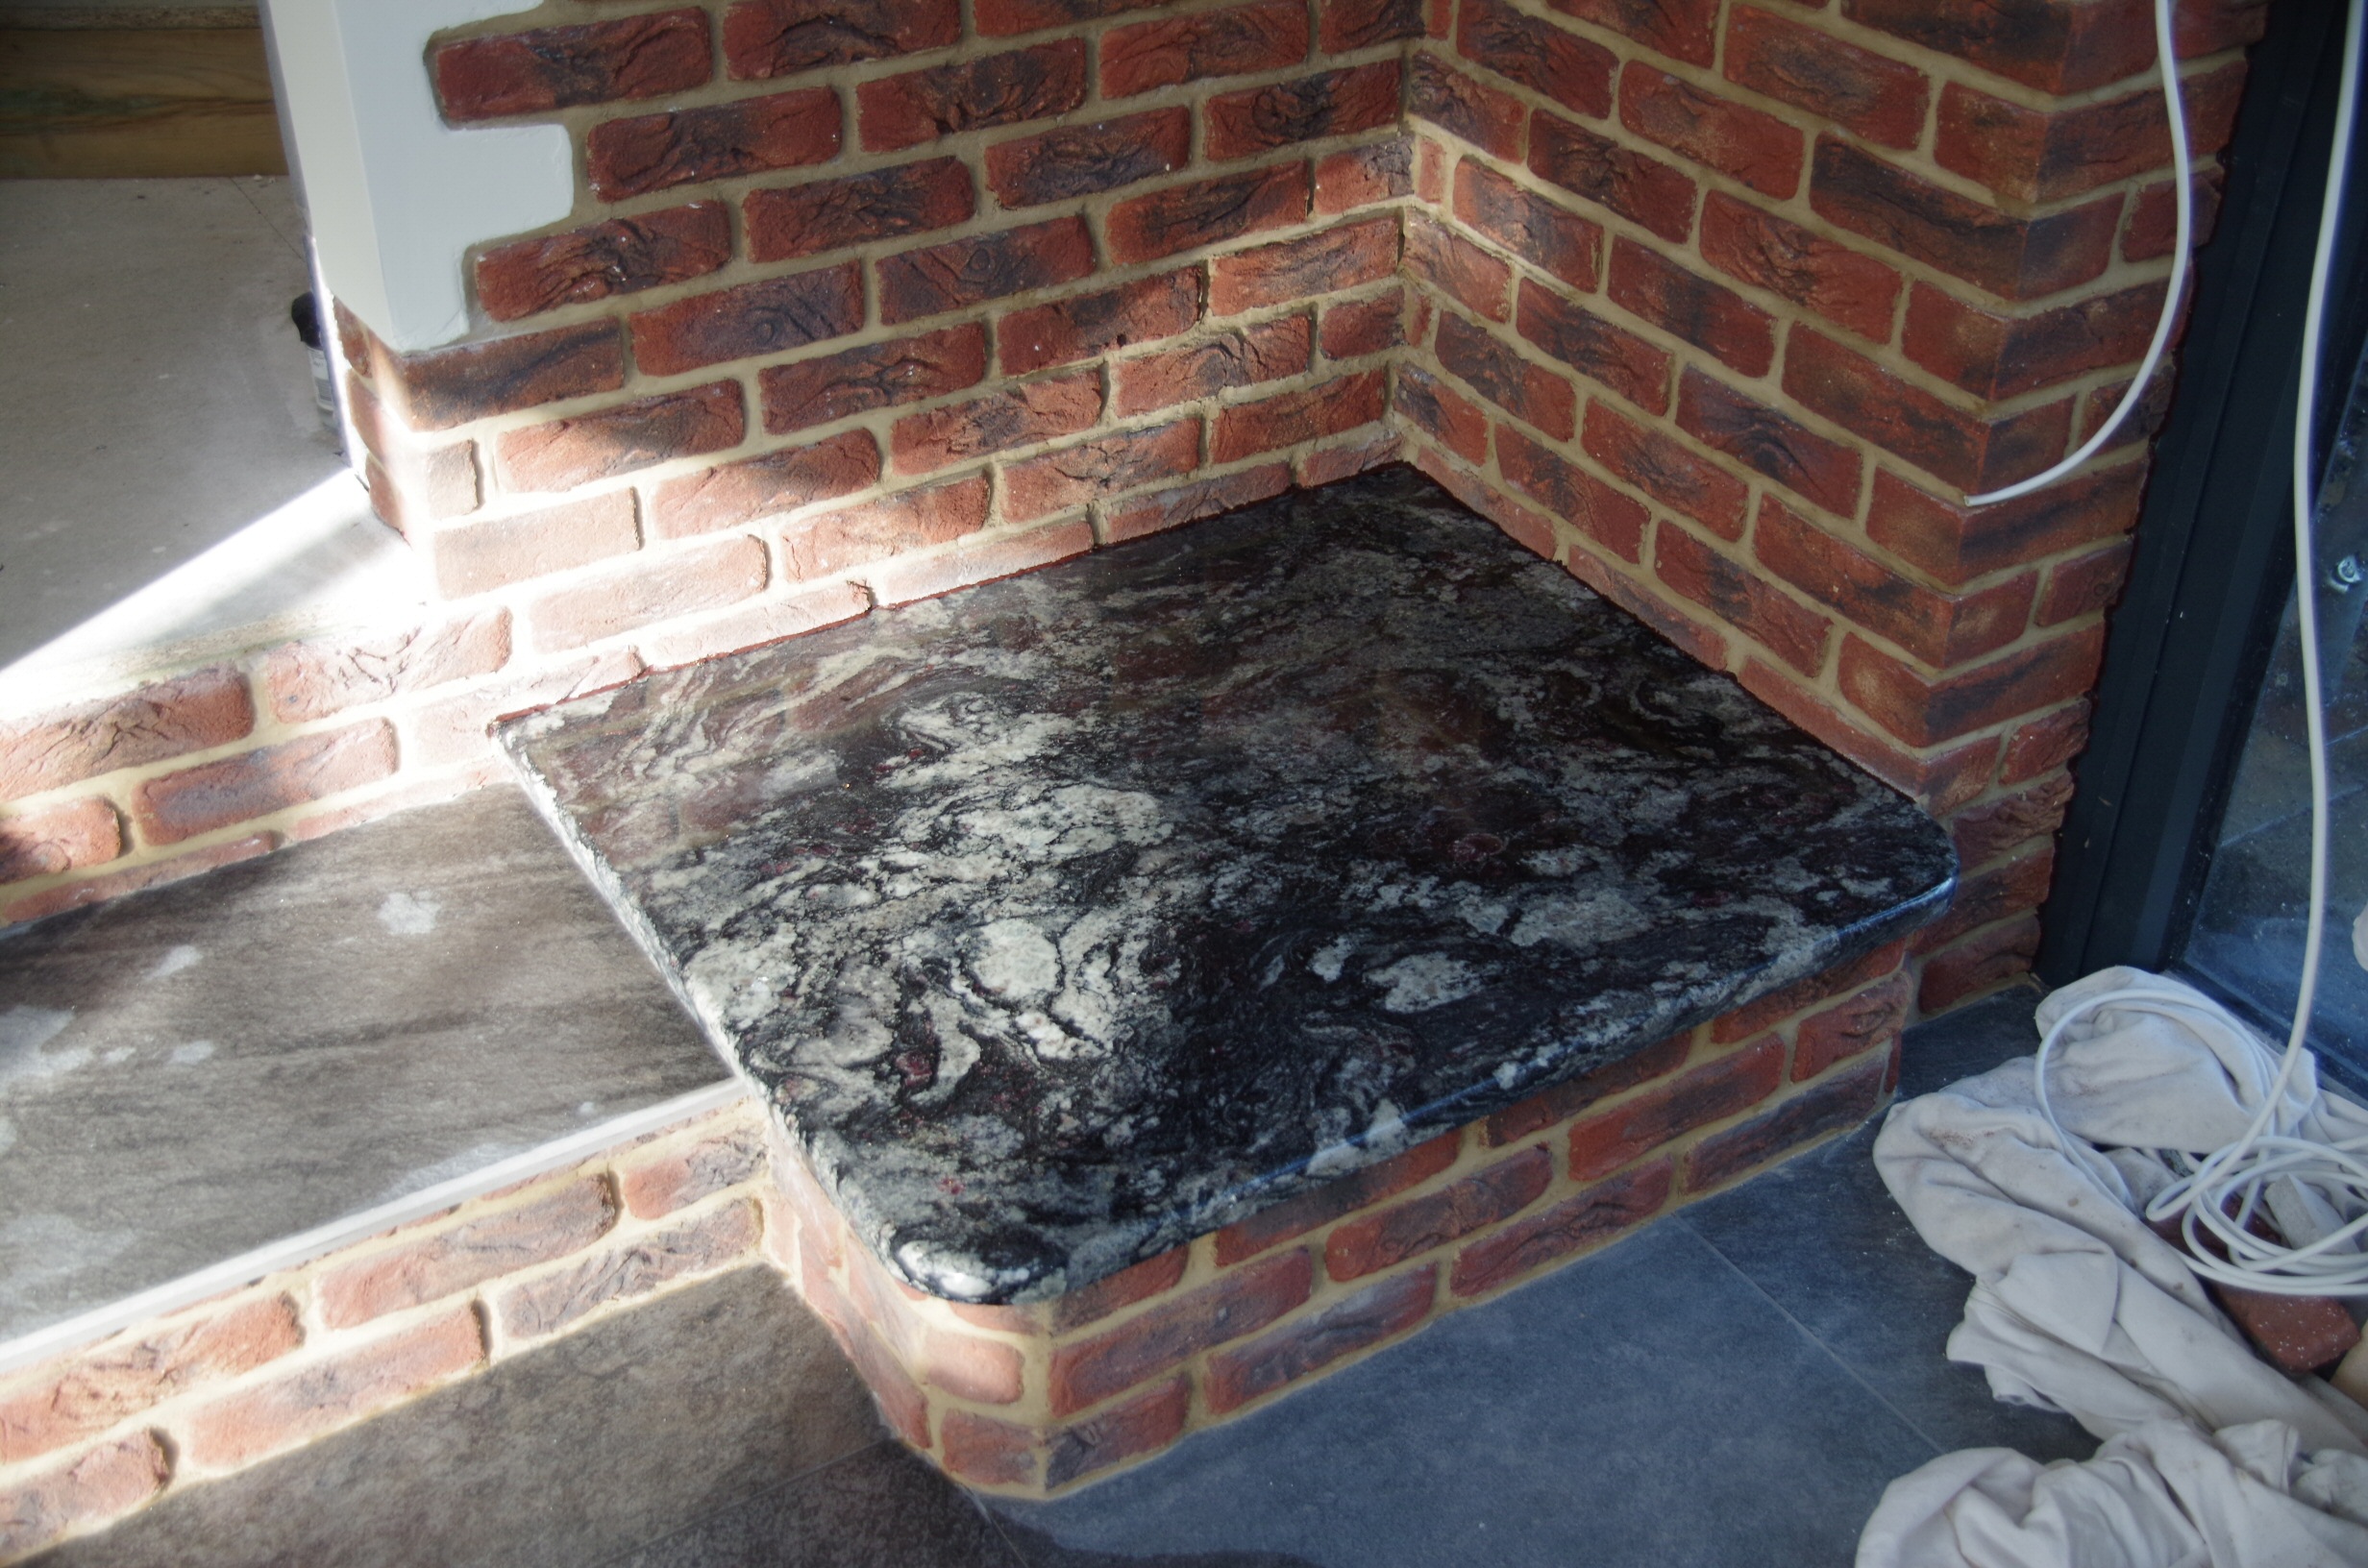
Hearth and step are thermal blocks faced with brick slips. The pointing takes forever and is boring. I used Mapei flexible adhesive, some rapid set but some the slow set that I used for the floor tiles. Slow set gives lots of working time.
The hearth stone was cut and shaped by a local stone works, they didn’t cut the first one in the orientation we specified which meant the pattern didn’t look right so they cut another one but obviously the second pattern wasn’t our first choice so a bit disappointing. Even so it’s a fantastic bit of stone with bits of semi-precious red bits and flecks of gold bits.
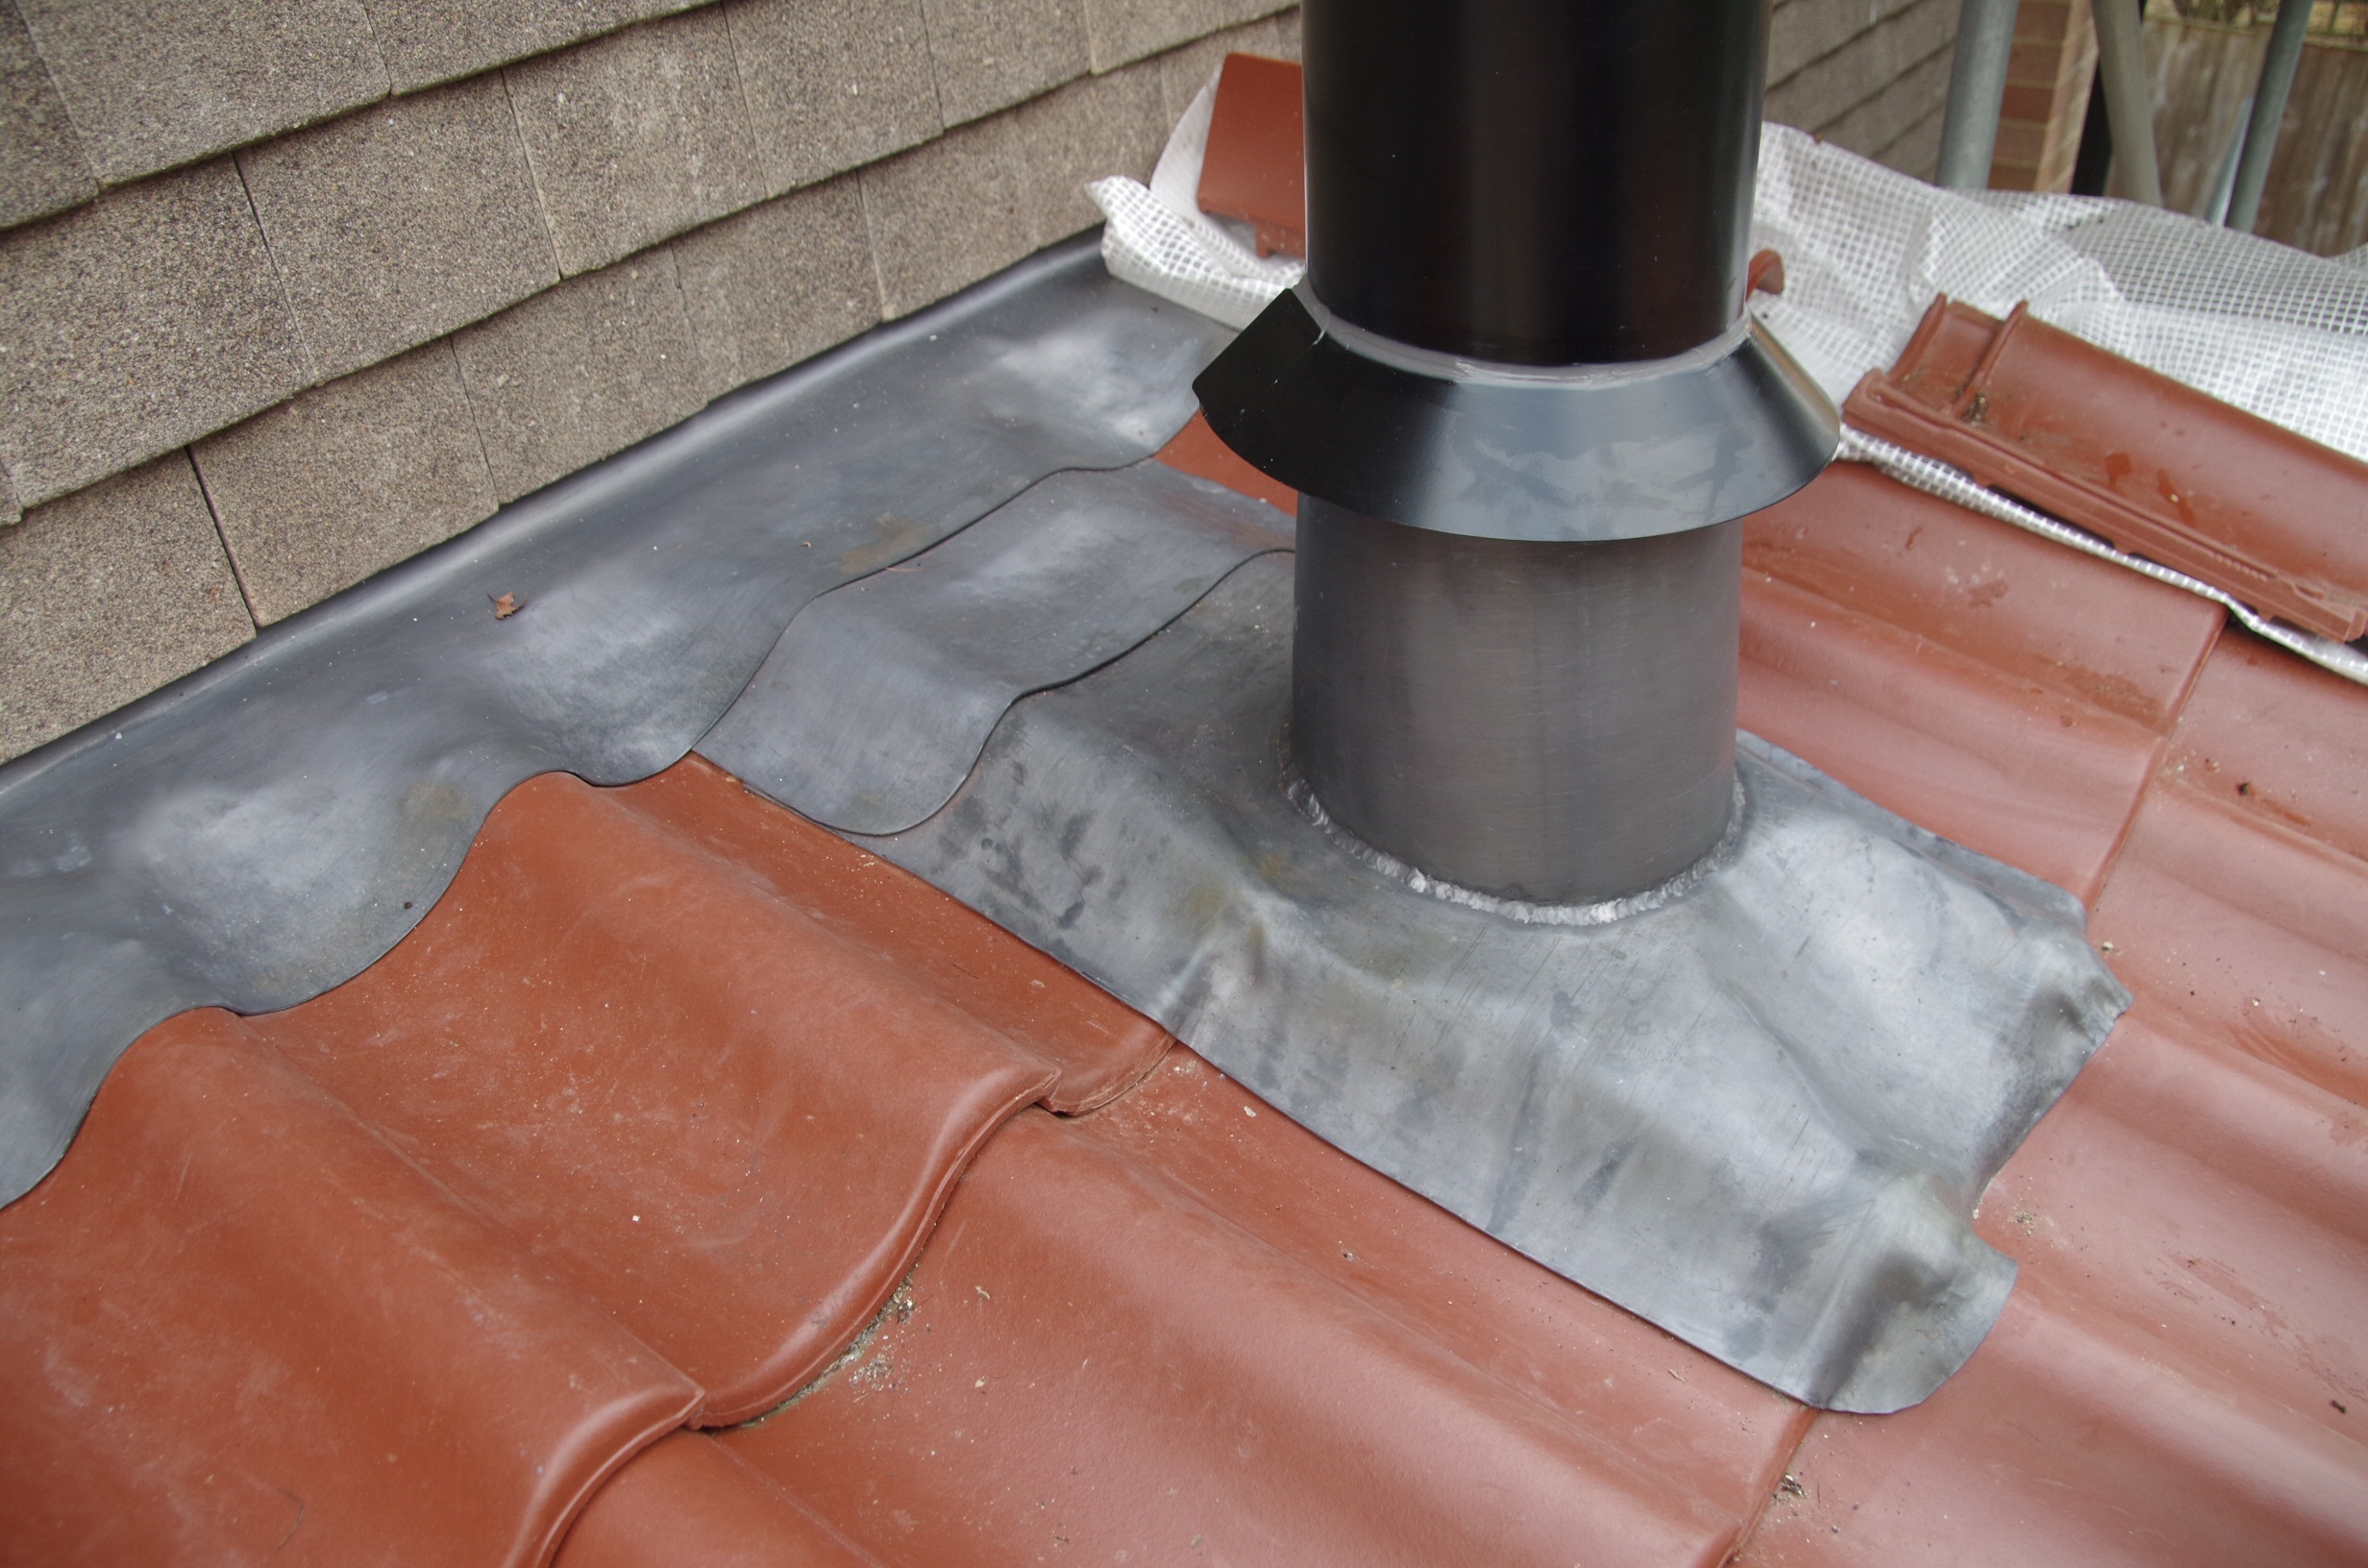
I very pleased with my lead work and lead burning, pity its on the roof out of view.
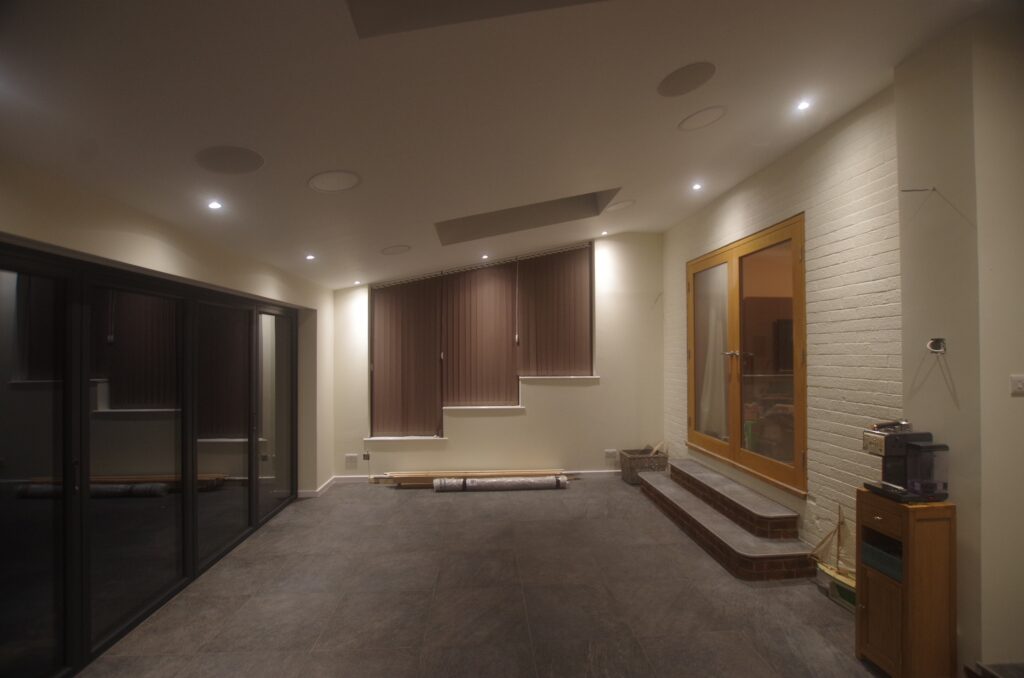
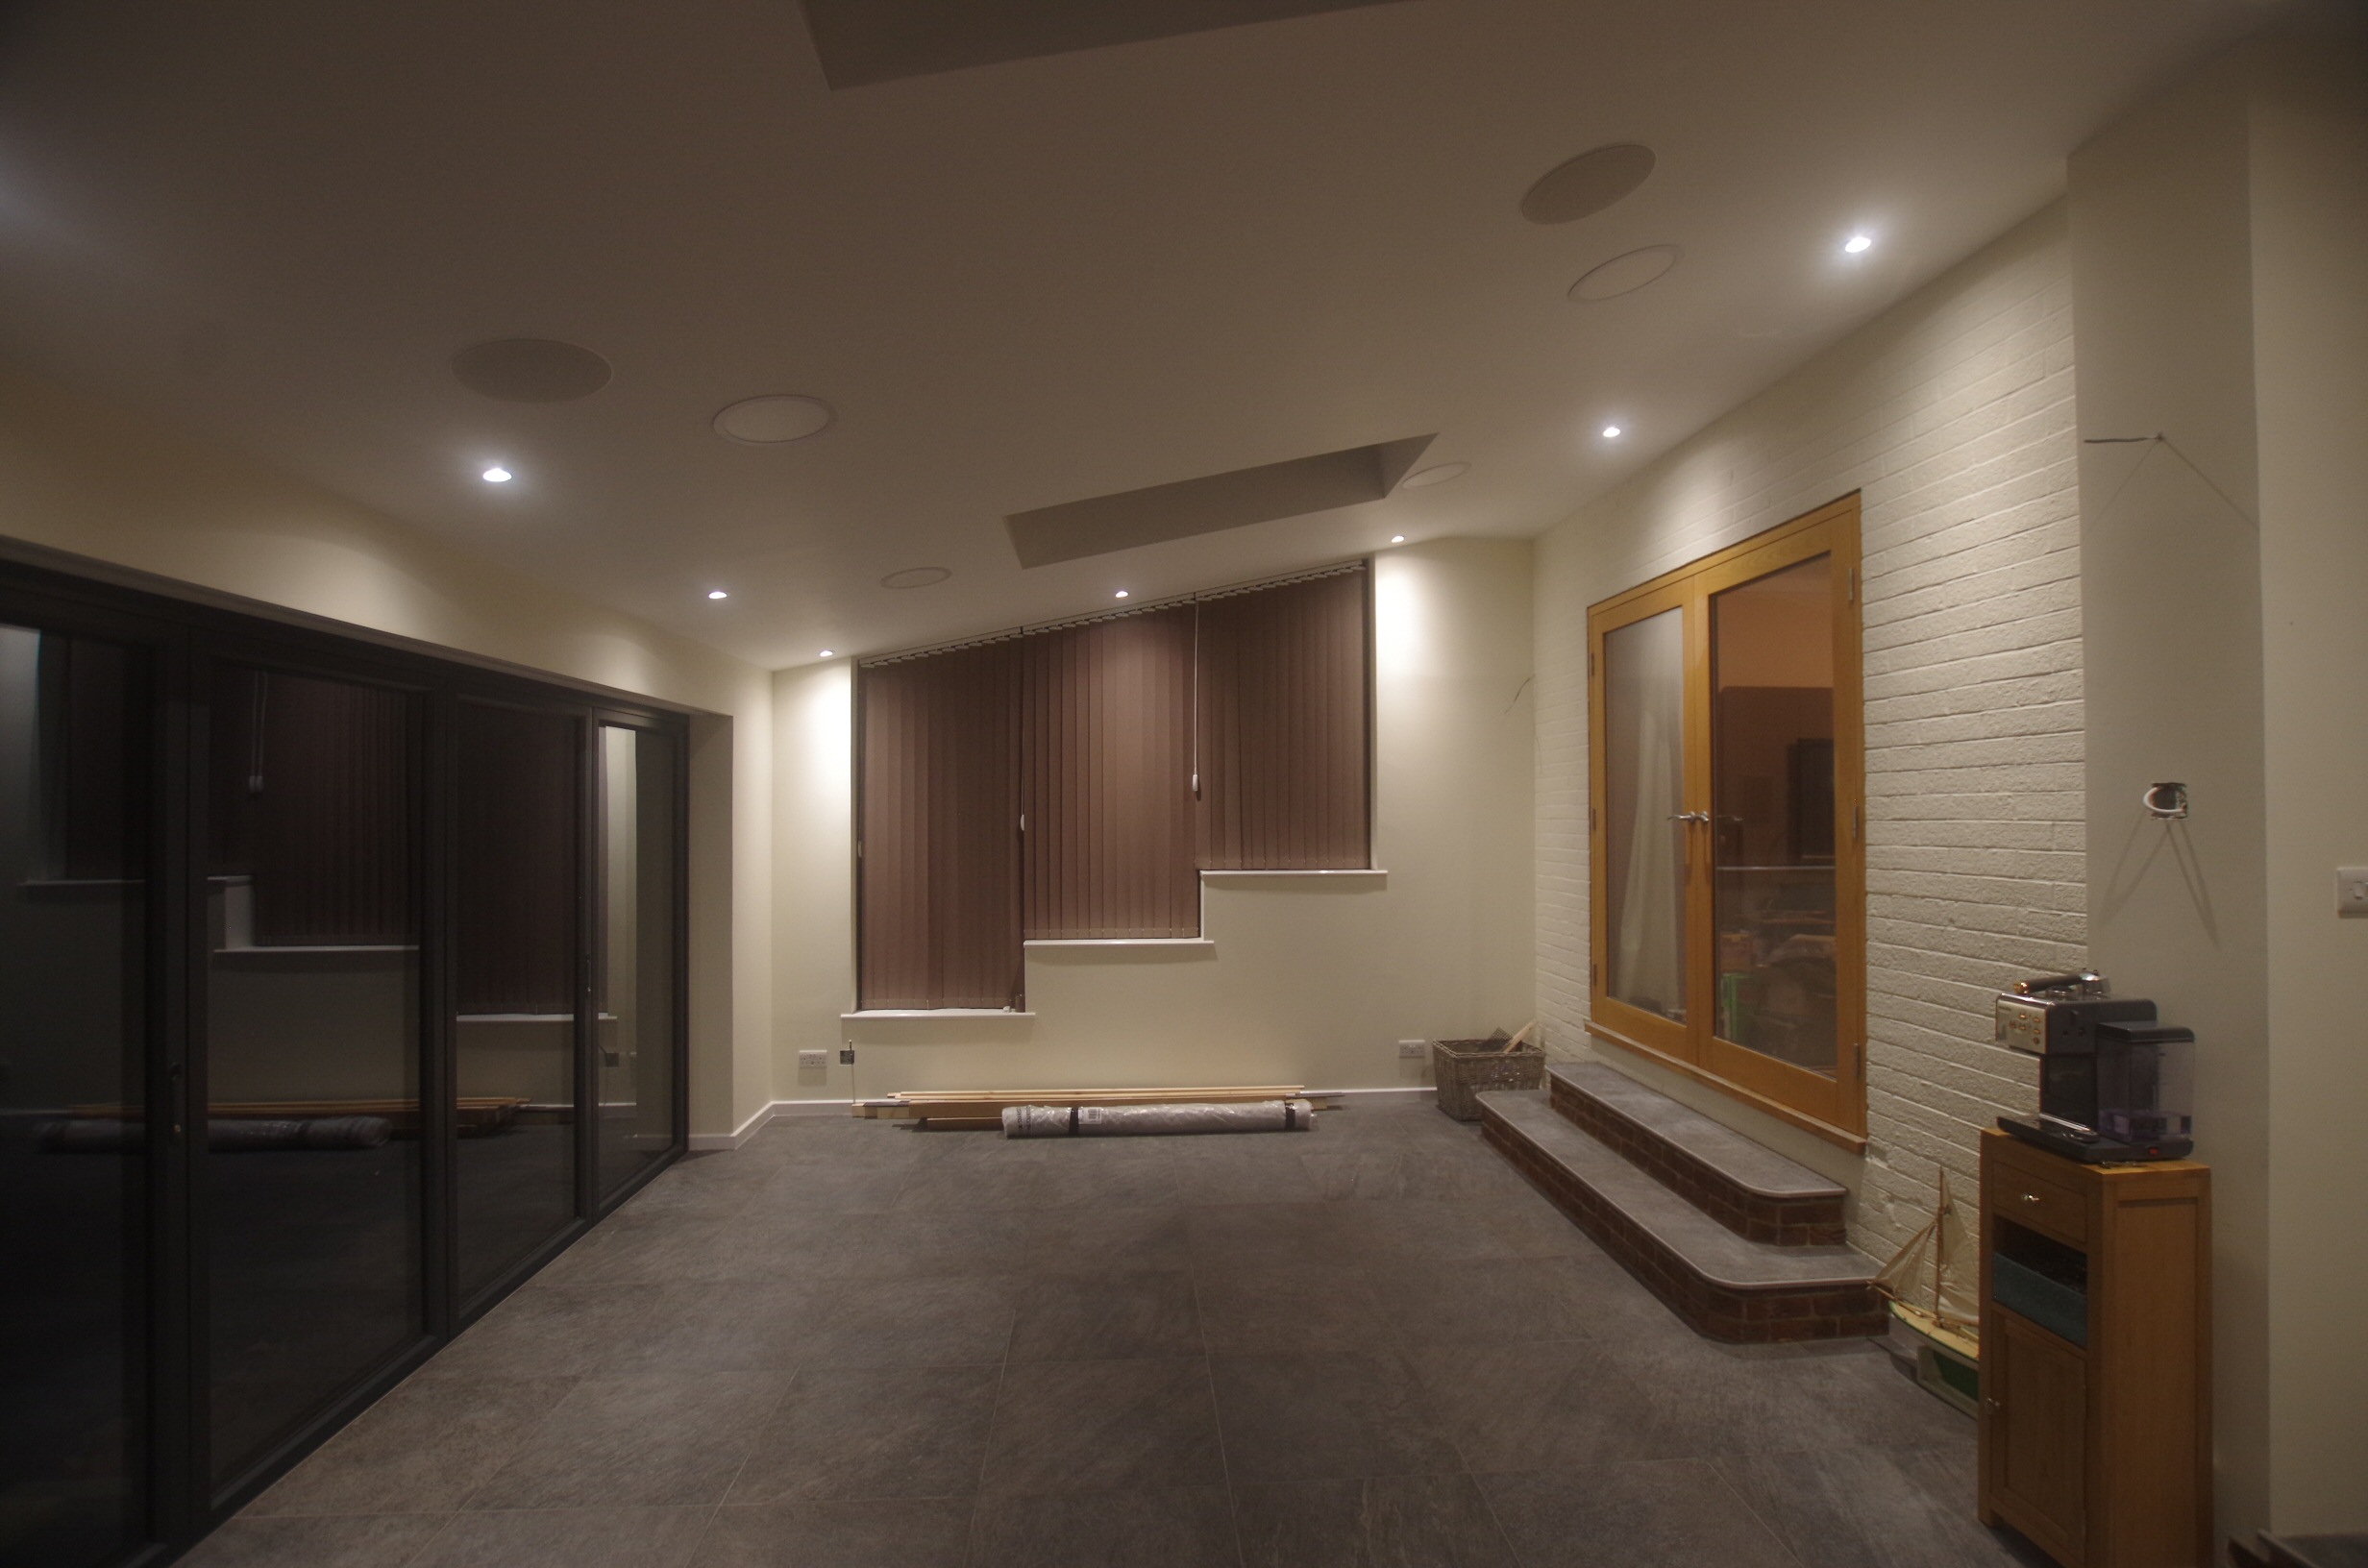
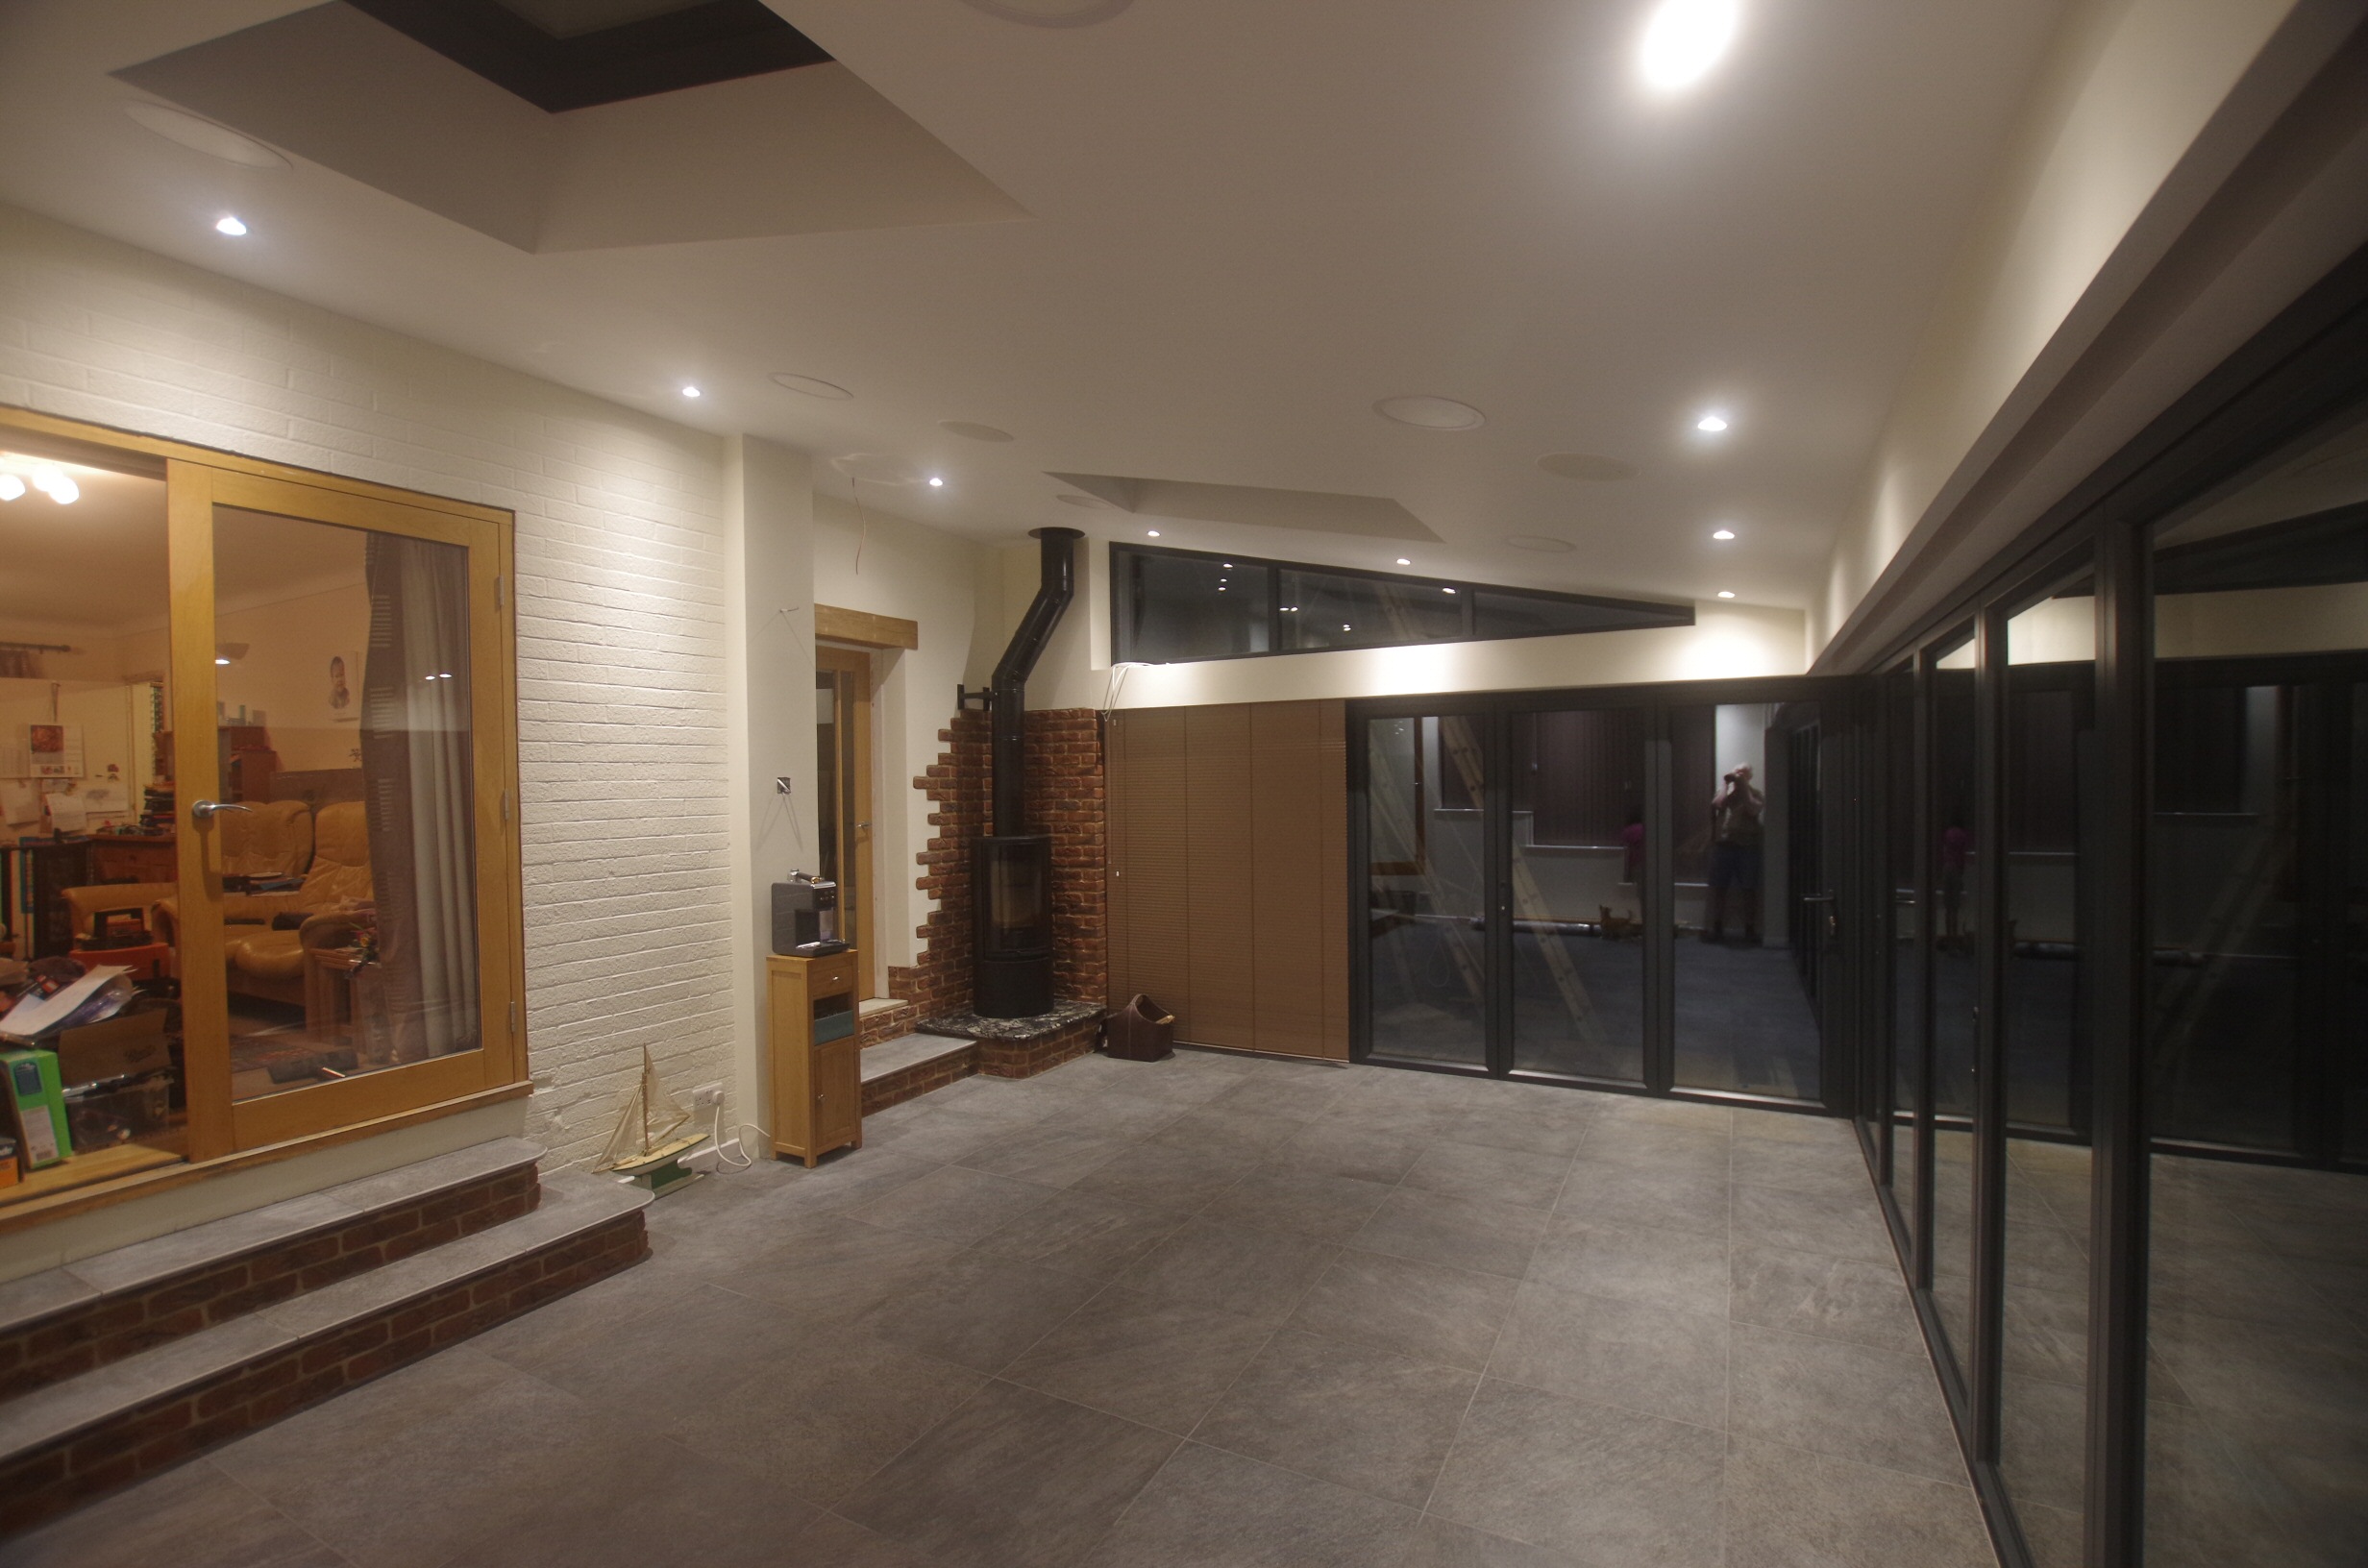
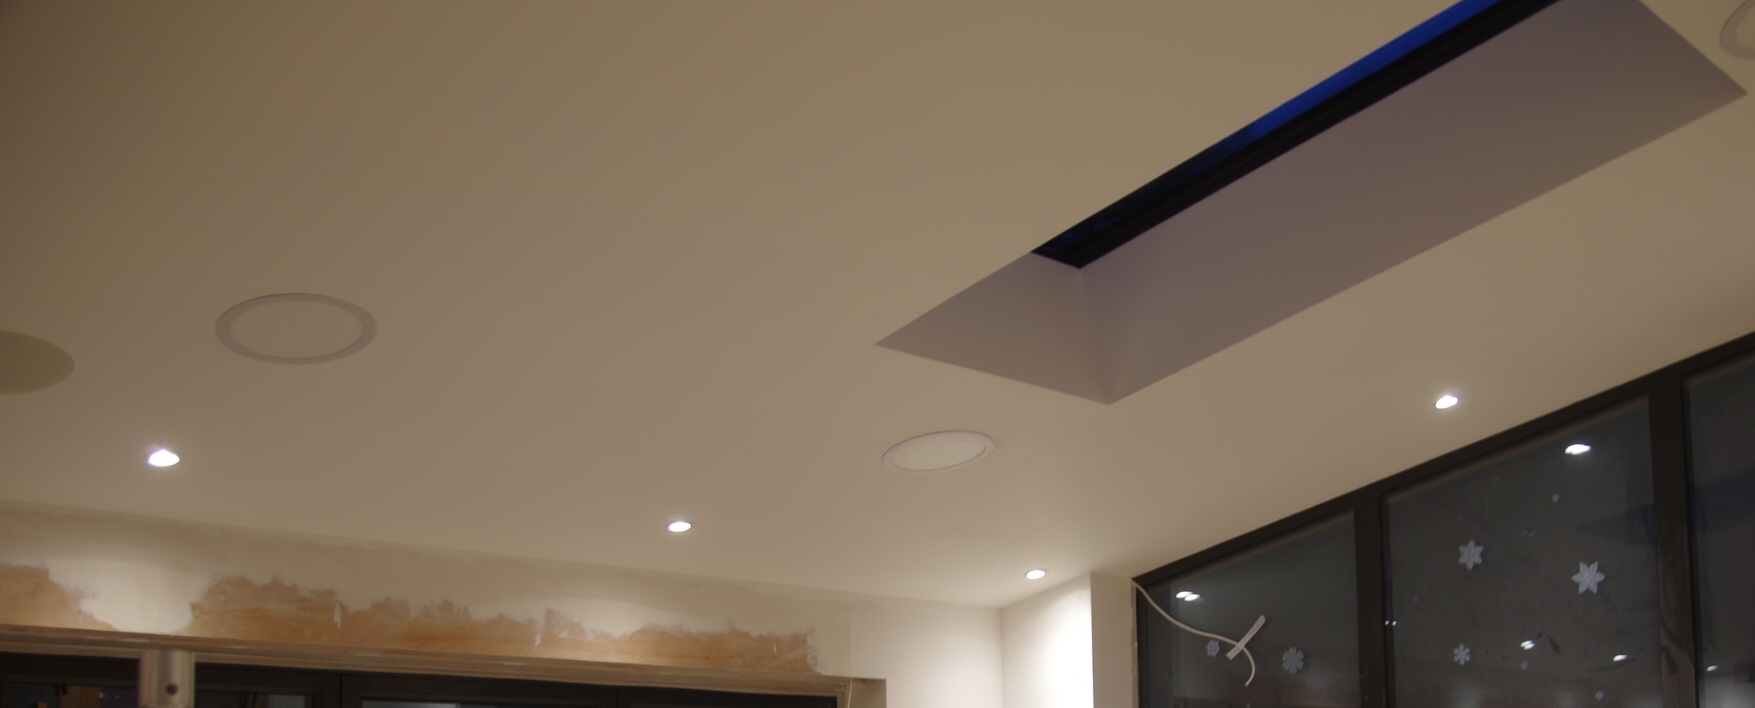
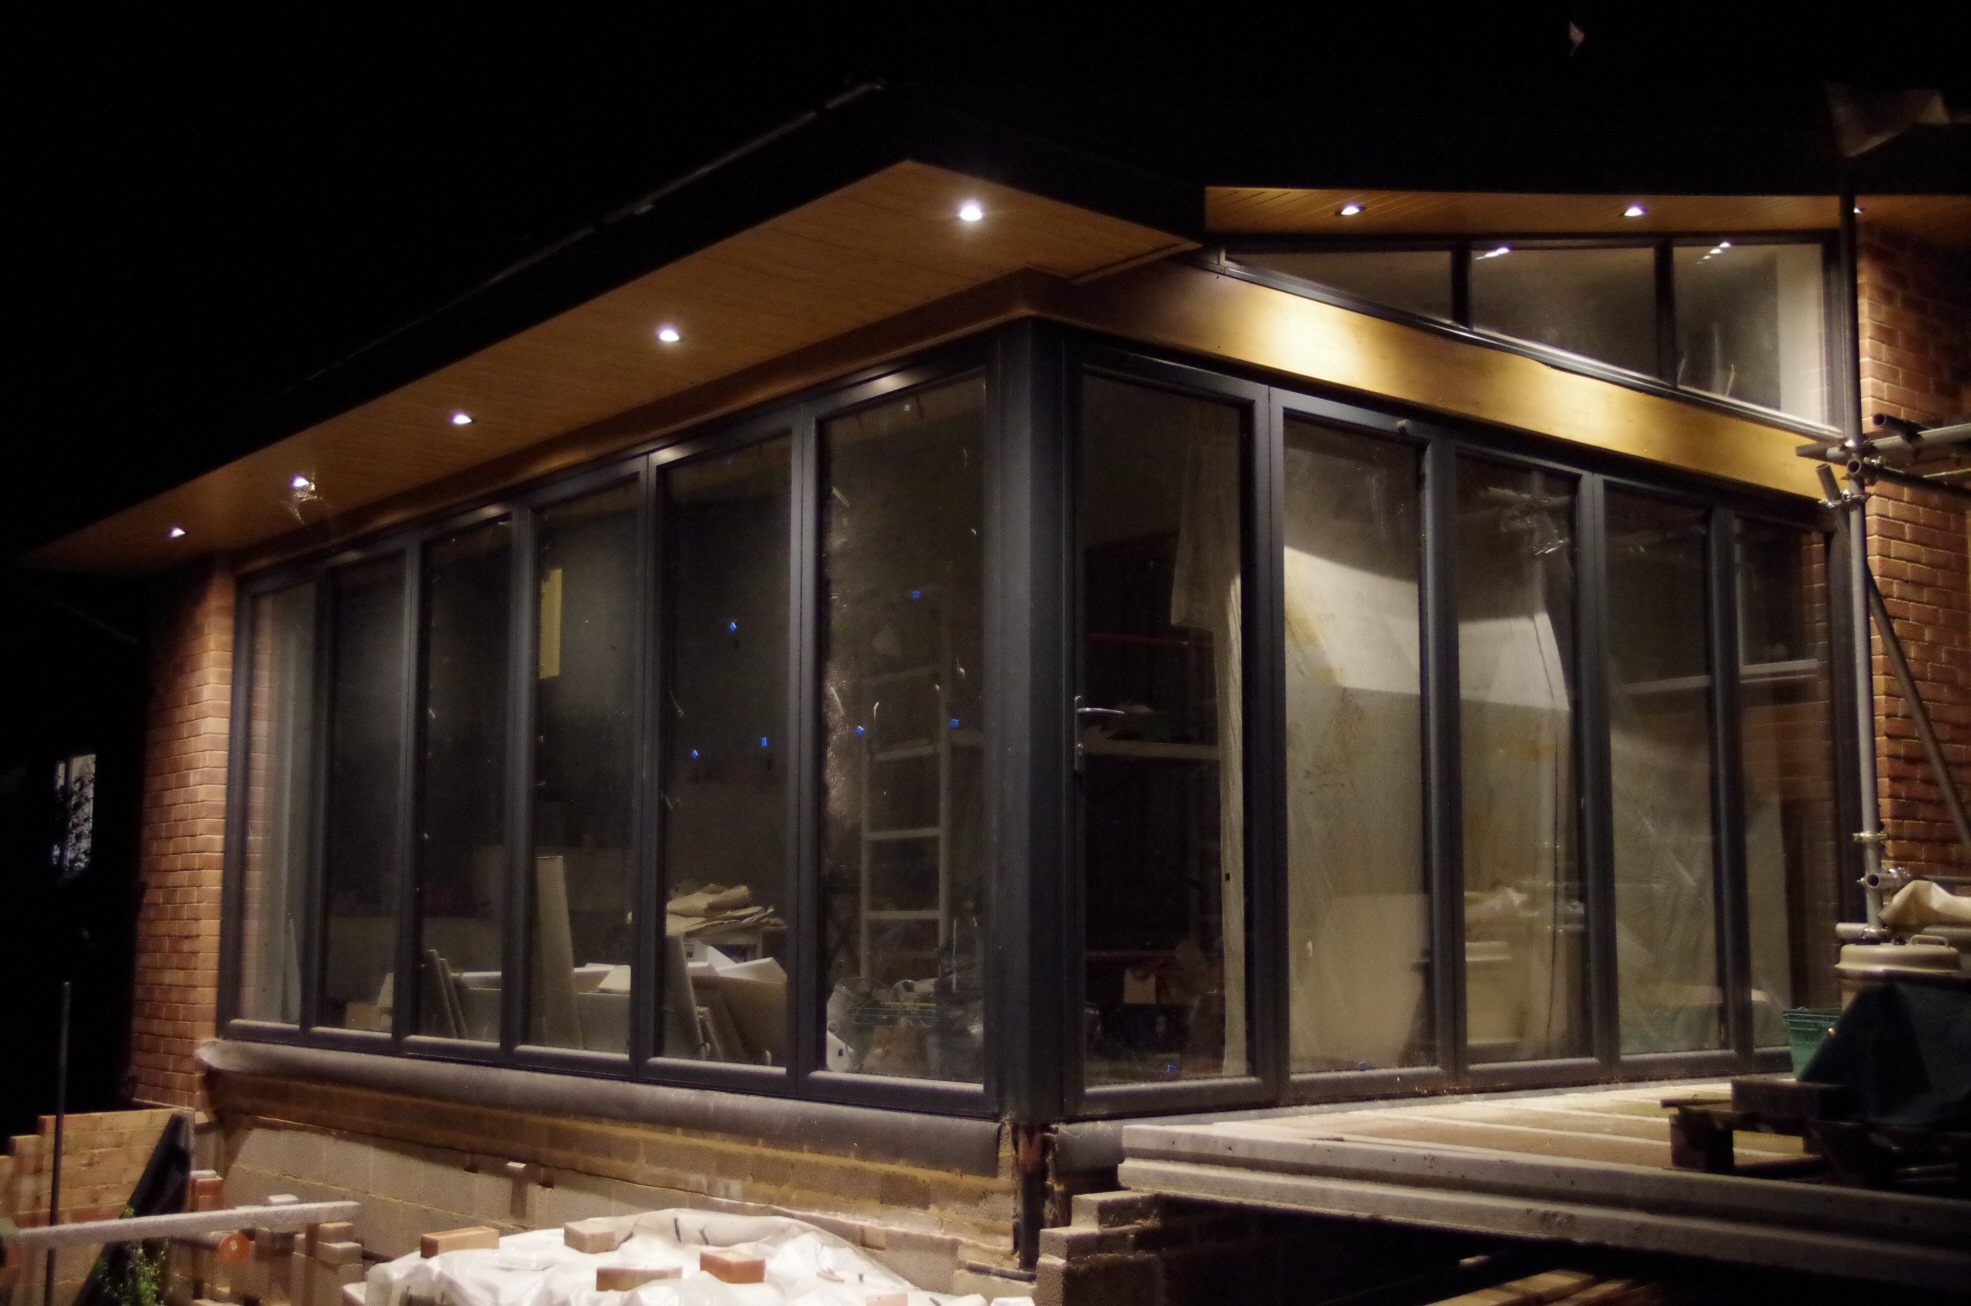
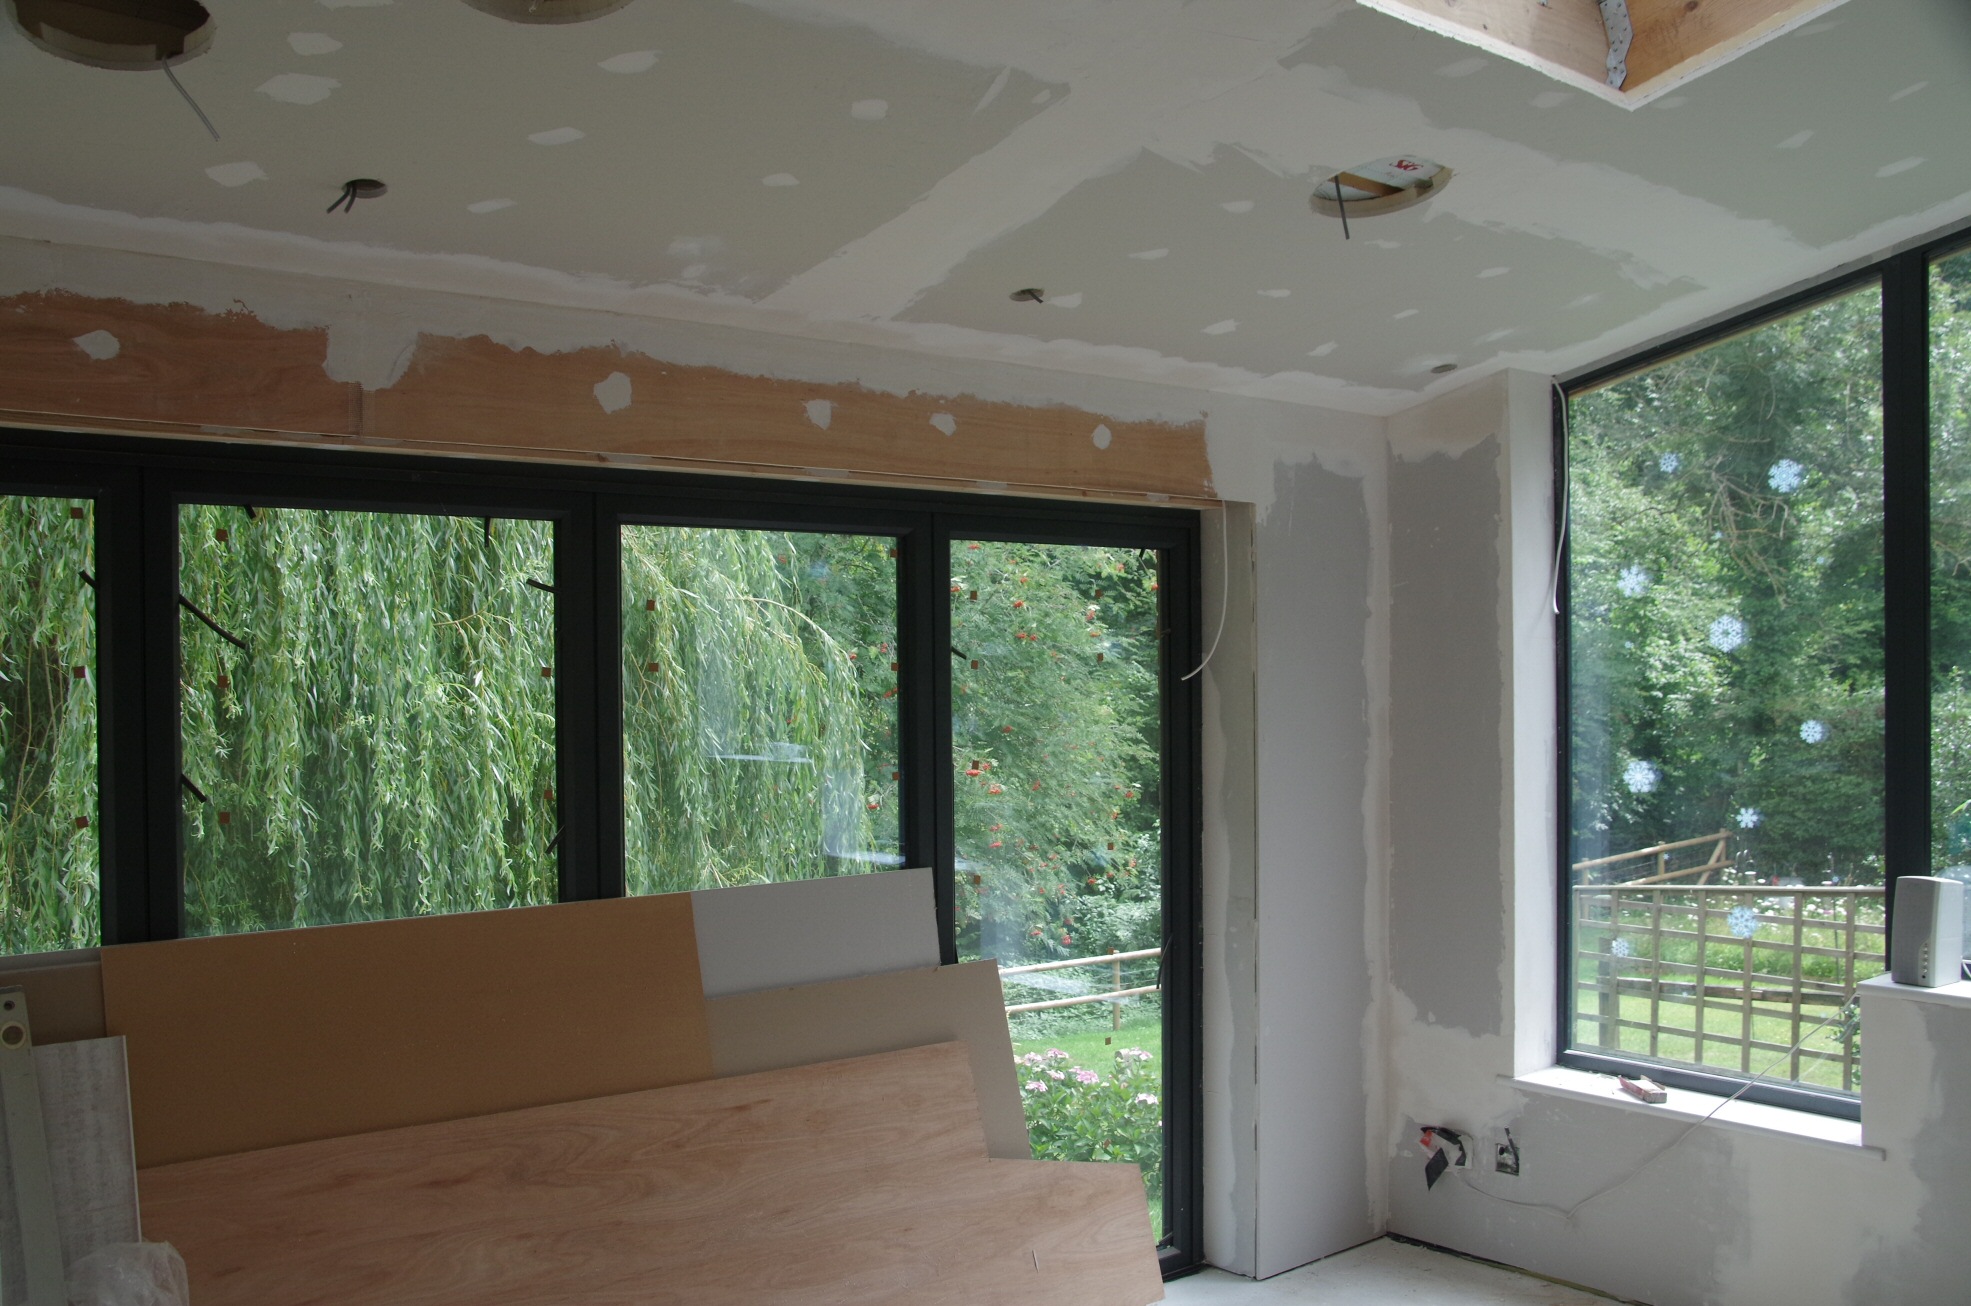
Yeah – we can now see and work when the sun goes down.
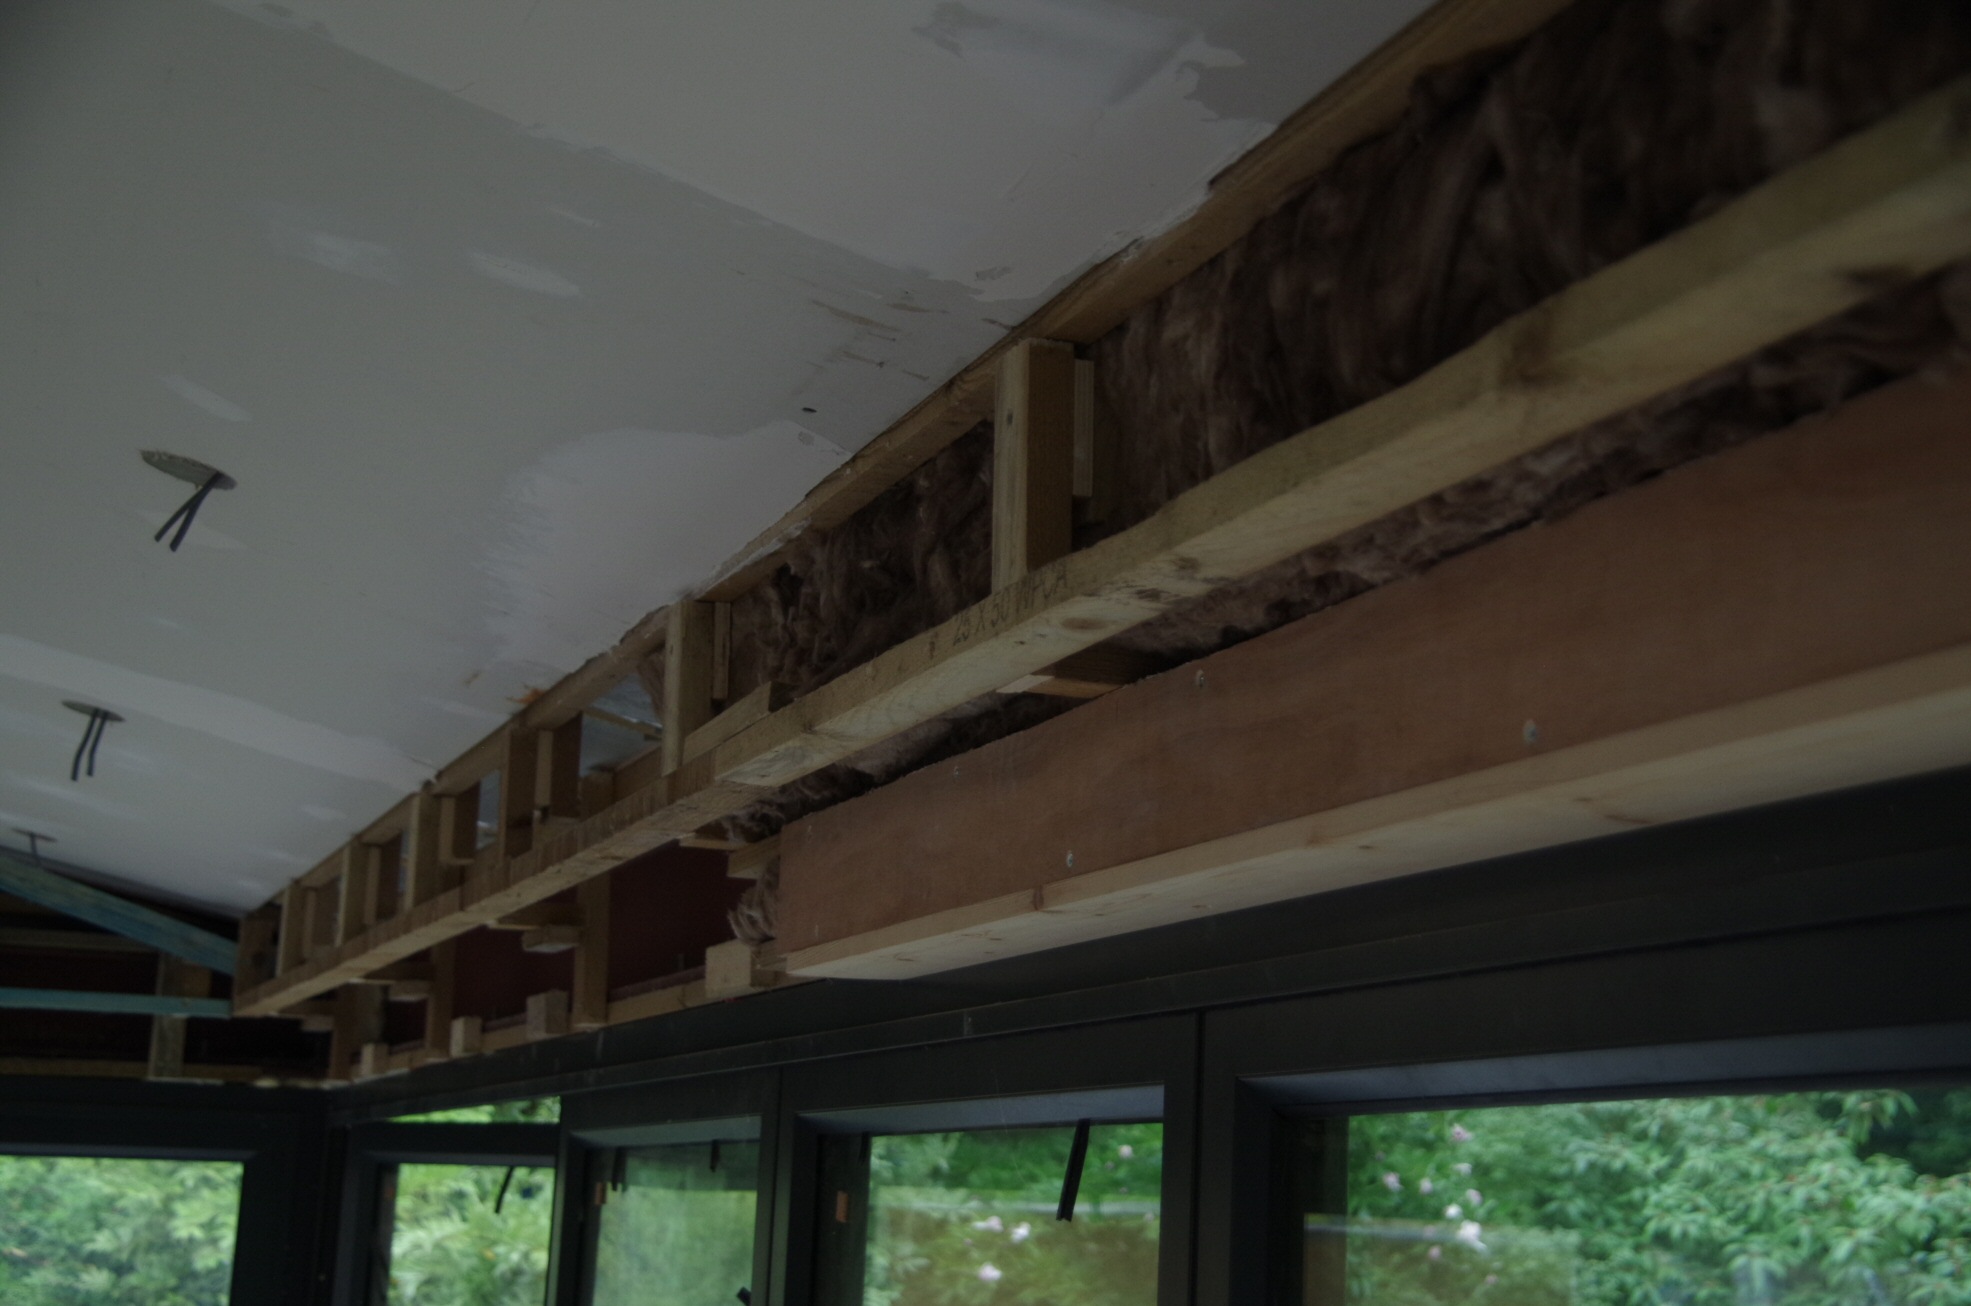
Two sets of lights – main panel lighting and spot down lighting. The spots are about half the brightness of the panels, but the camera has made the exposure to mid-grey and I didn’t compensate for it! The spot lights are dimmable to make it cosy.
The other circle in the ceiling is our recessed Kef Ci200 speakers – nice 🙂 There are a pair of them!
Main panel lightsSpot down lightsOutside eaves lighting
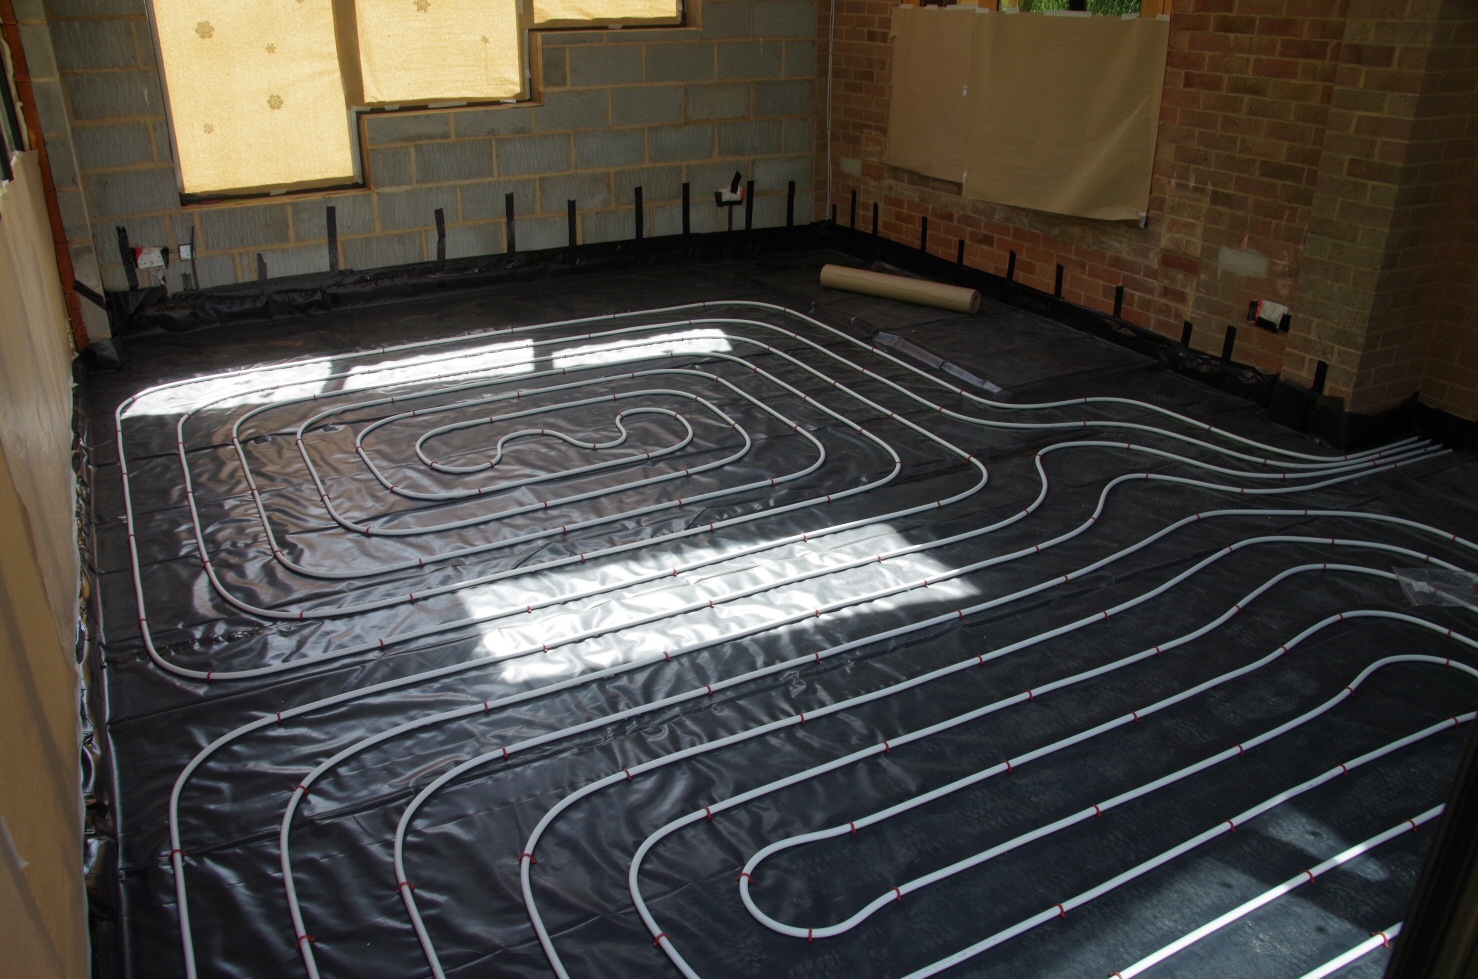
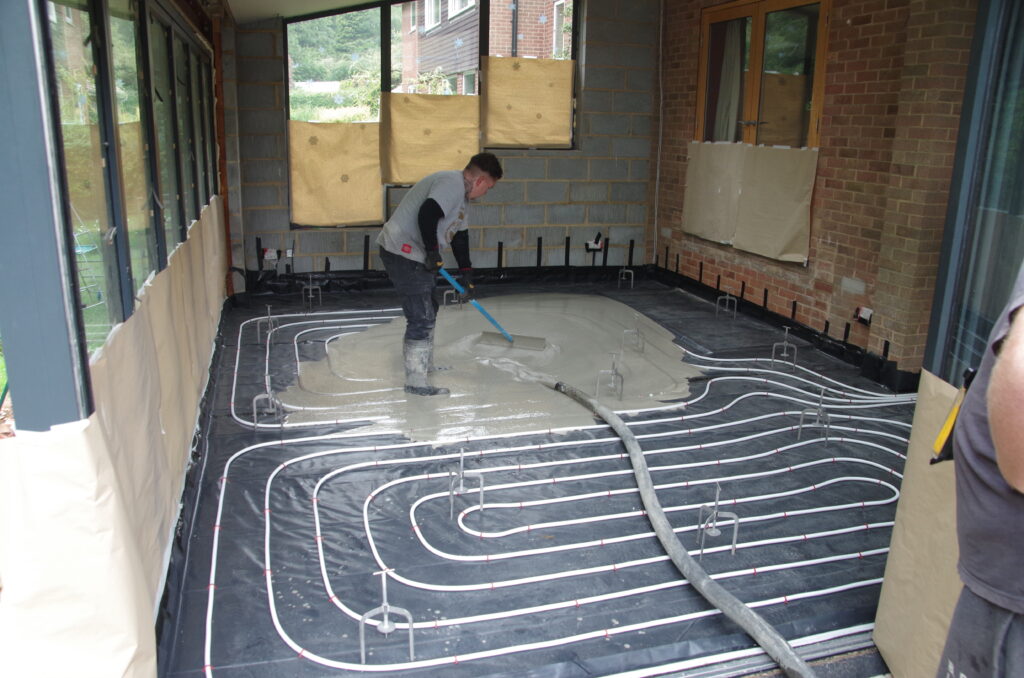
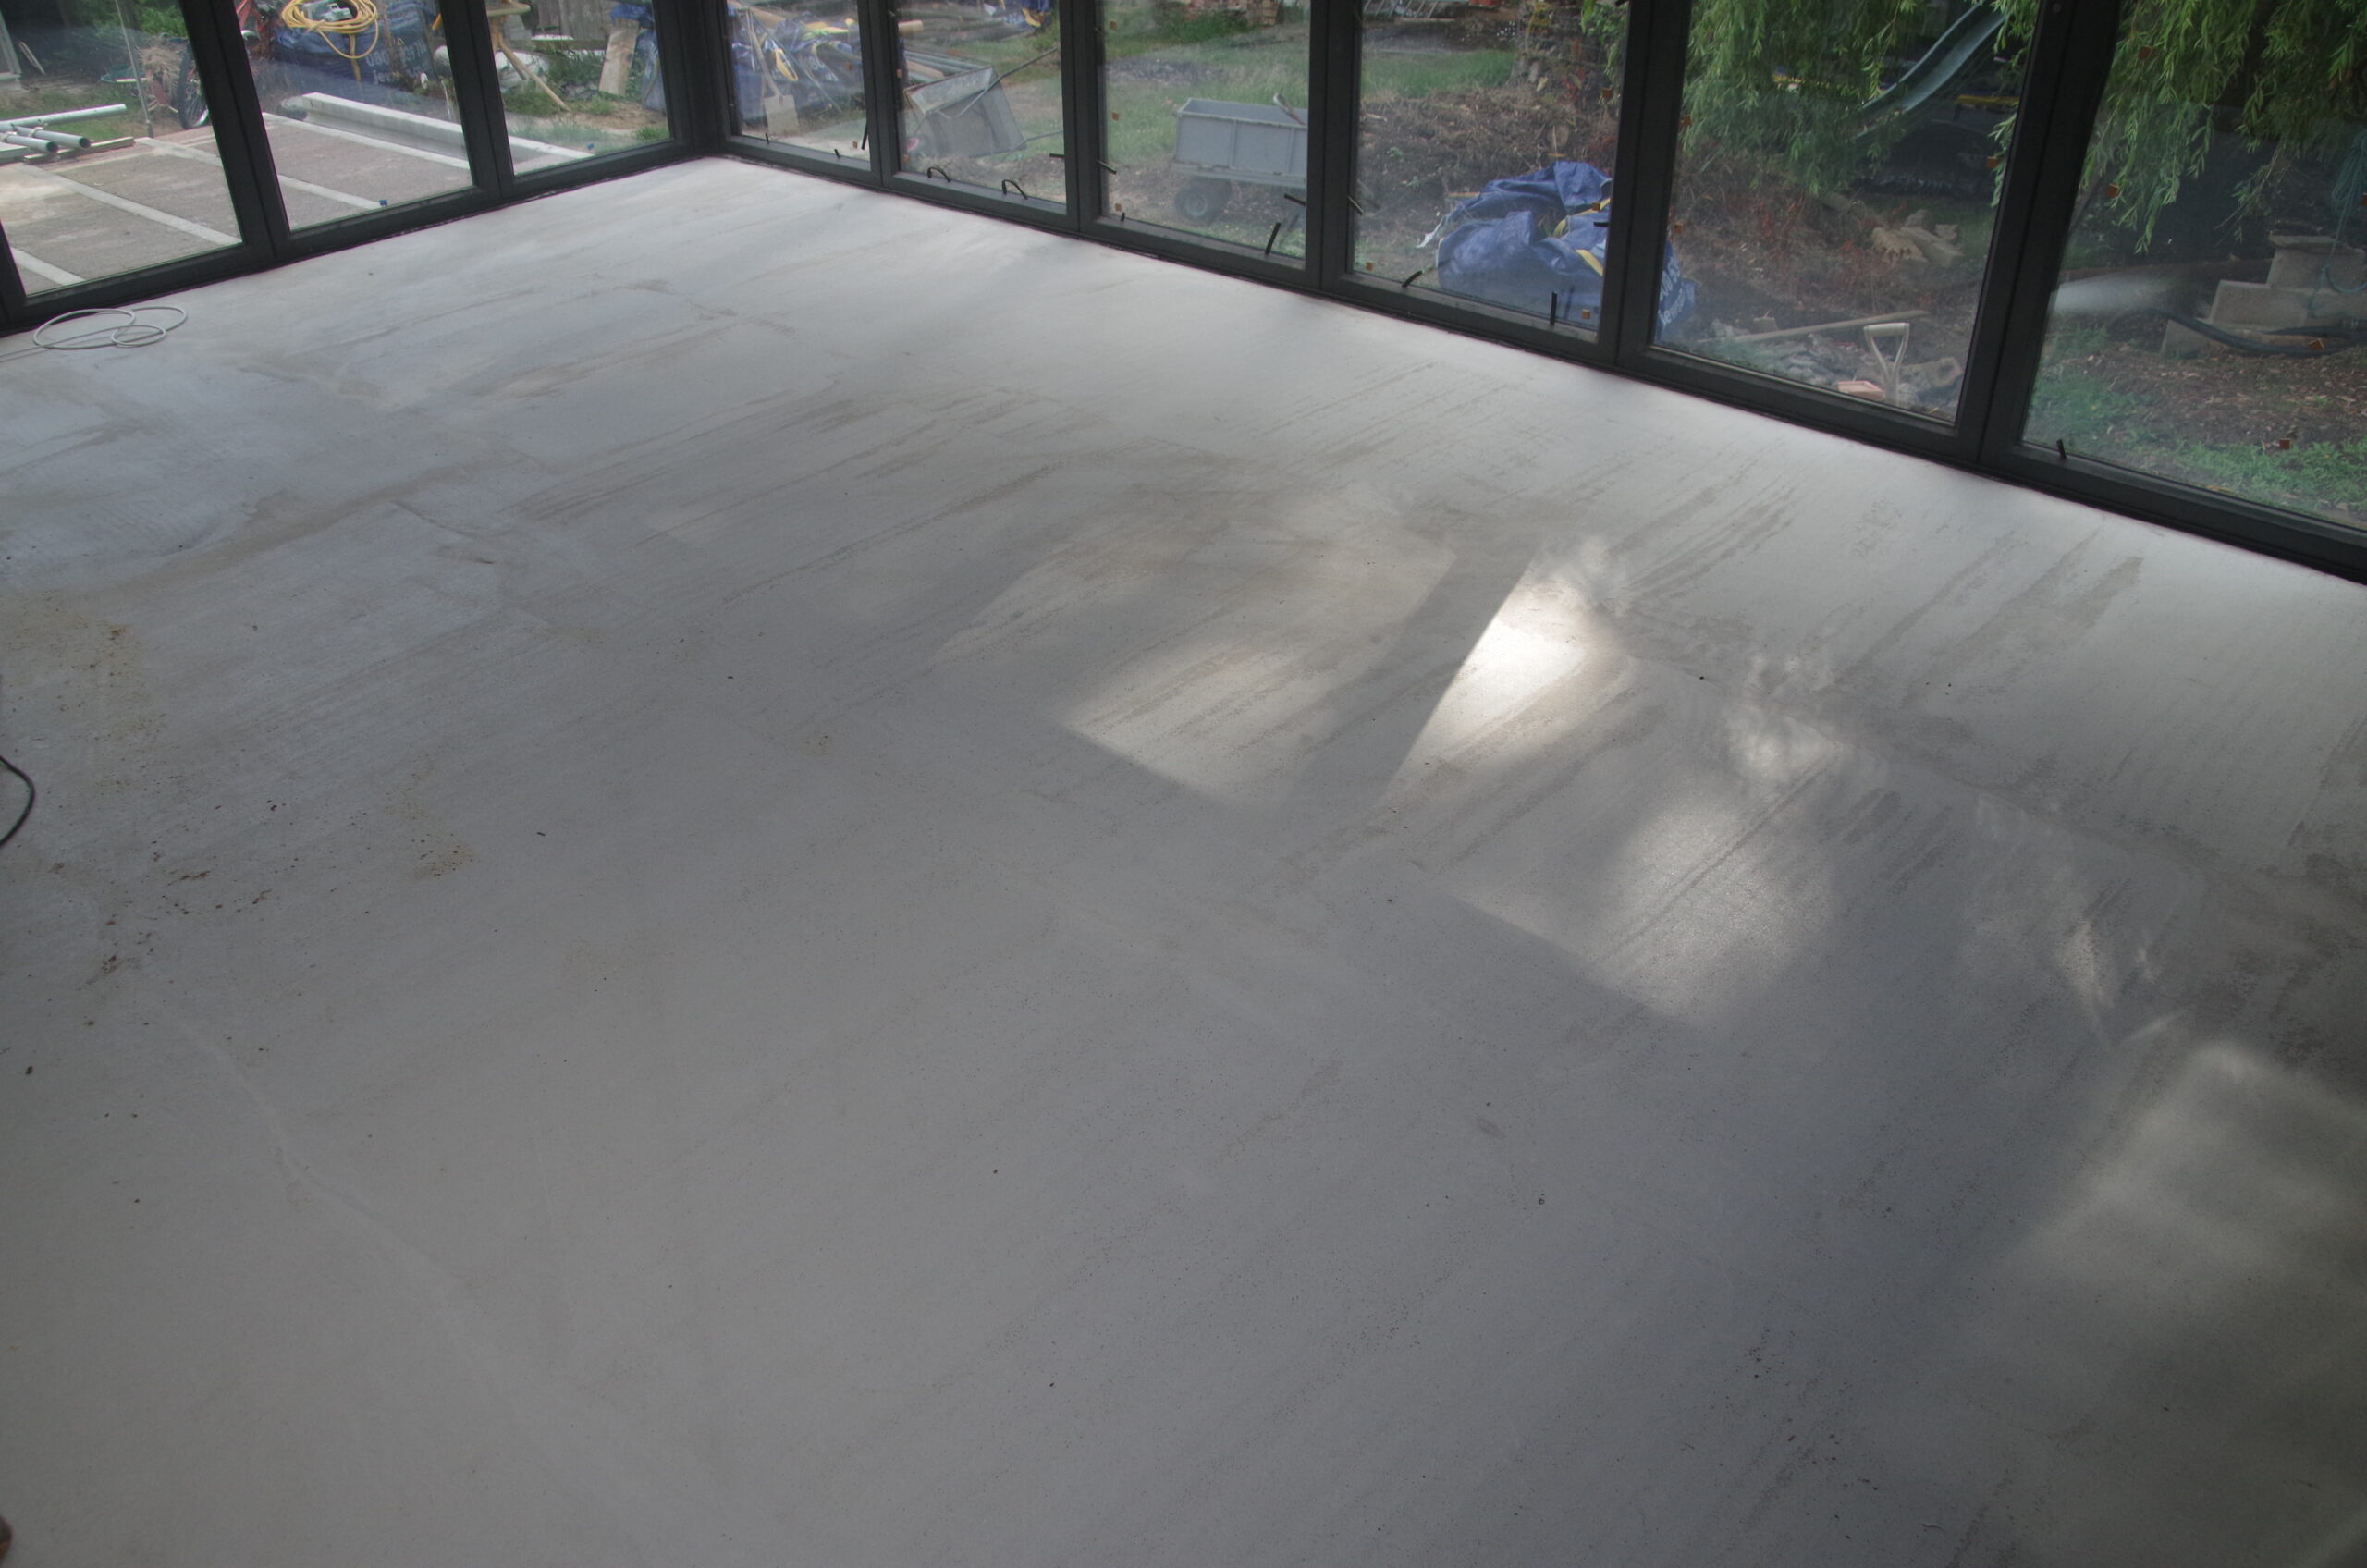
Underfloor heating pipes and DPM taped to blockwork ready for screed.
Screed was delayed due to a cement silo fault, but after waiting a few months due to Covid-19 another week didn’t make much difference.
Screed by ssrflowscreed.
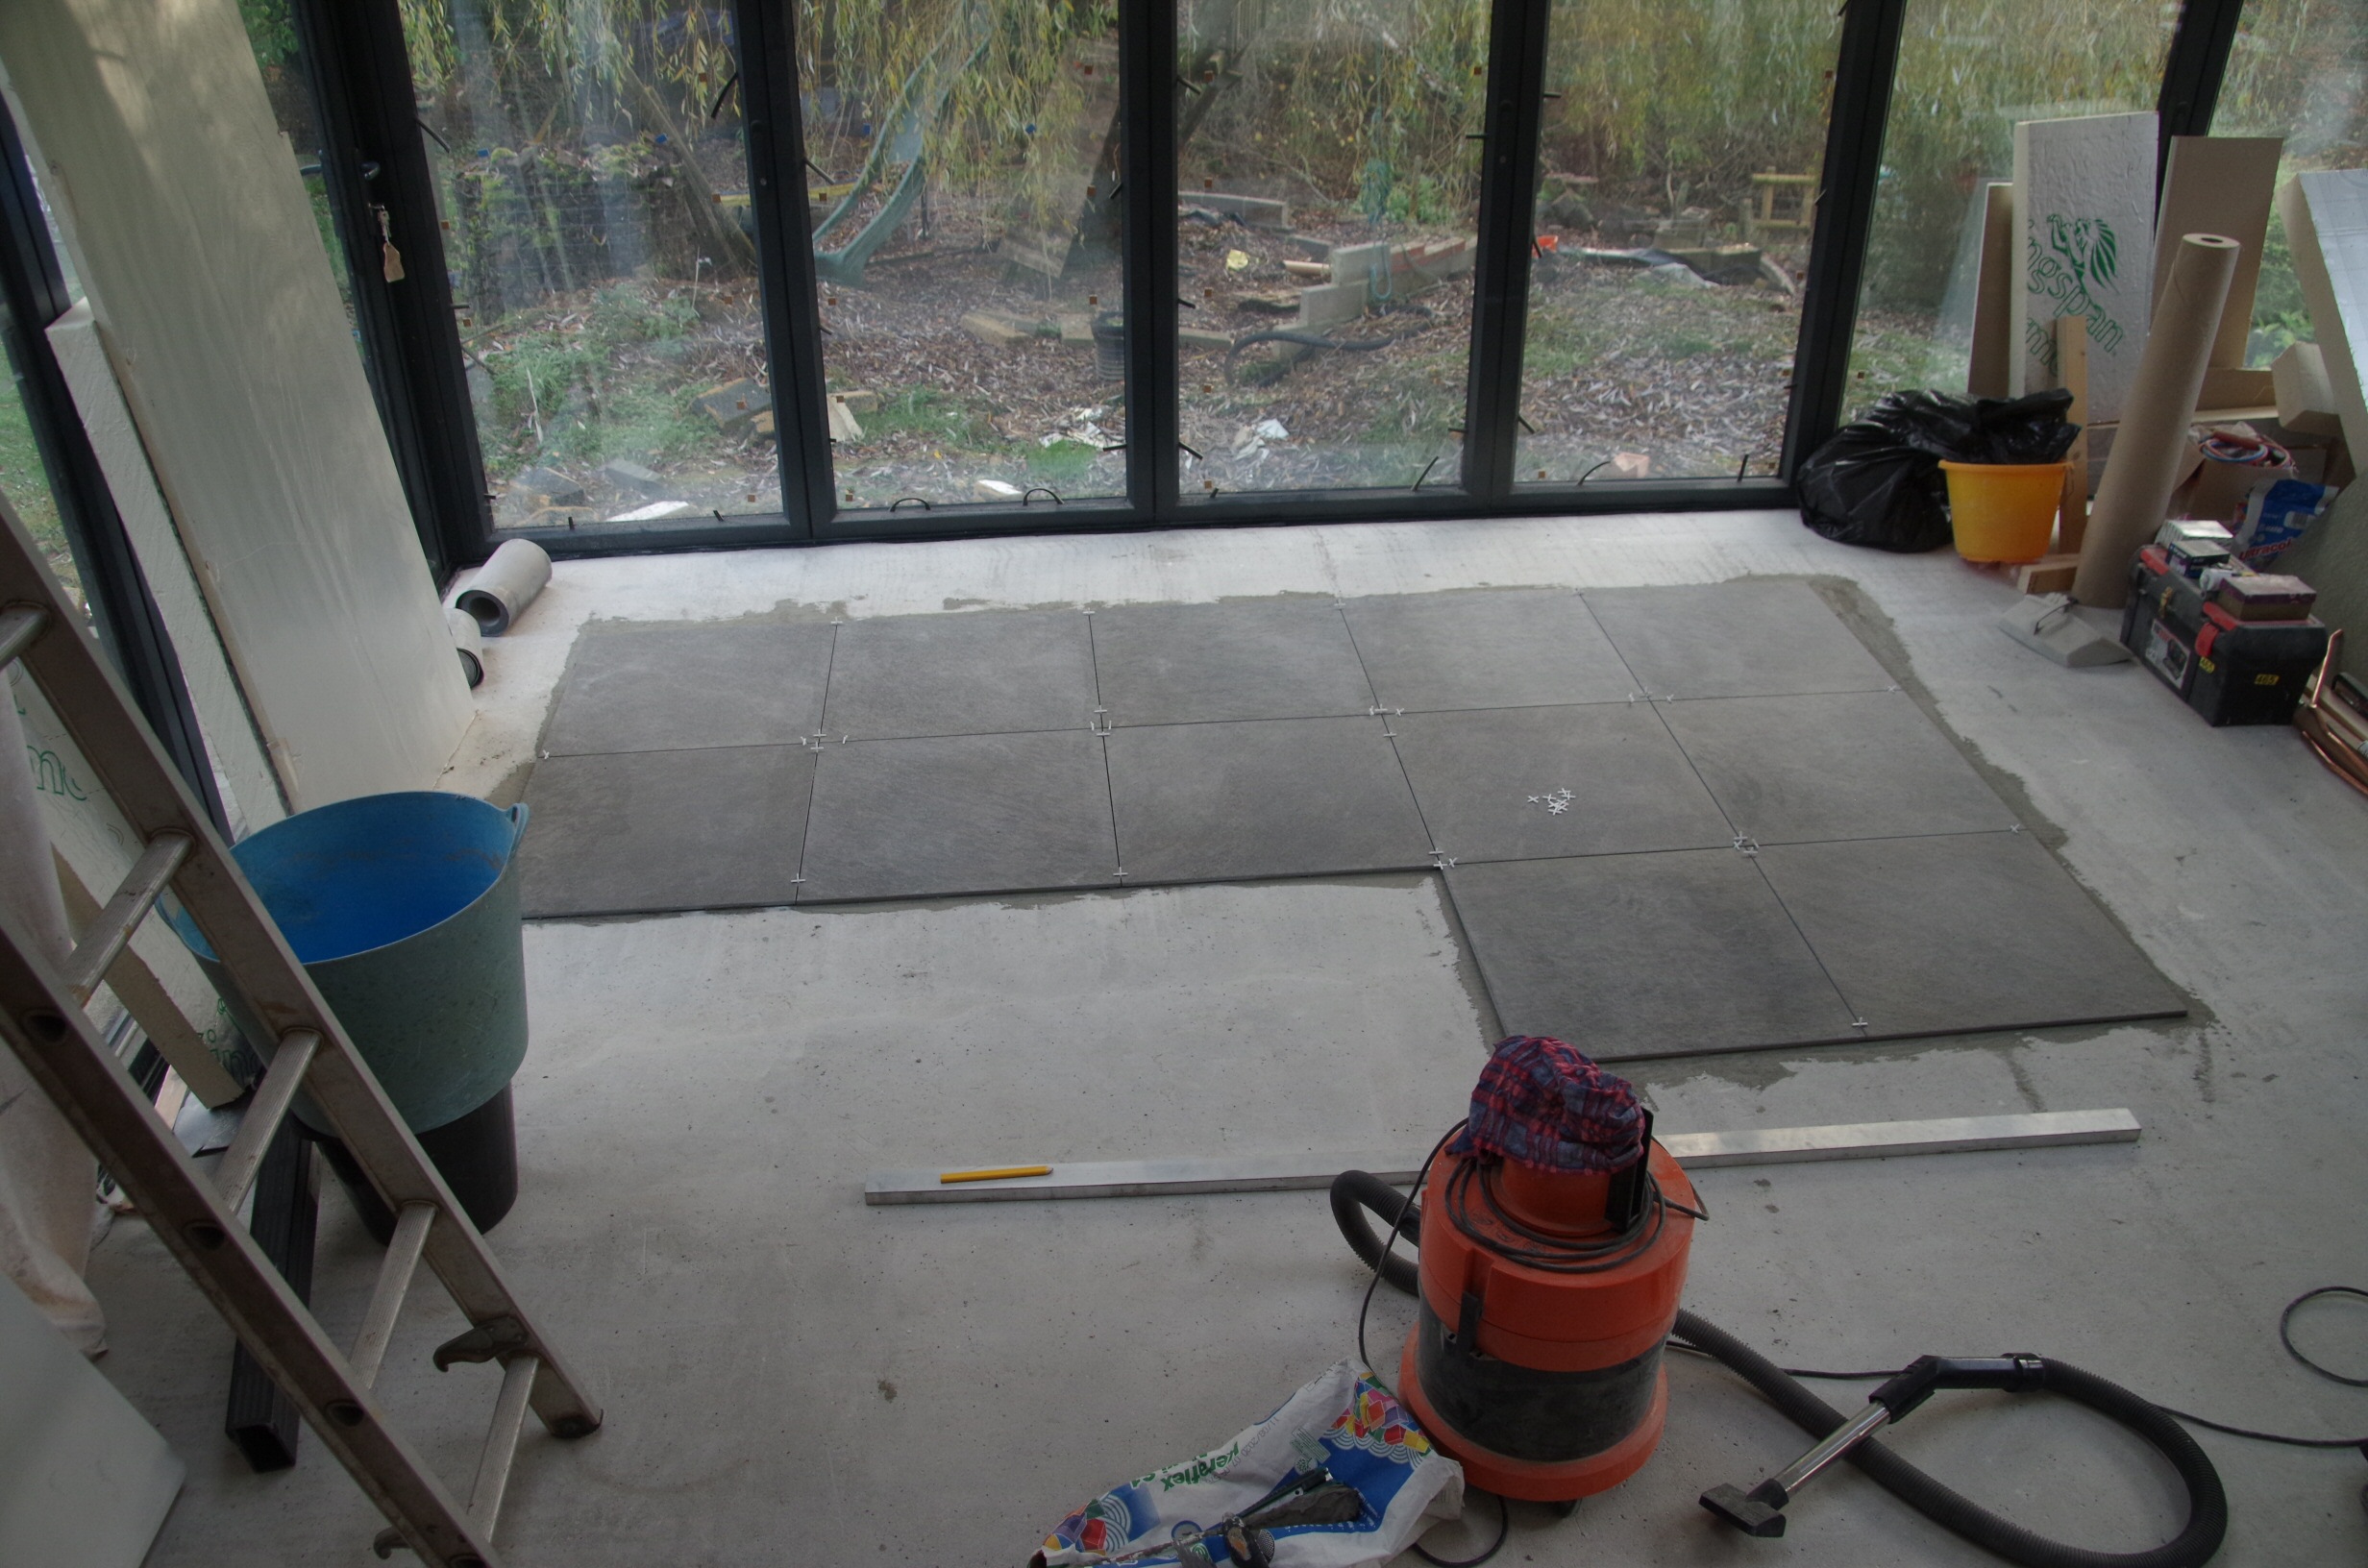
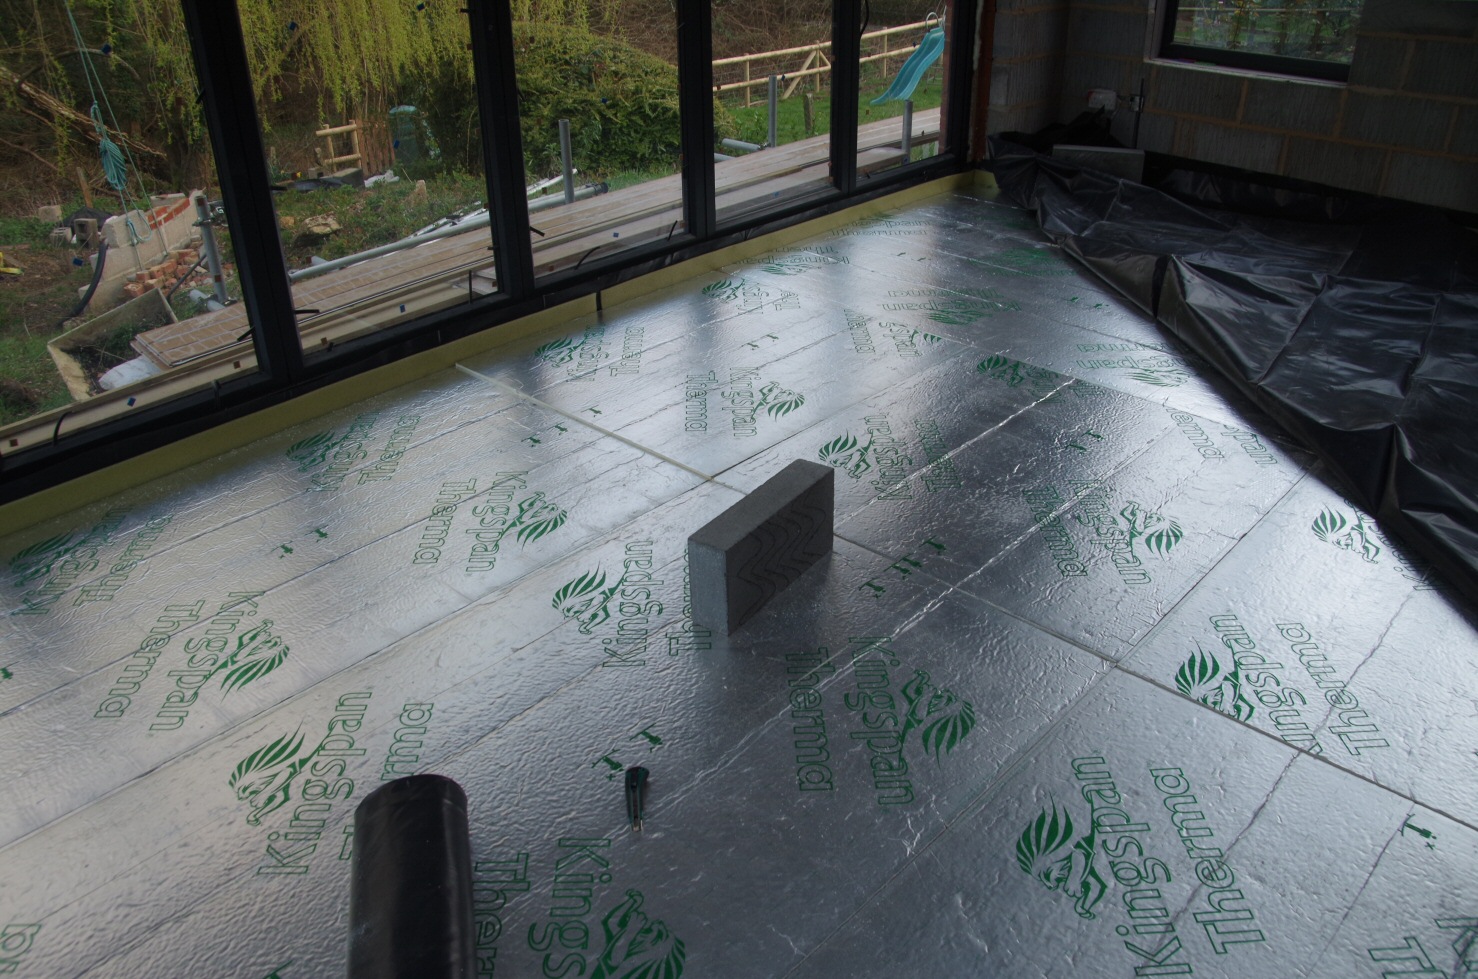
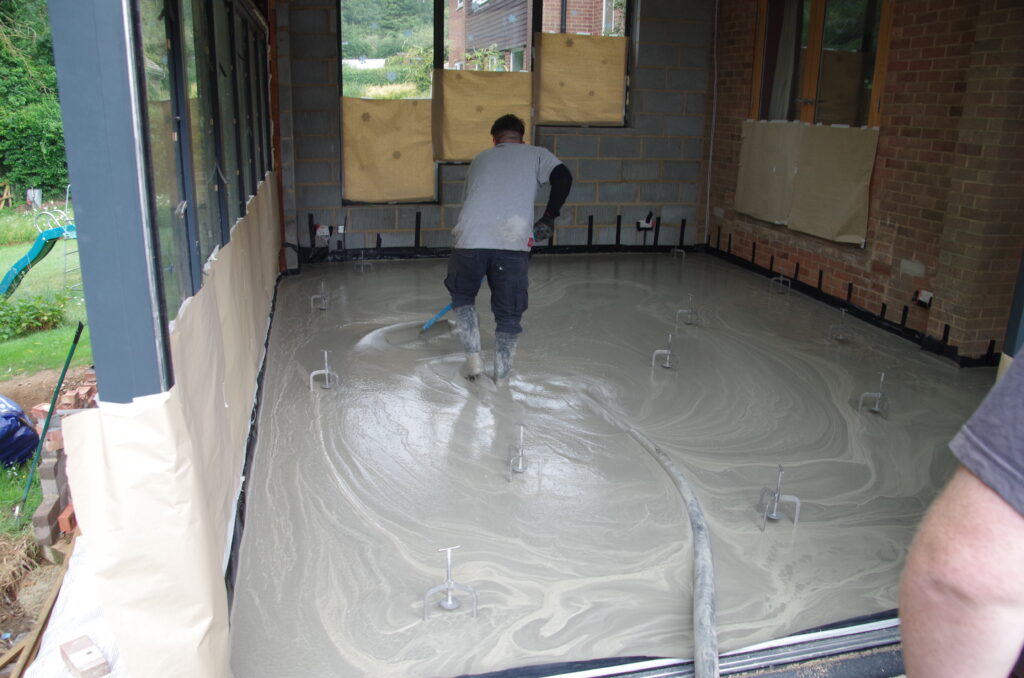
This is a cement based screed delivered from a volumetric mixing lorry and pumped onto the floor. The leveling tripods are set level from my required 13mm down from the bi-fold door threshold; enough space for tile (9mm) and adhesive (3mm) and a spare 1mm for playing with!
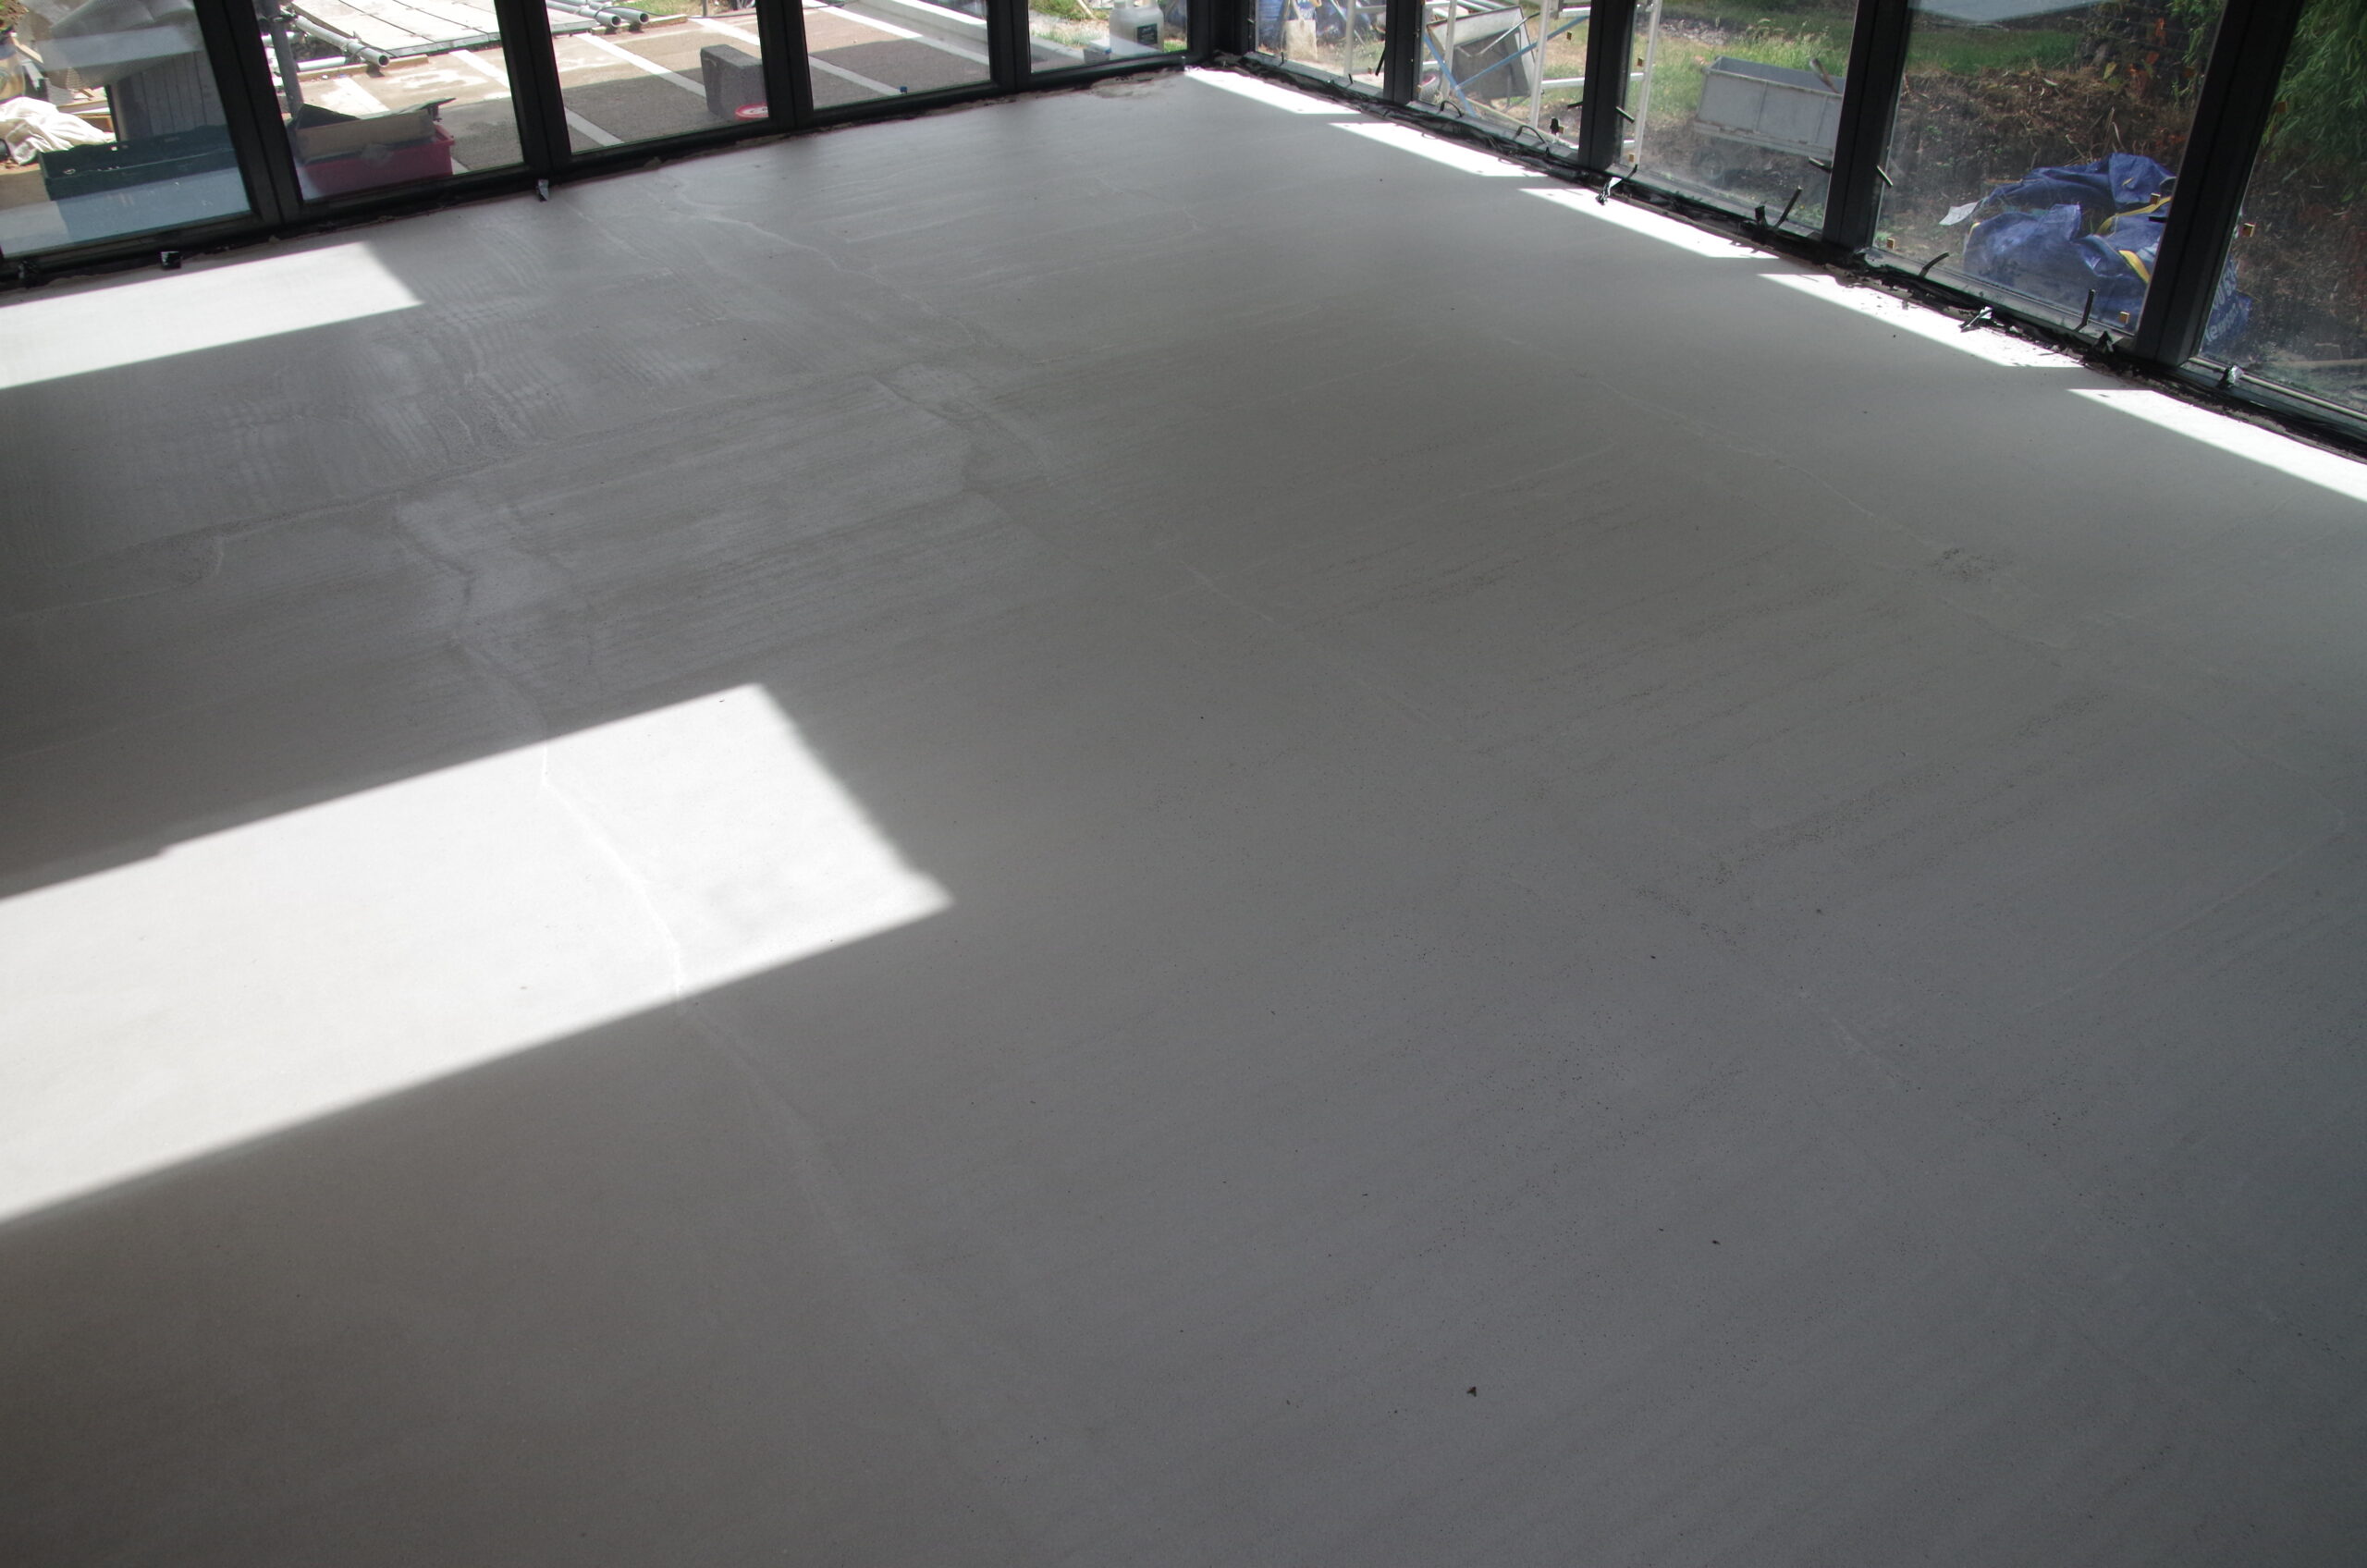
The cement screed is more expensive but needs virtually no preparation for tiling. There is a little bit of foam that ends up at one end as the screed is leveled abd that can be scraped of with a paint scraper.
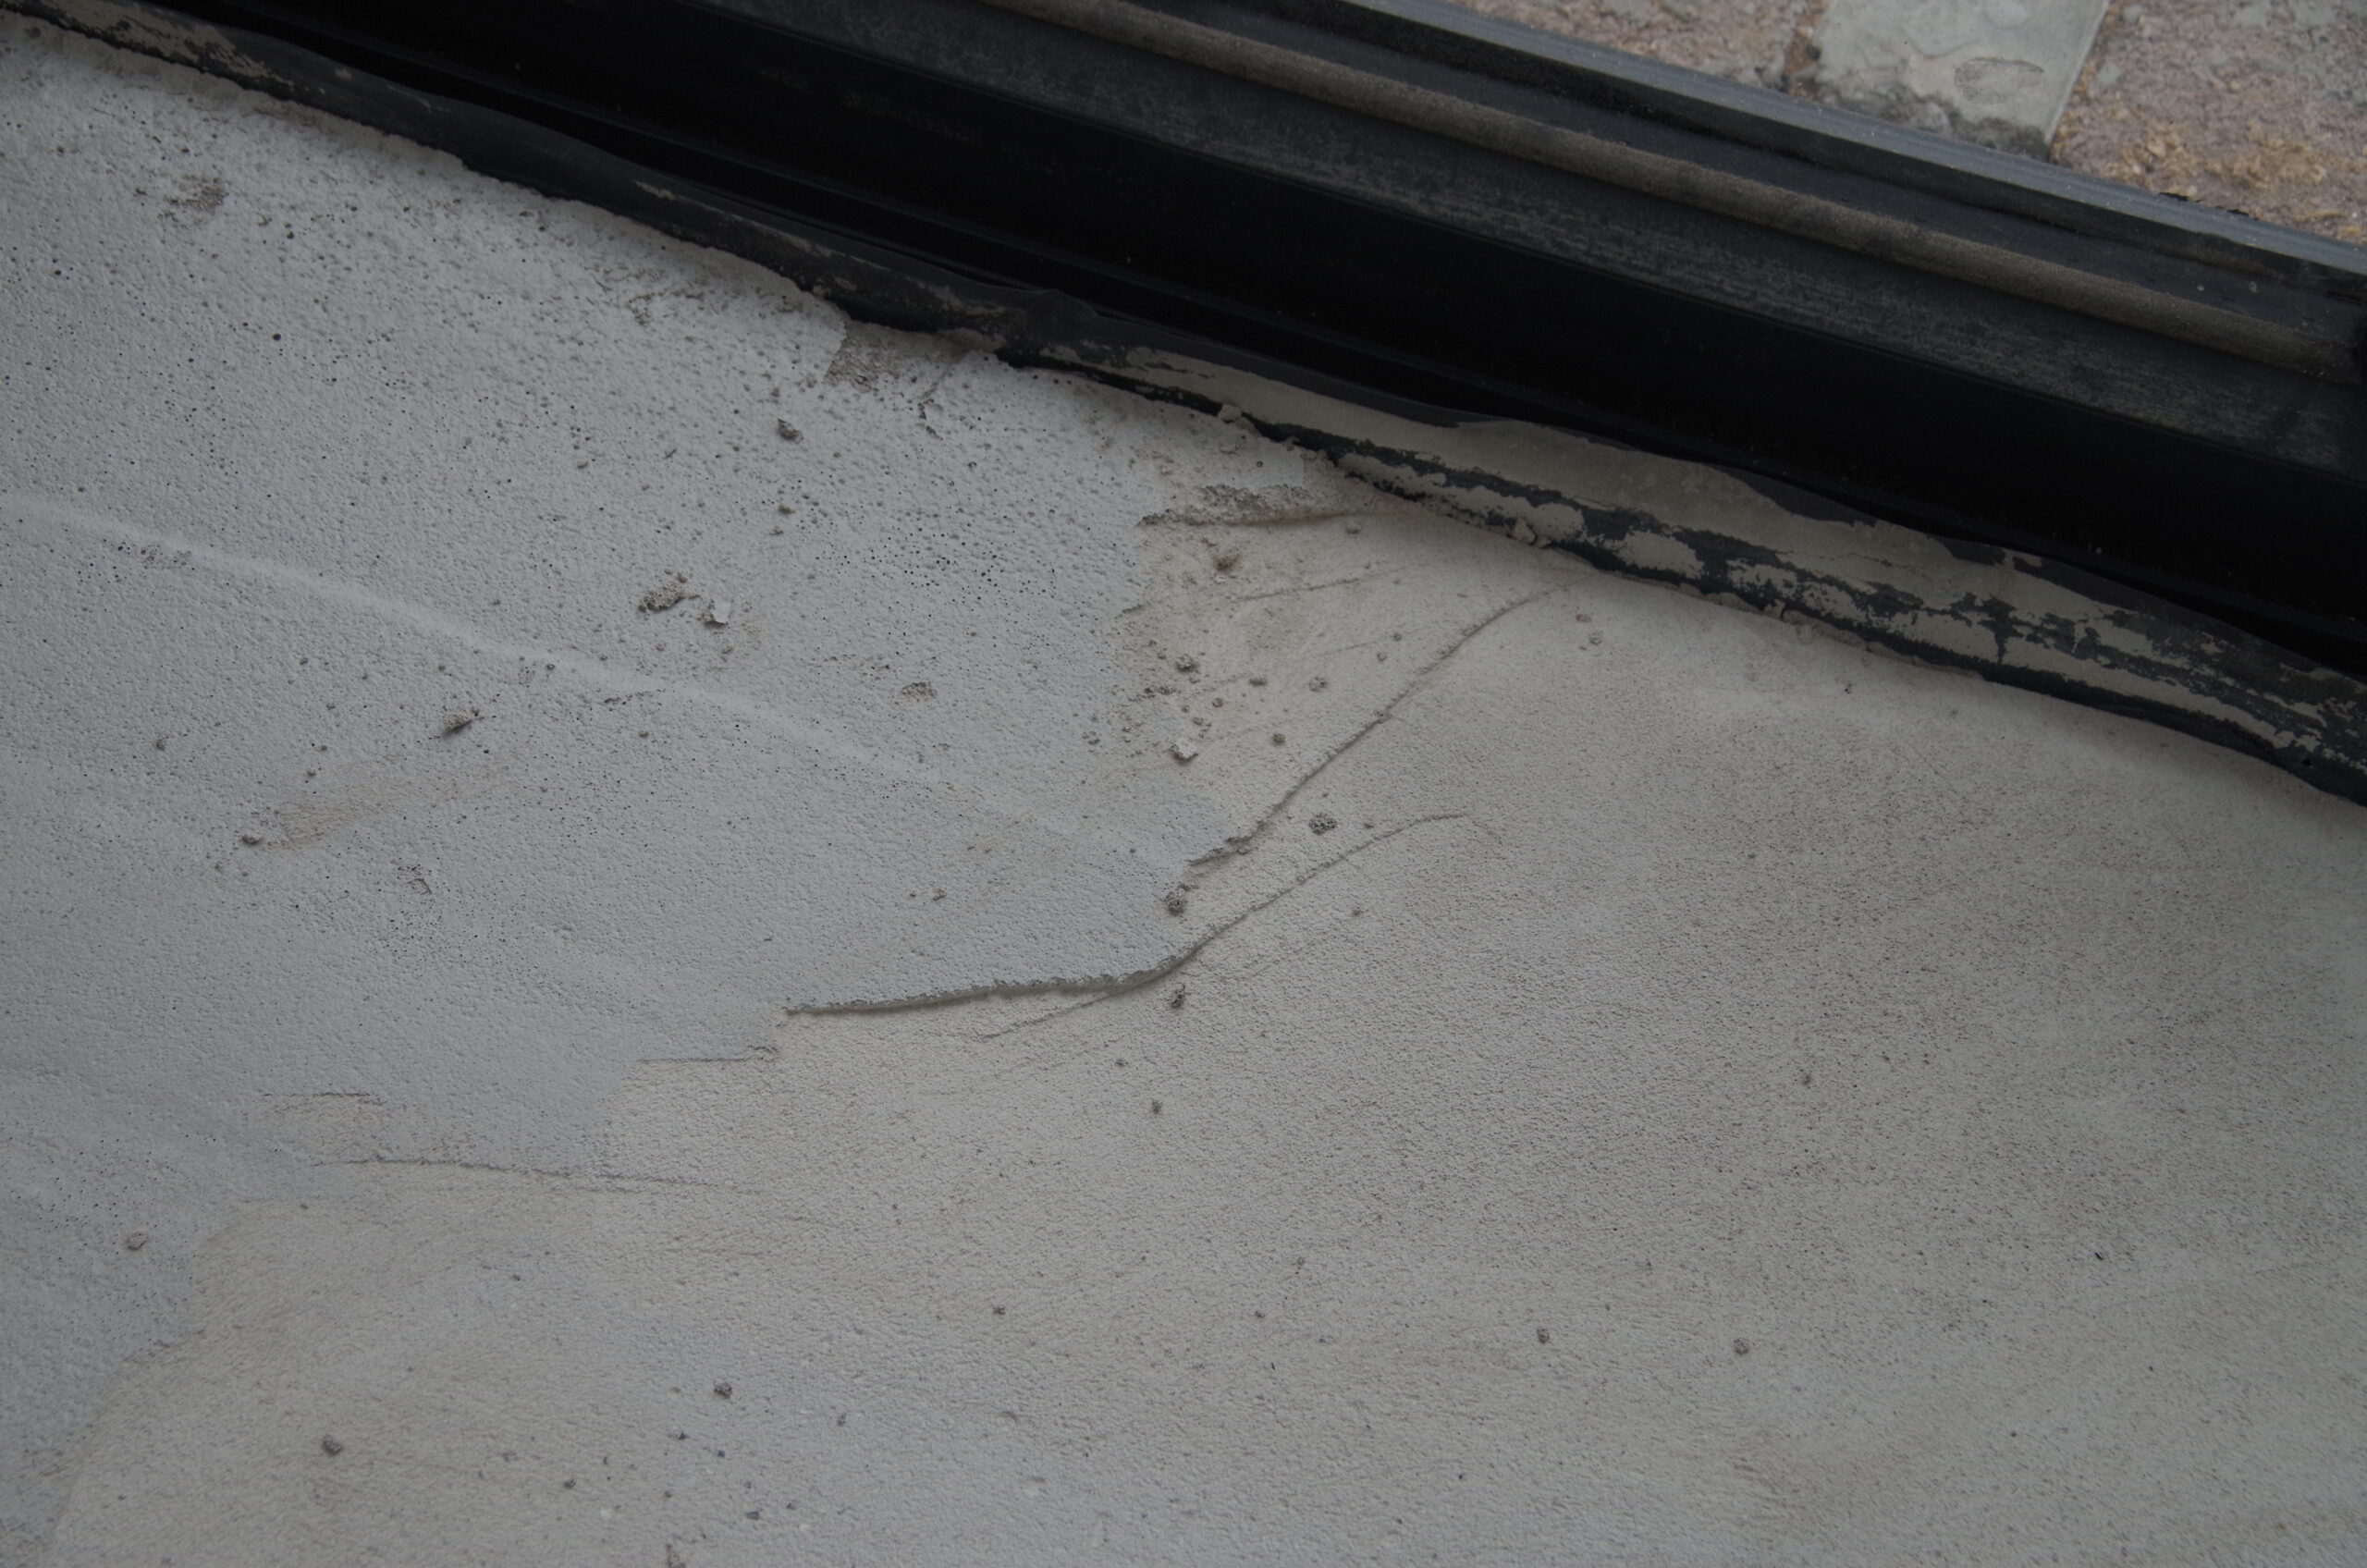
The last picture shows how level the floor and bi-folds are. The flowed floor level exactly matches the bi-fold threshold.
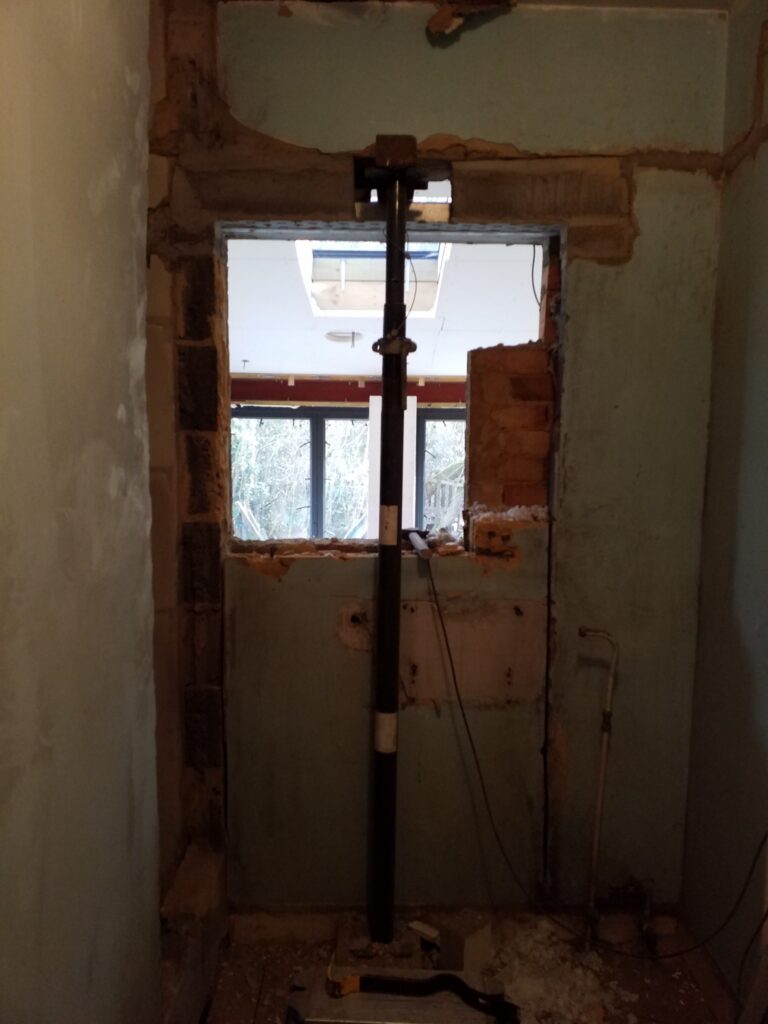
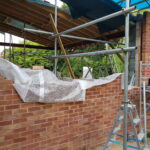
Easy lintel to install as there was a window there previously. We are lowering the floor so I only had to slot in a wider linel beneath the existing one.
The wall to the left is the old larder which I can’t remove fully just yet as it supports the wall above for the airing cupboard.
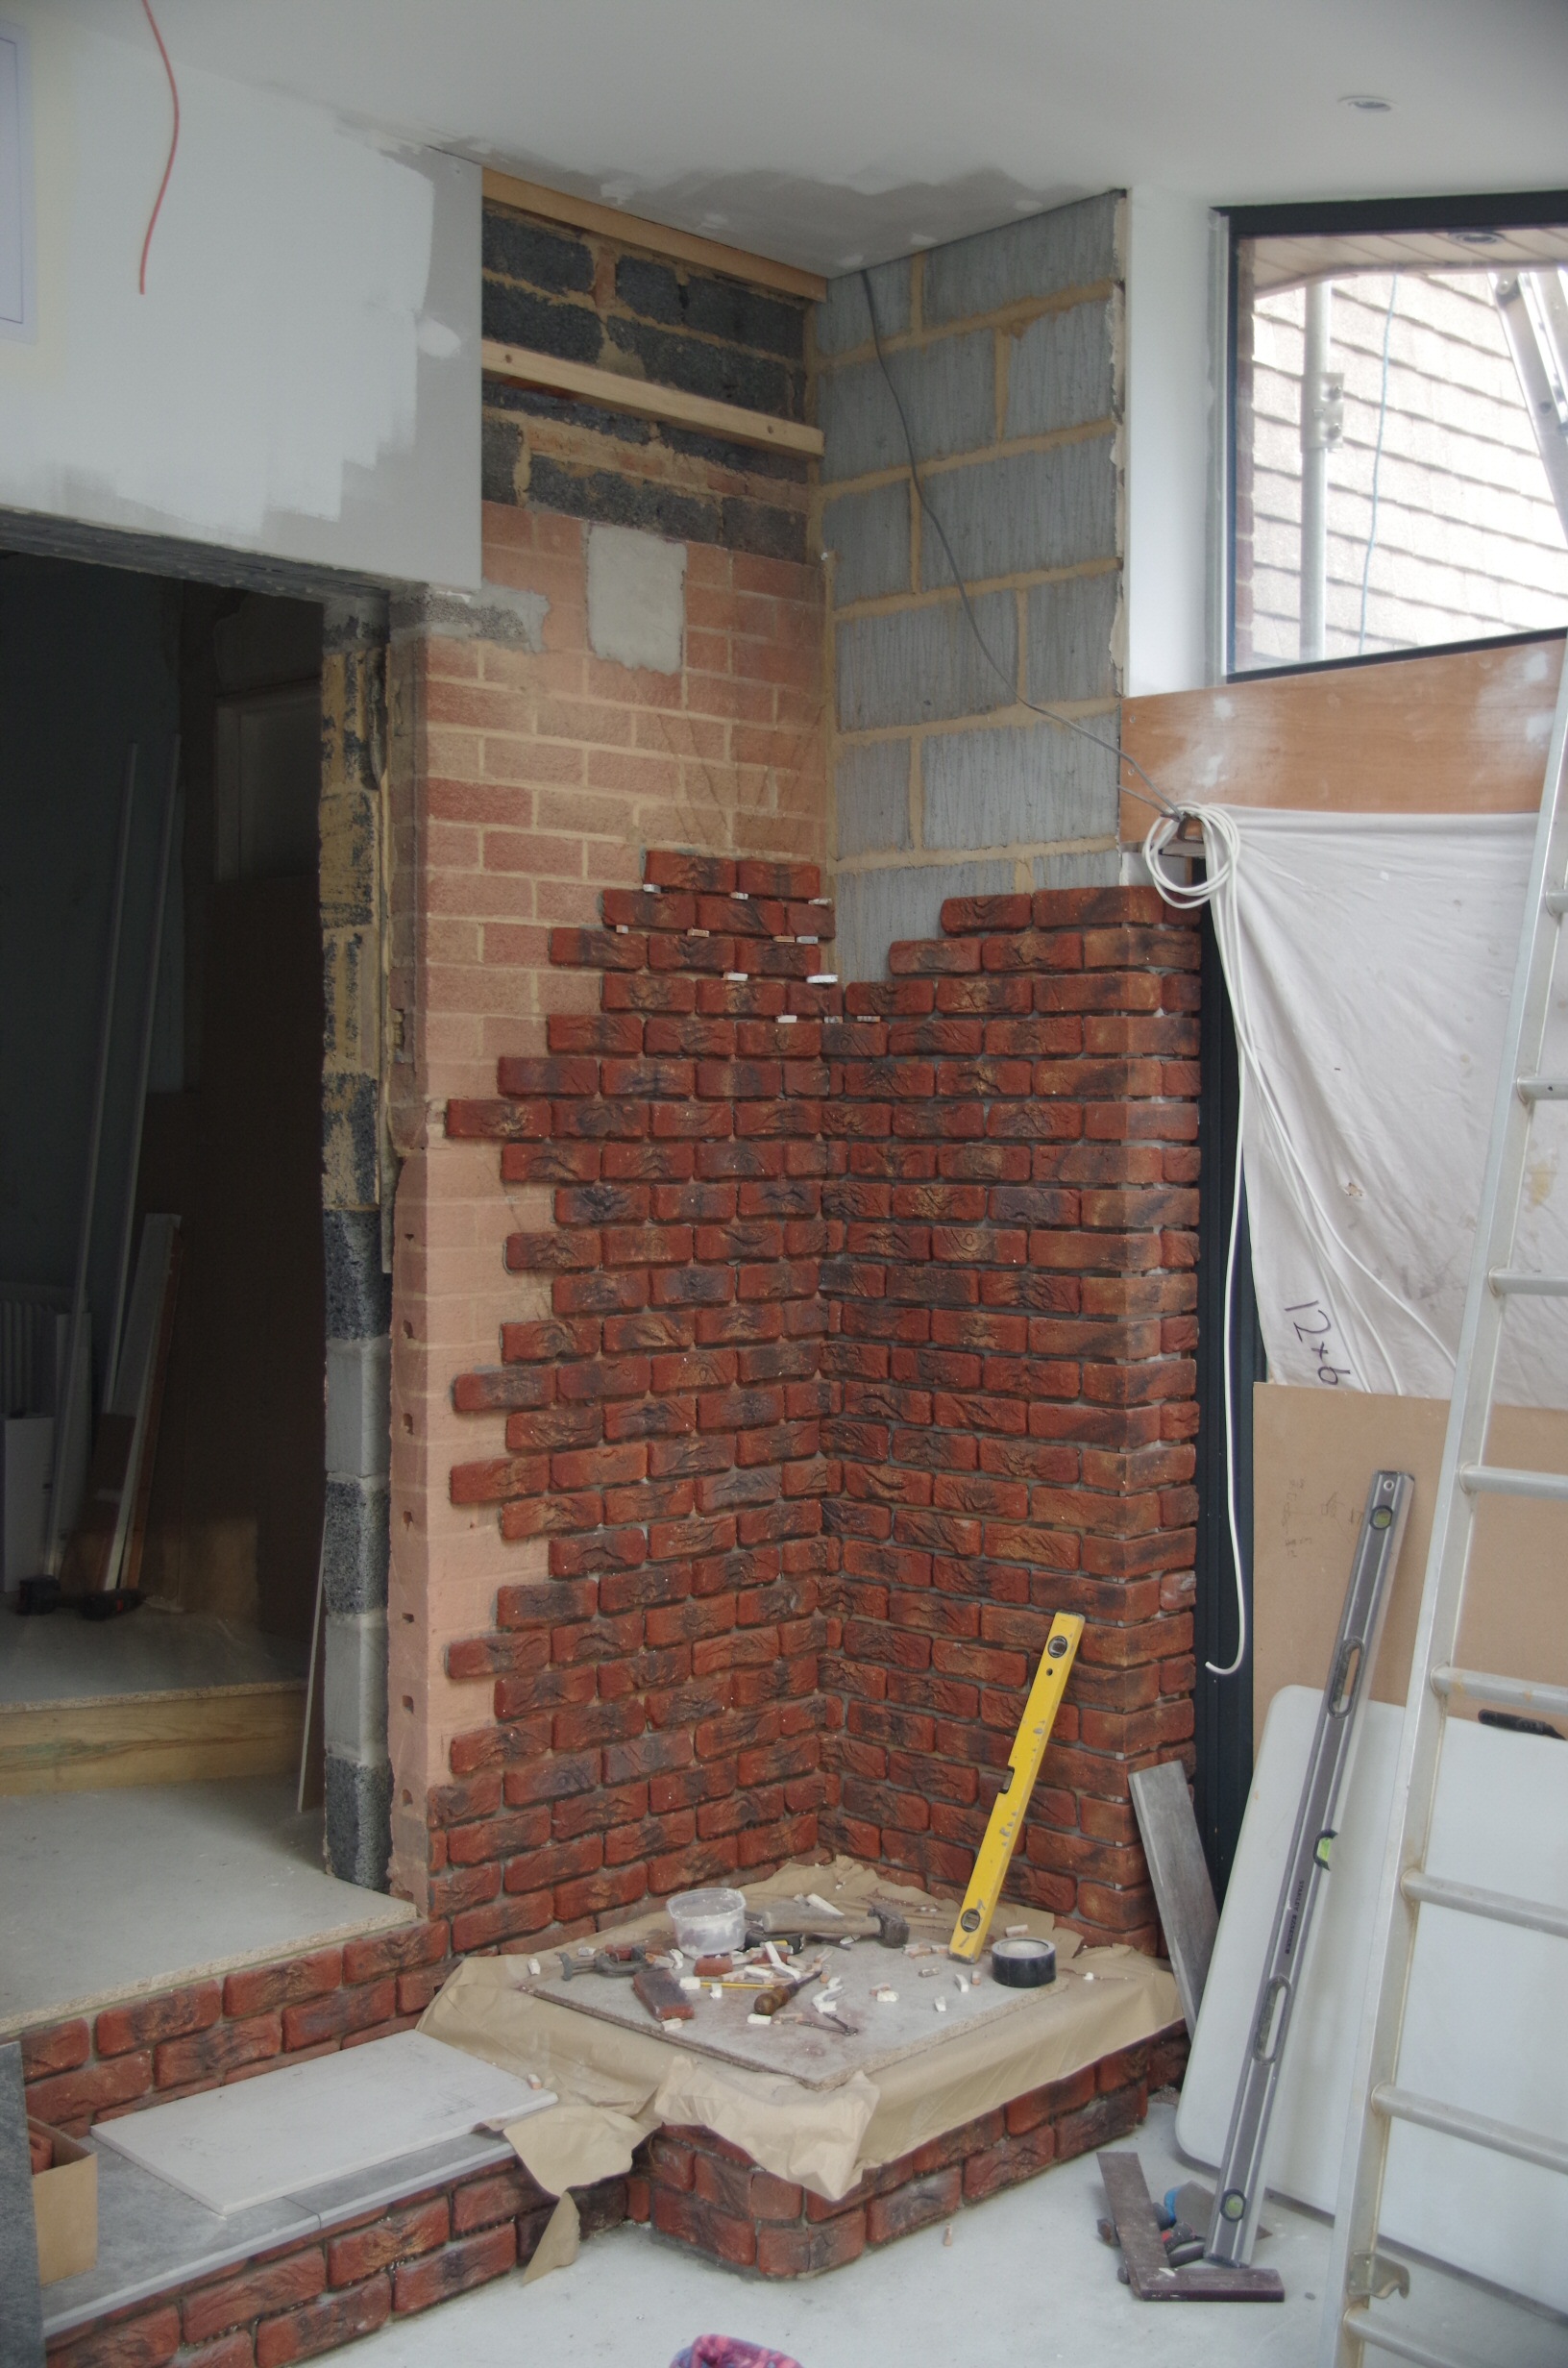
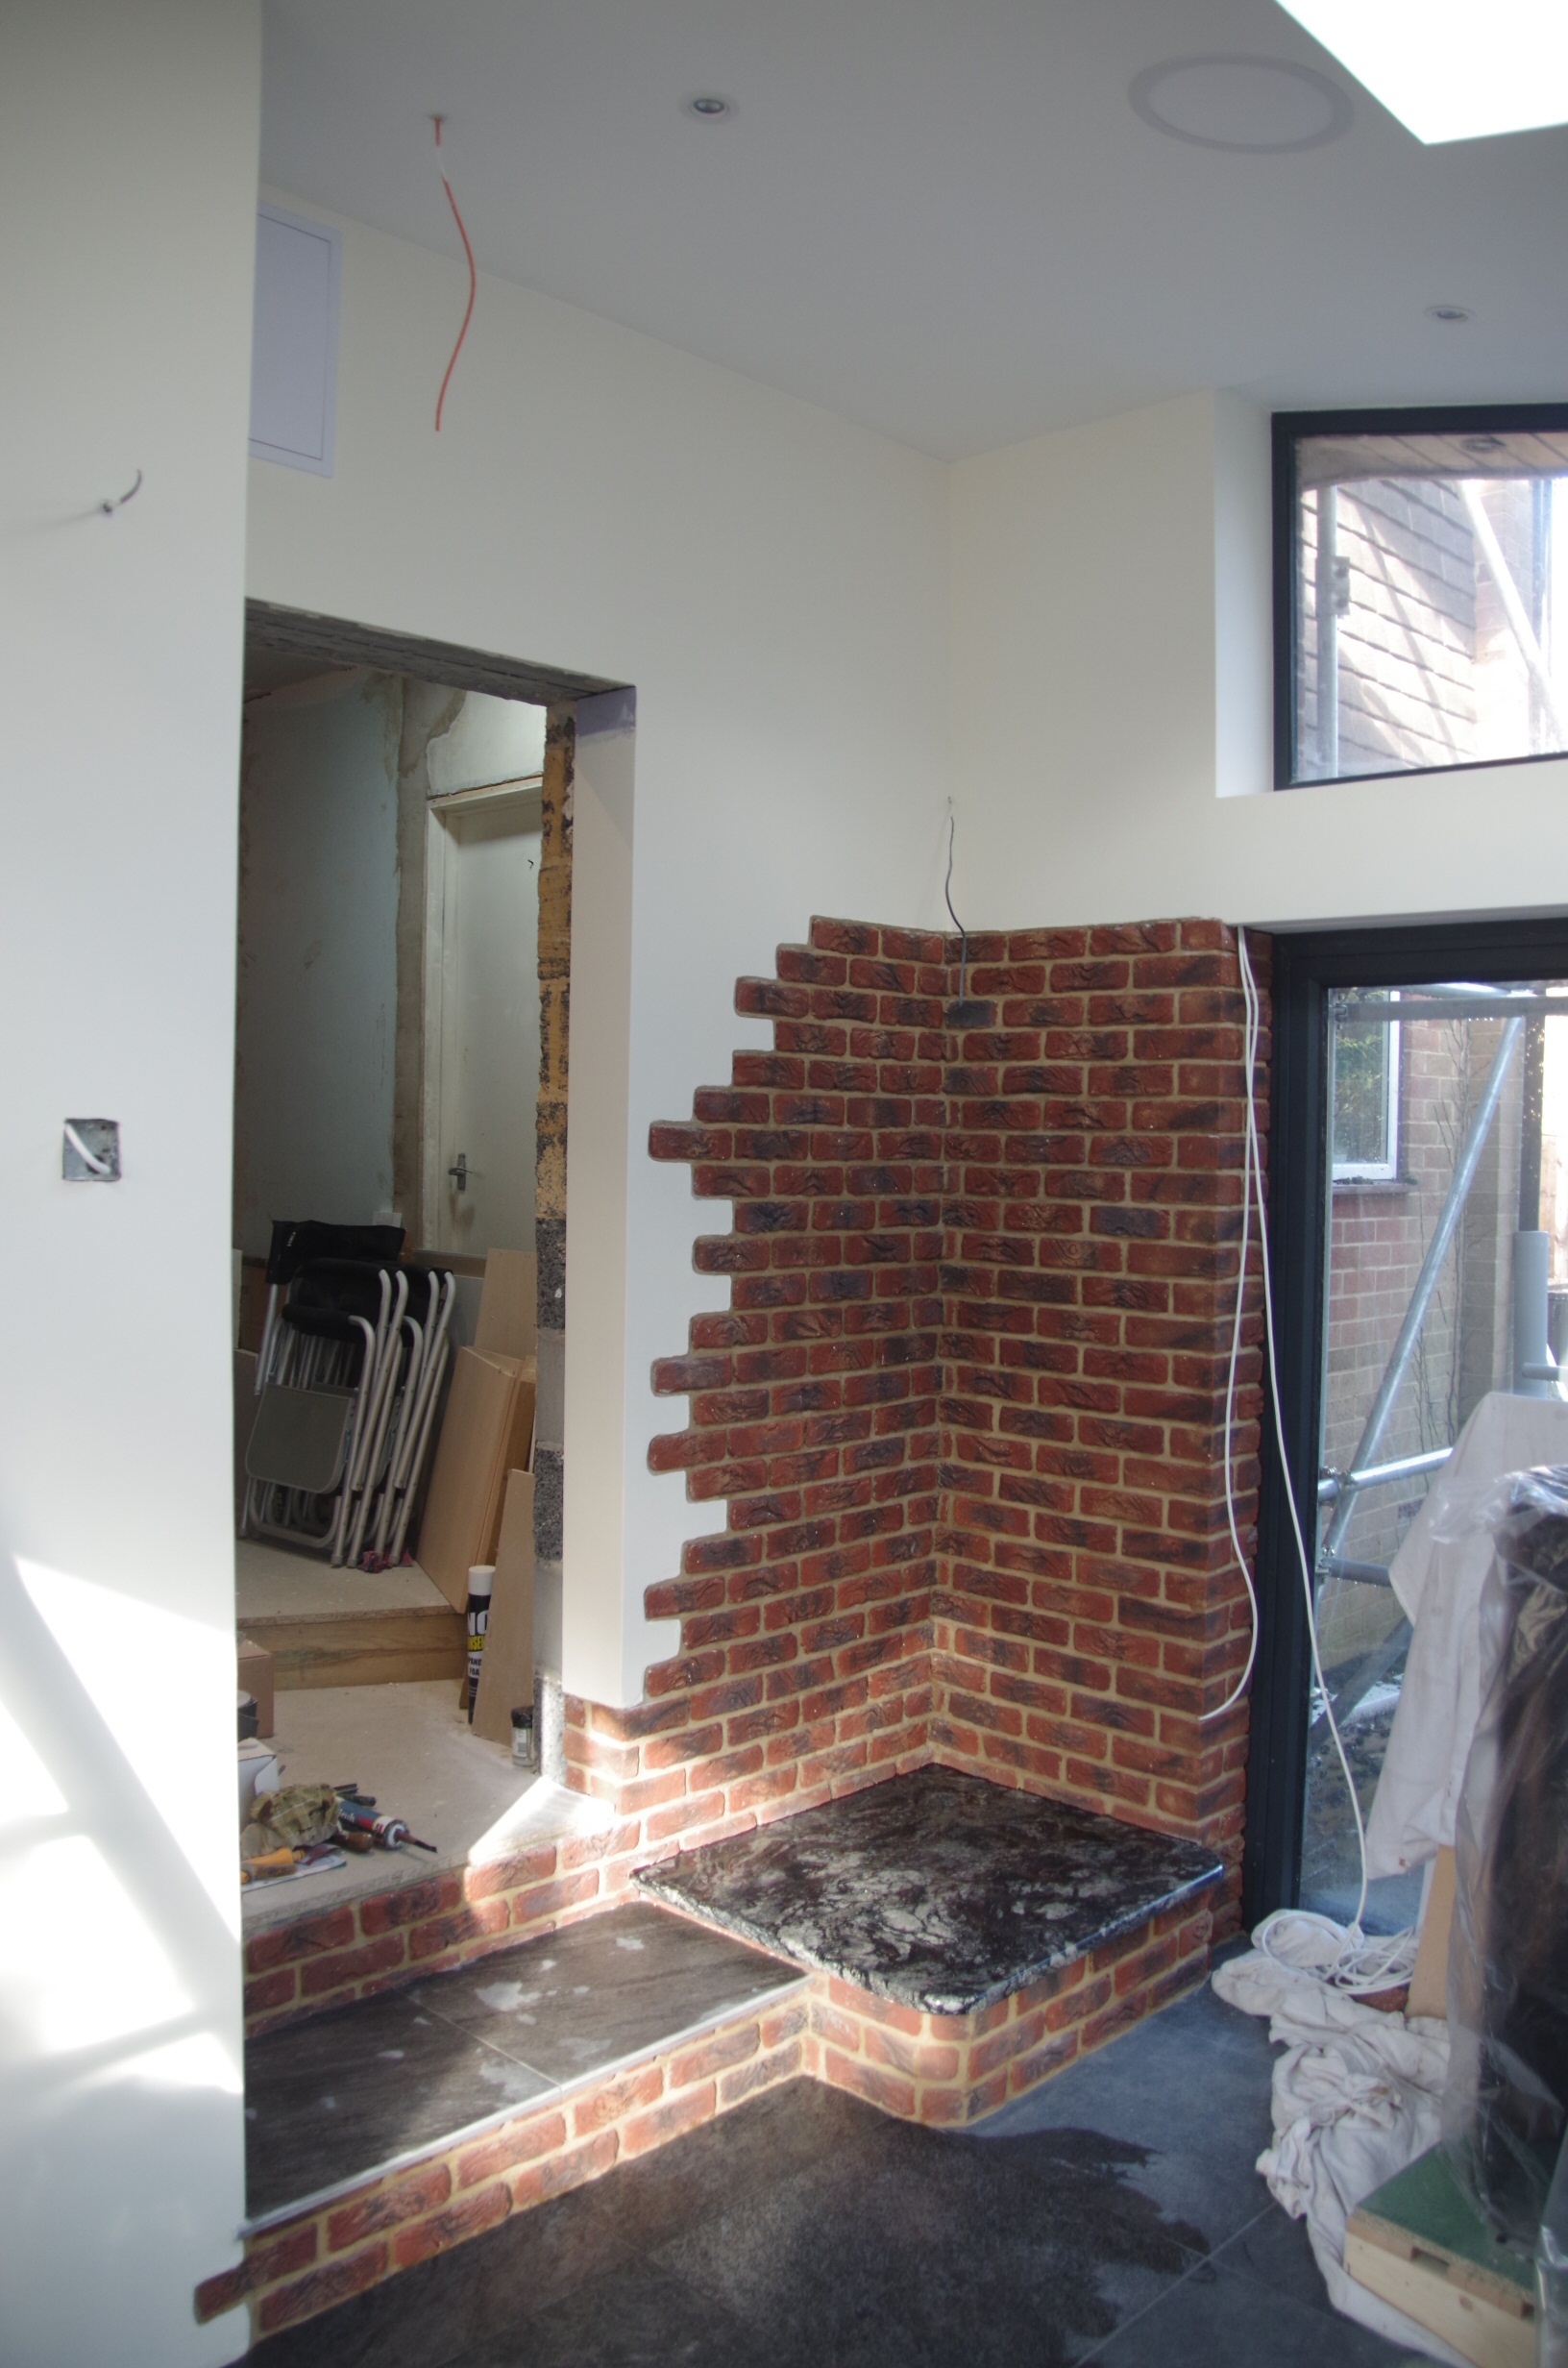
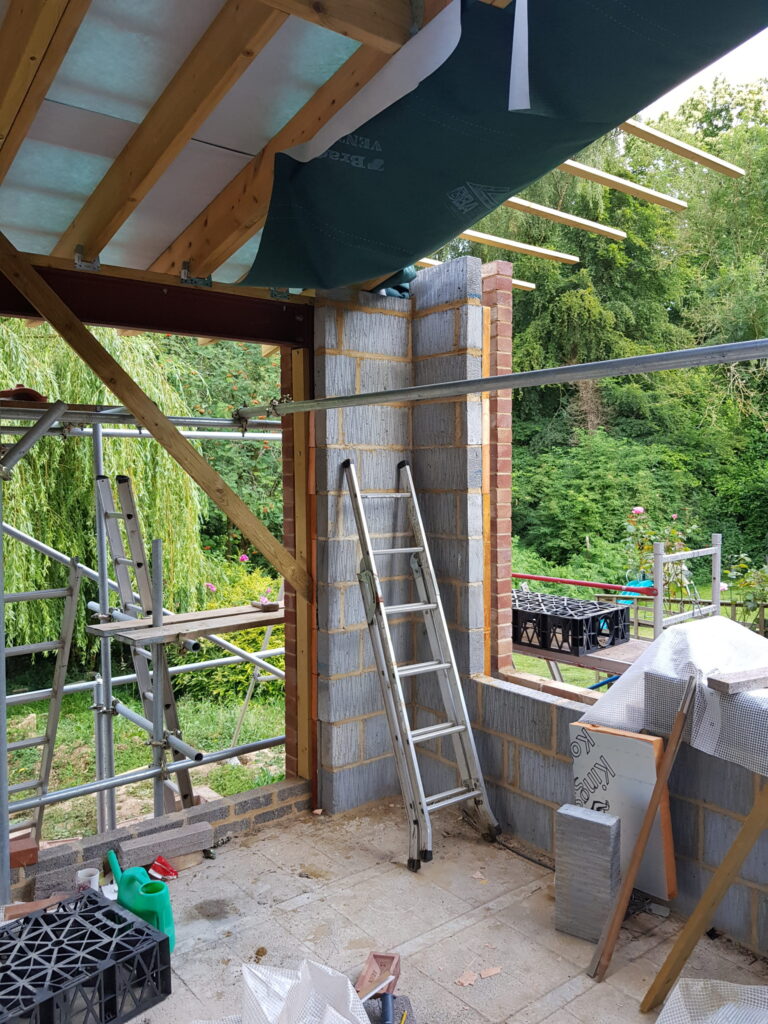
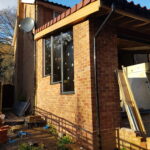
A few pics of the brickwork at each end. Windows and bi-folds installed. The corner brickwork supports the end few rafters of the roof the rest of the roof is supported by the metalwork and house wall.